Small properties also need good photos to stand out from the rest. When looking at the properties that are advertised in the lower price brackets, so many of them are advertised with very bad photos. Because the properties are smaller, taking photos that show the actual size of the rooms are more difficult. Agents that don’t make use of a Real Estate Photographer, and don’t have the correct gear to take photos of smaller rooms / properties are probably better off taking photos with their cellphones as most of them have a wider view leans and the photo quality is very good, good enough for the various websites as well as social media …. if the photos are taken correctly.
To take photos of a property with a cellphone, you need to practice to get it right.
- Make sure the lens is clean.
- Select a wider view on a normal / standard lens, selecting a portrait lens will give the photo a blurry background which isn’t desirable for Real Estate photos unless you want to create a close up artistic look and feel.
- Keep the vertical lines straight.
- Don’t shake. If need be put the camera on a 2 or 3 second timer so you can shoot and then have enough time to keep the camera steady.
- Light is your friend, the more light the better.
Although taking Real Estate photos with a cellphone is not recommended, you can get a very good result if you know what you are doing with some basic editing.
In general, here are some tips for making your photos of smaller properties look better:
- Use a wide lens, 10mm or close to that will work best.
- Use a tripod as this will keep the camera as still as possible and eliminate “camera shake”.
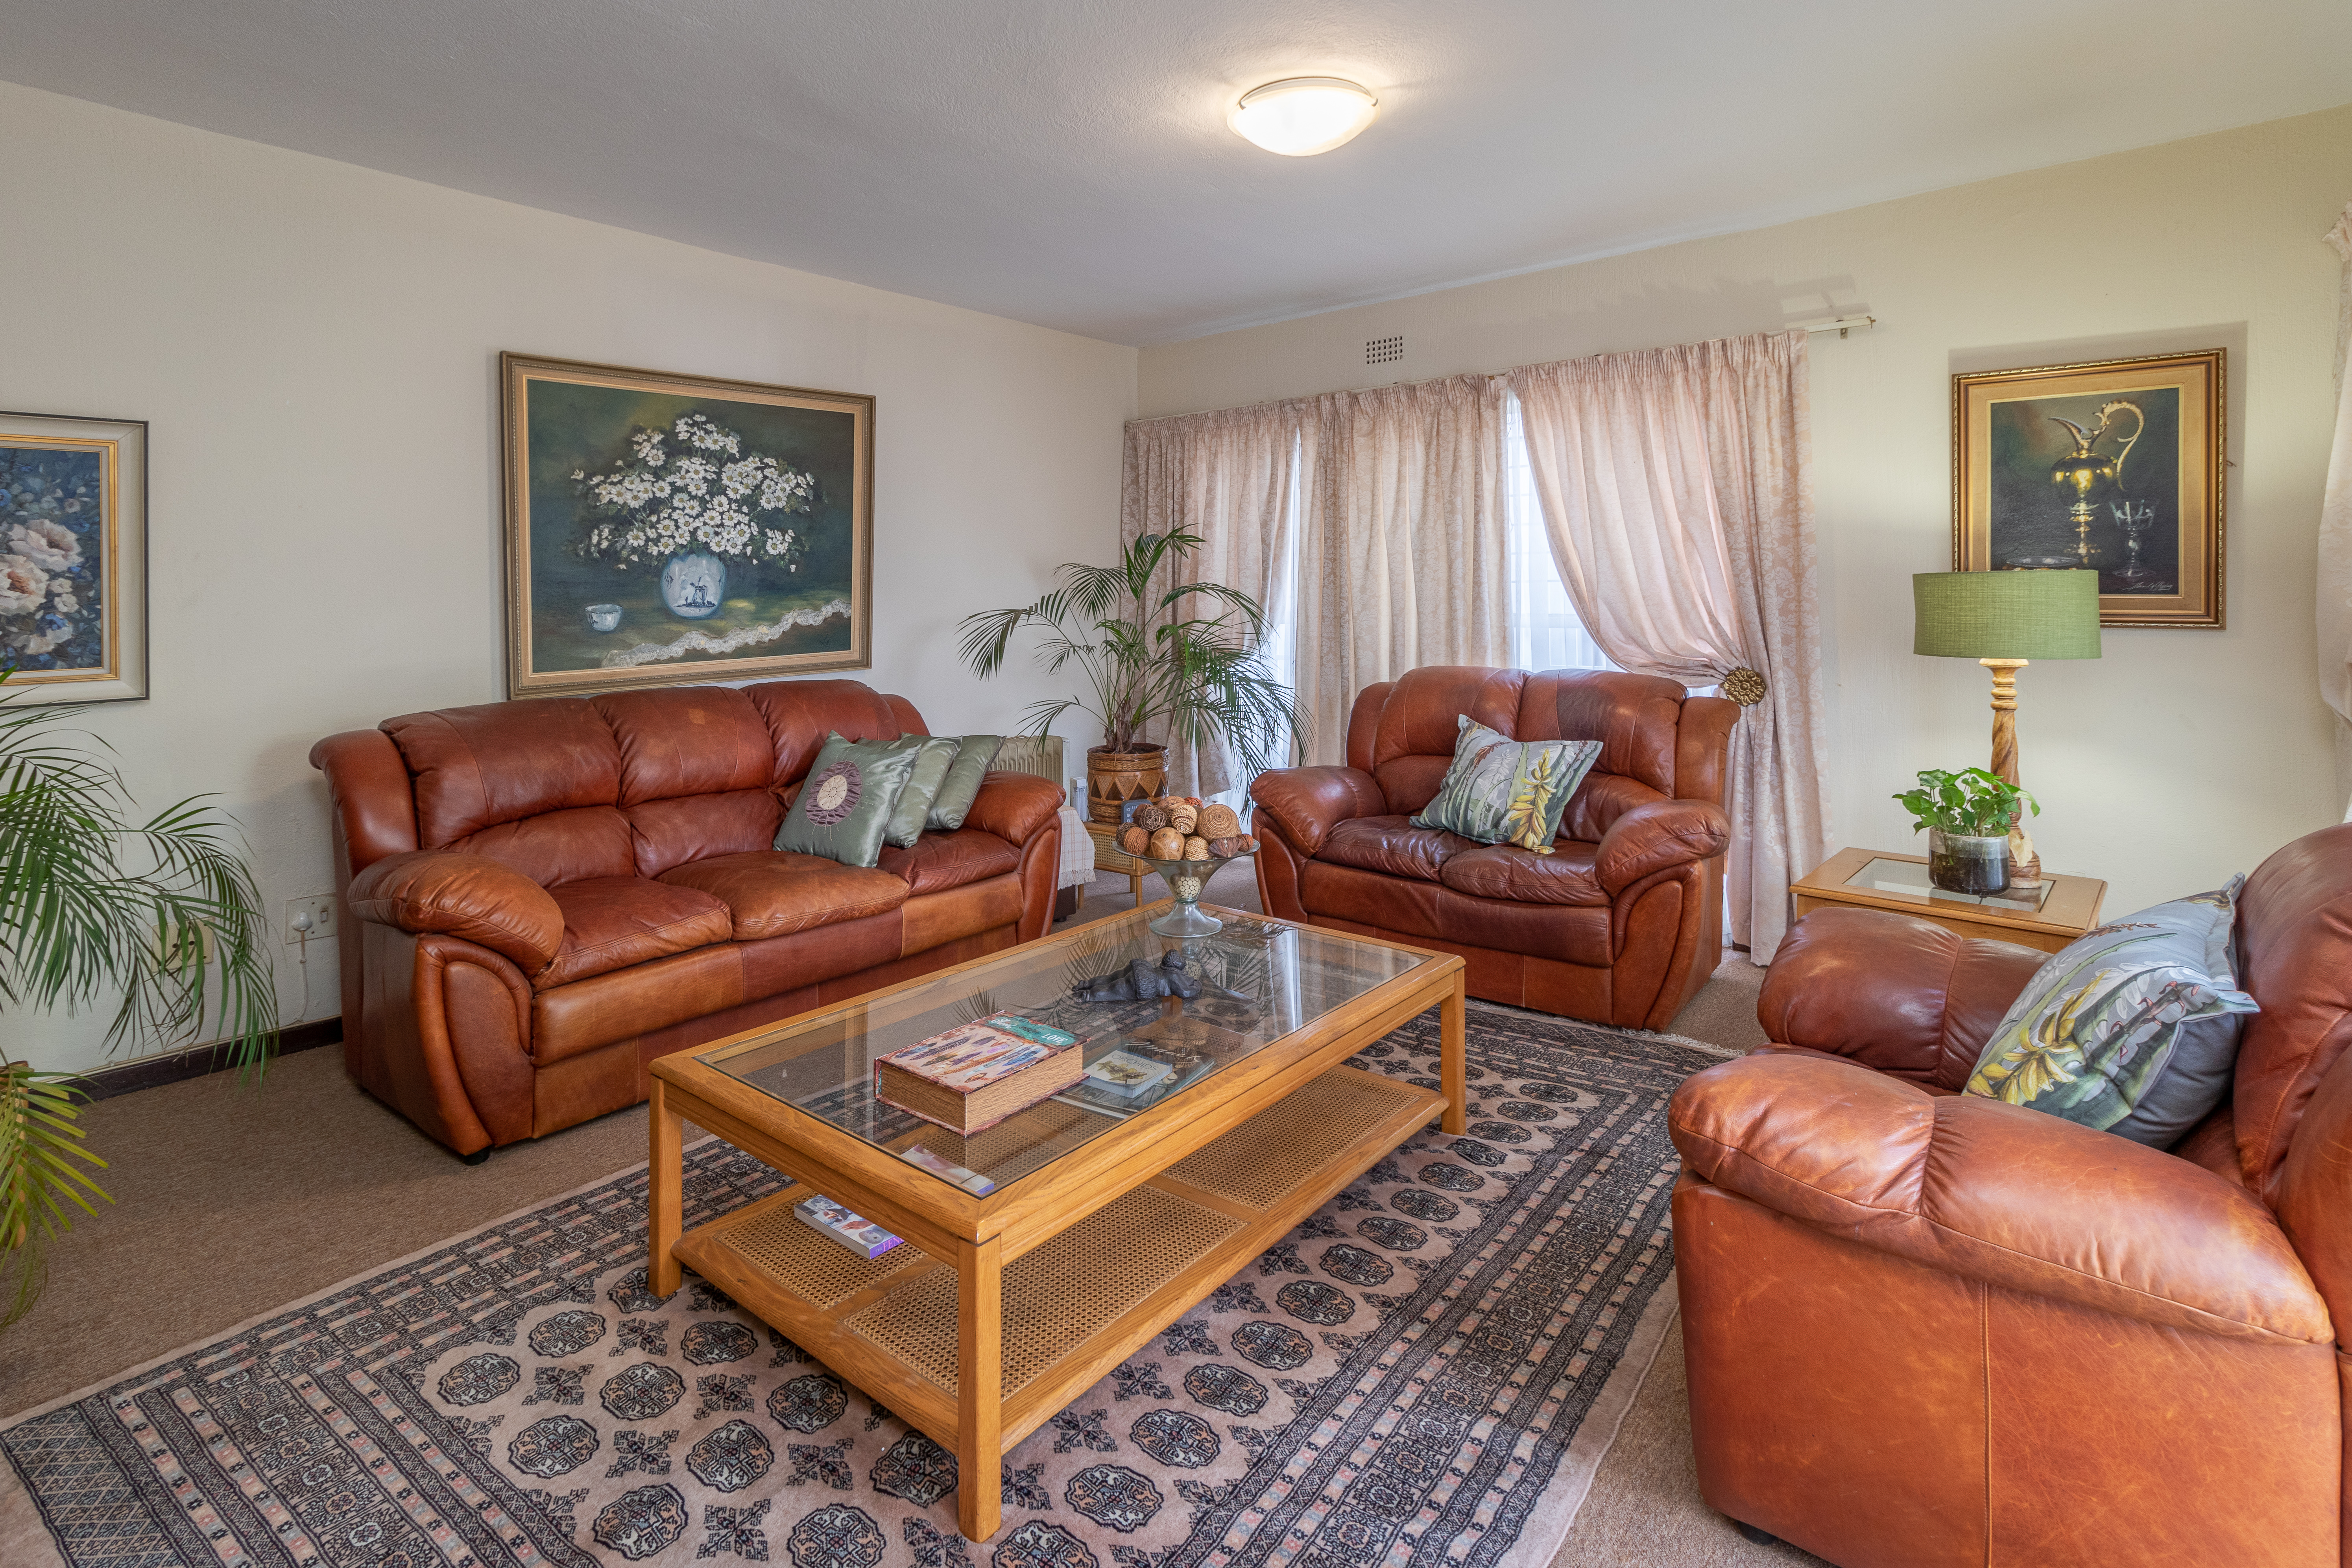
- Use an on or off camera flash pointed at the ceiling for better light.
- Use the timer option on your camera to limit “camera shake” when pushing down on the shutter button.
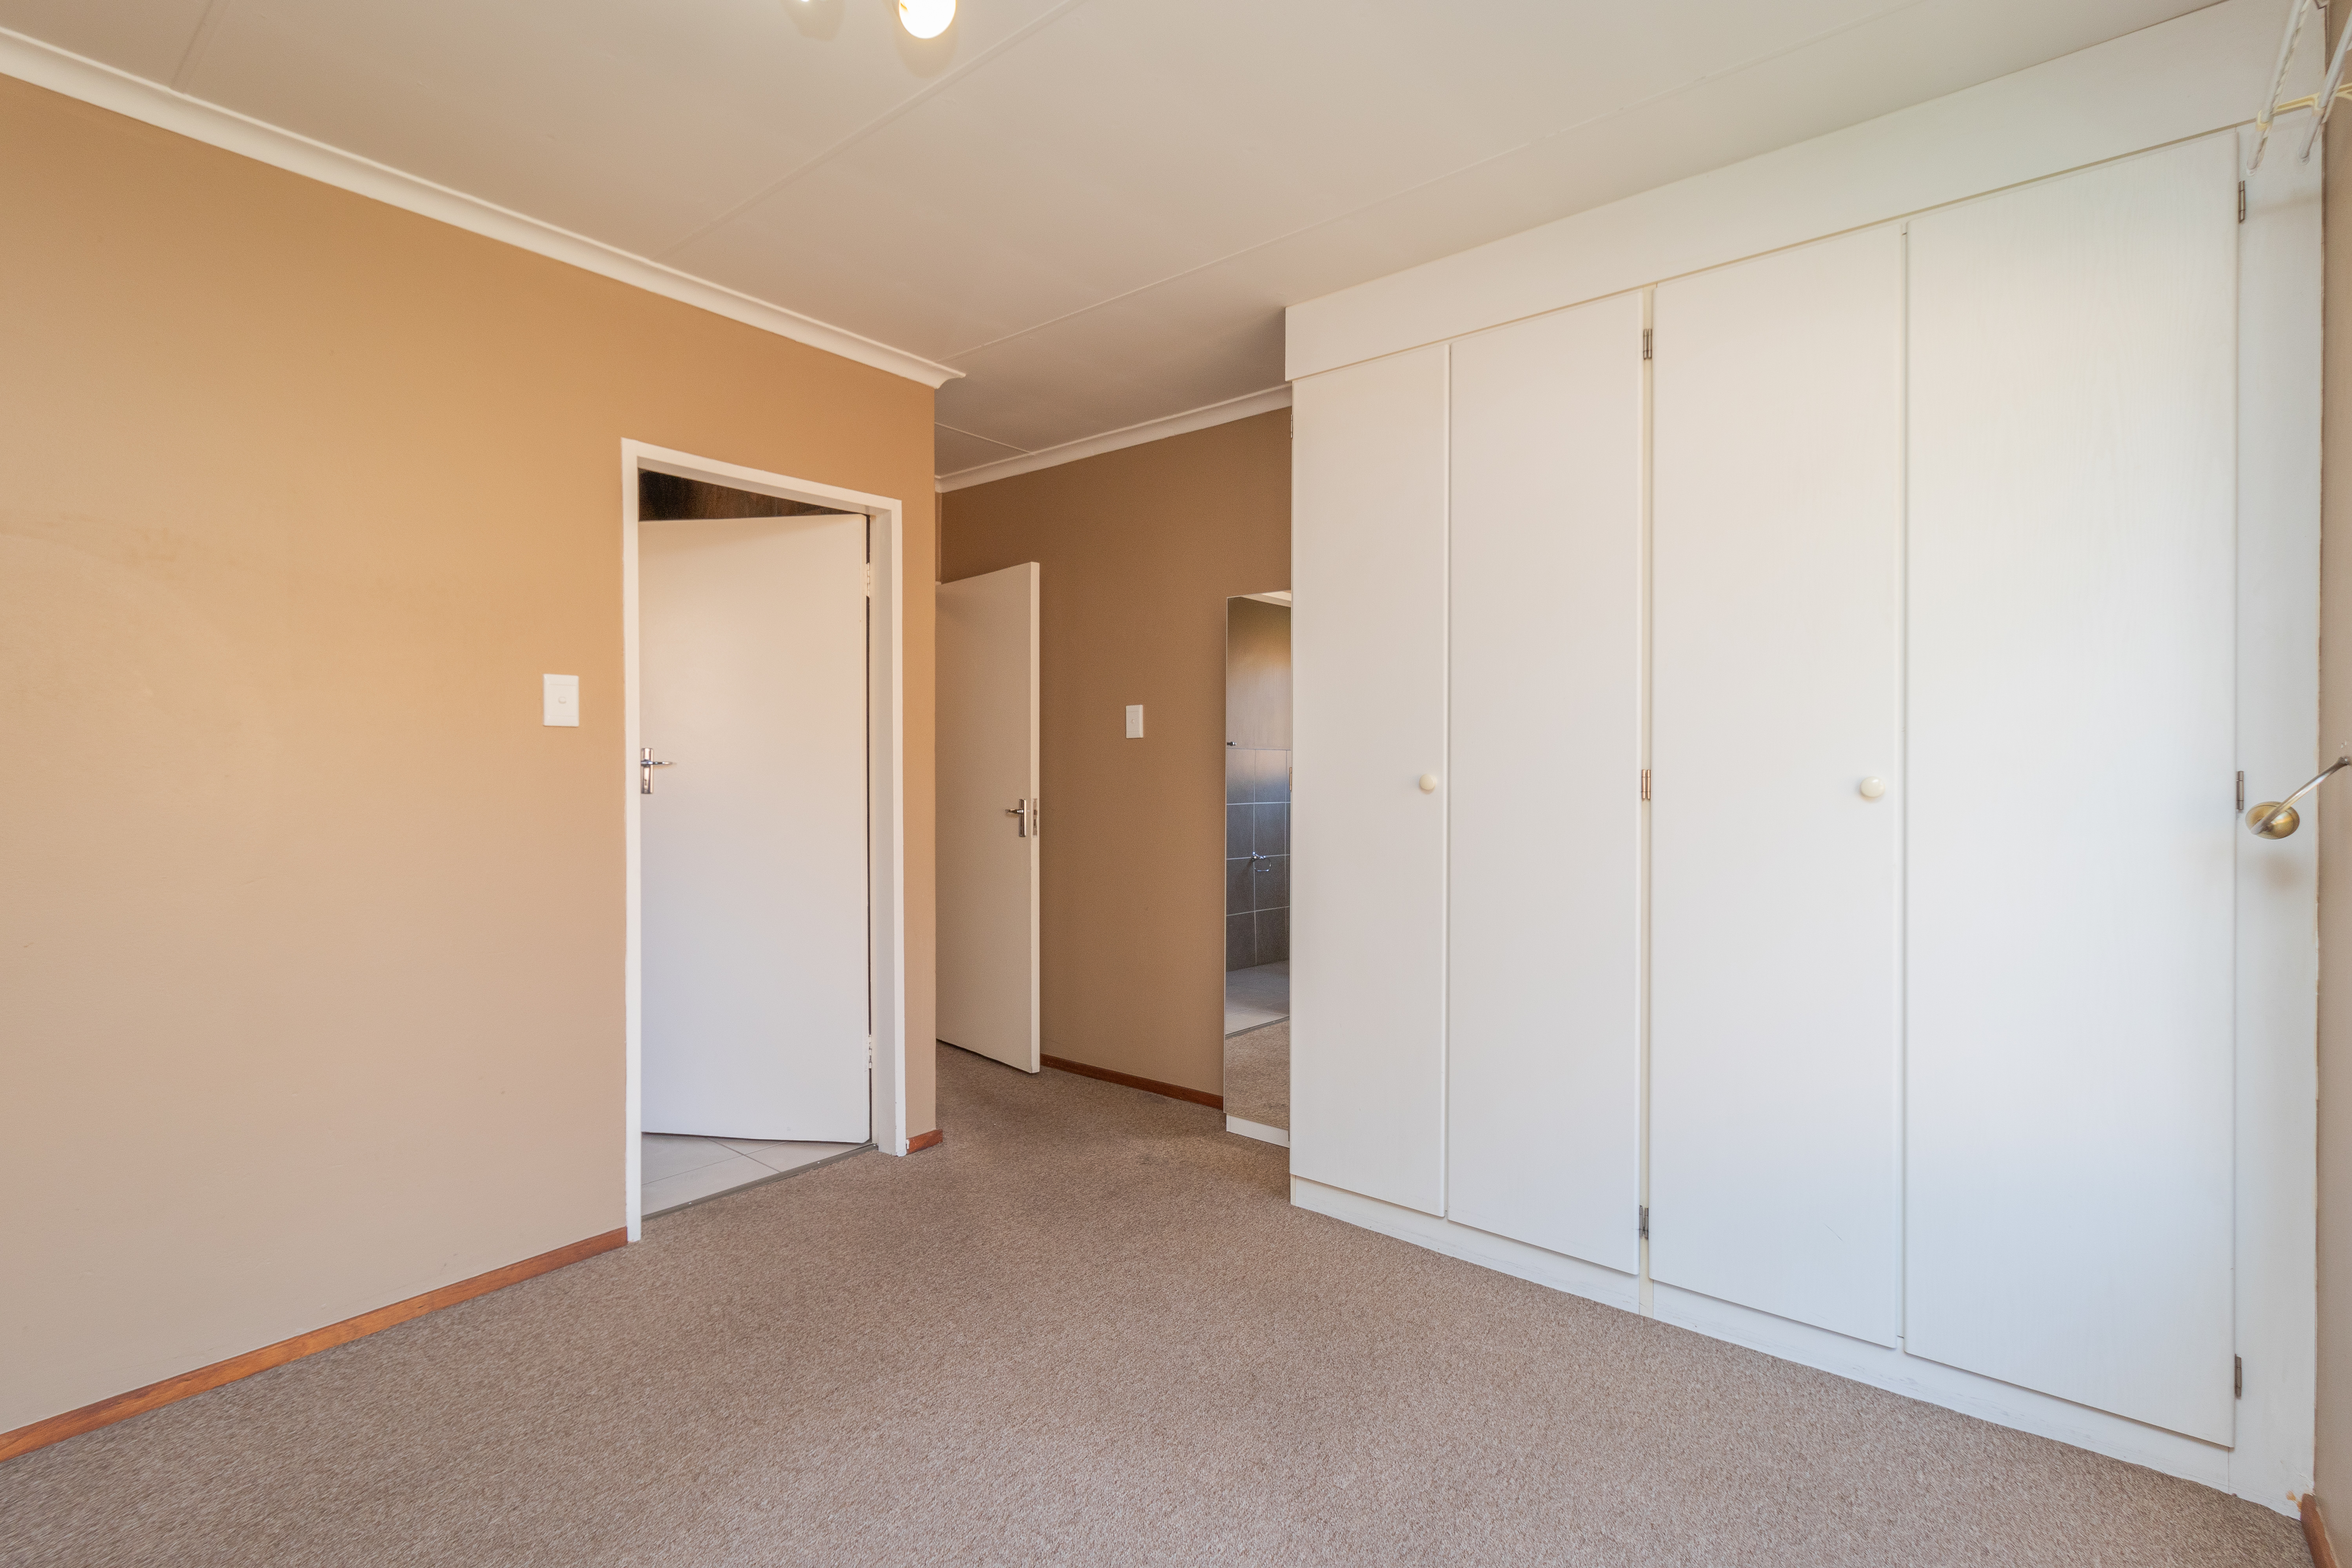
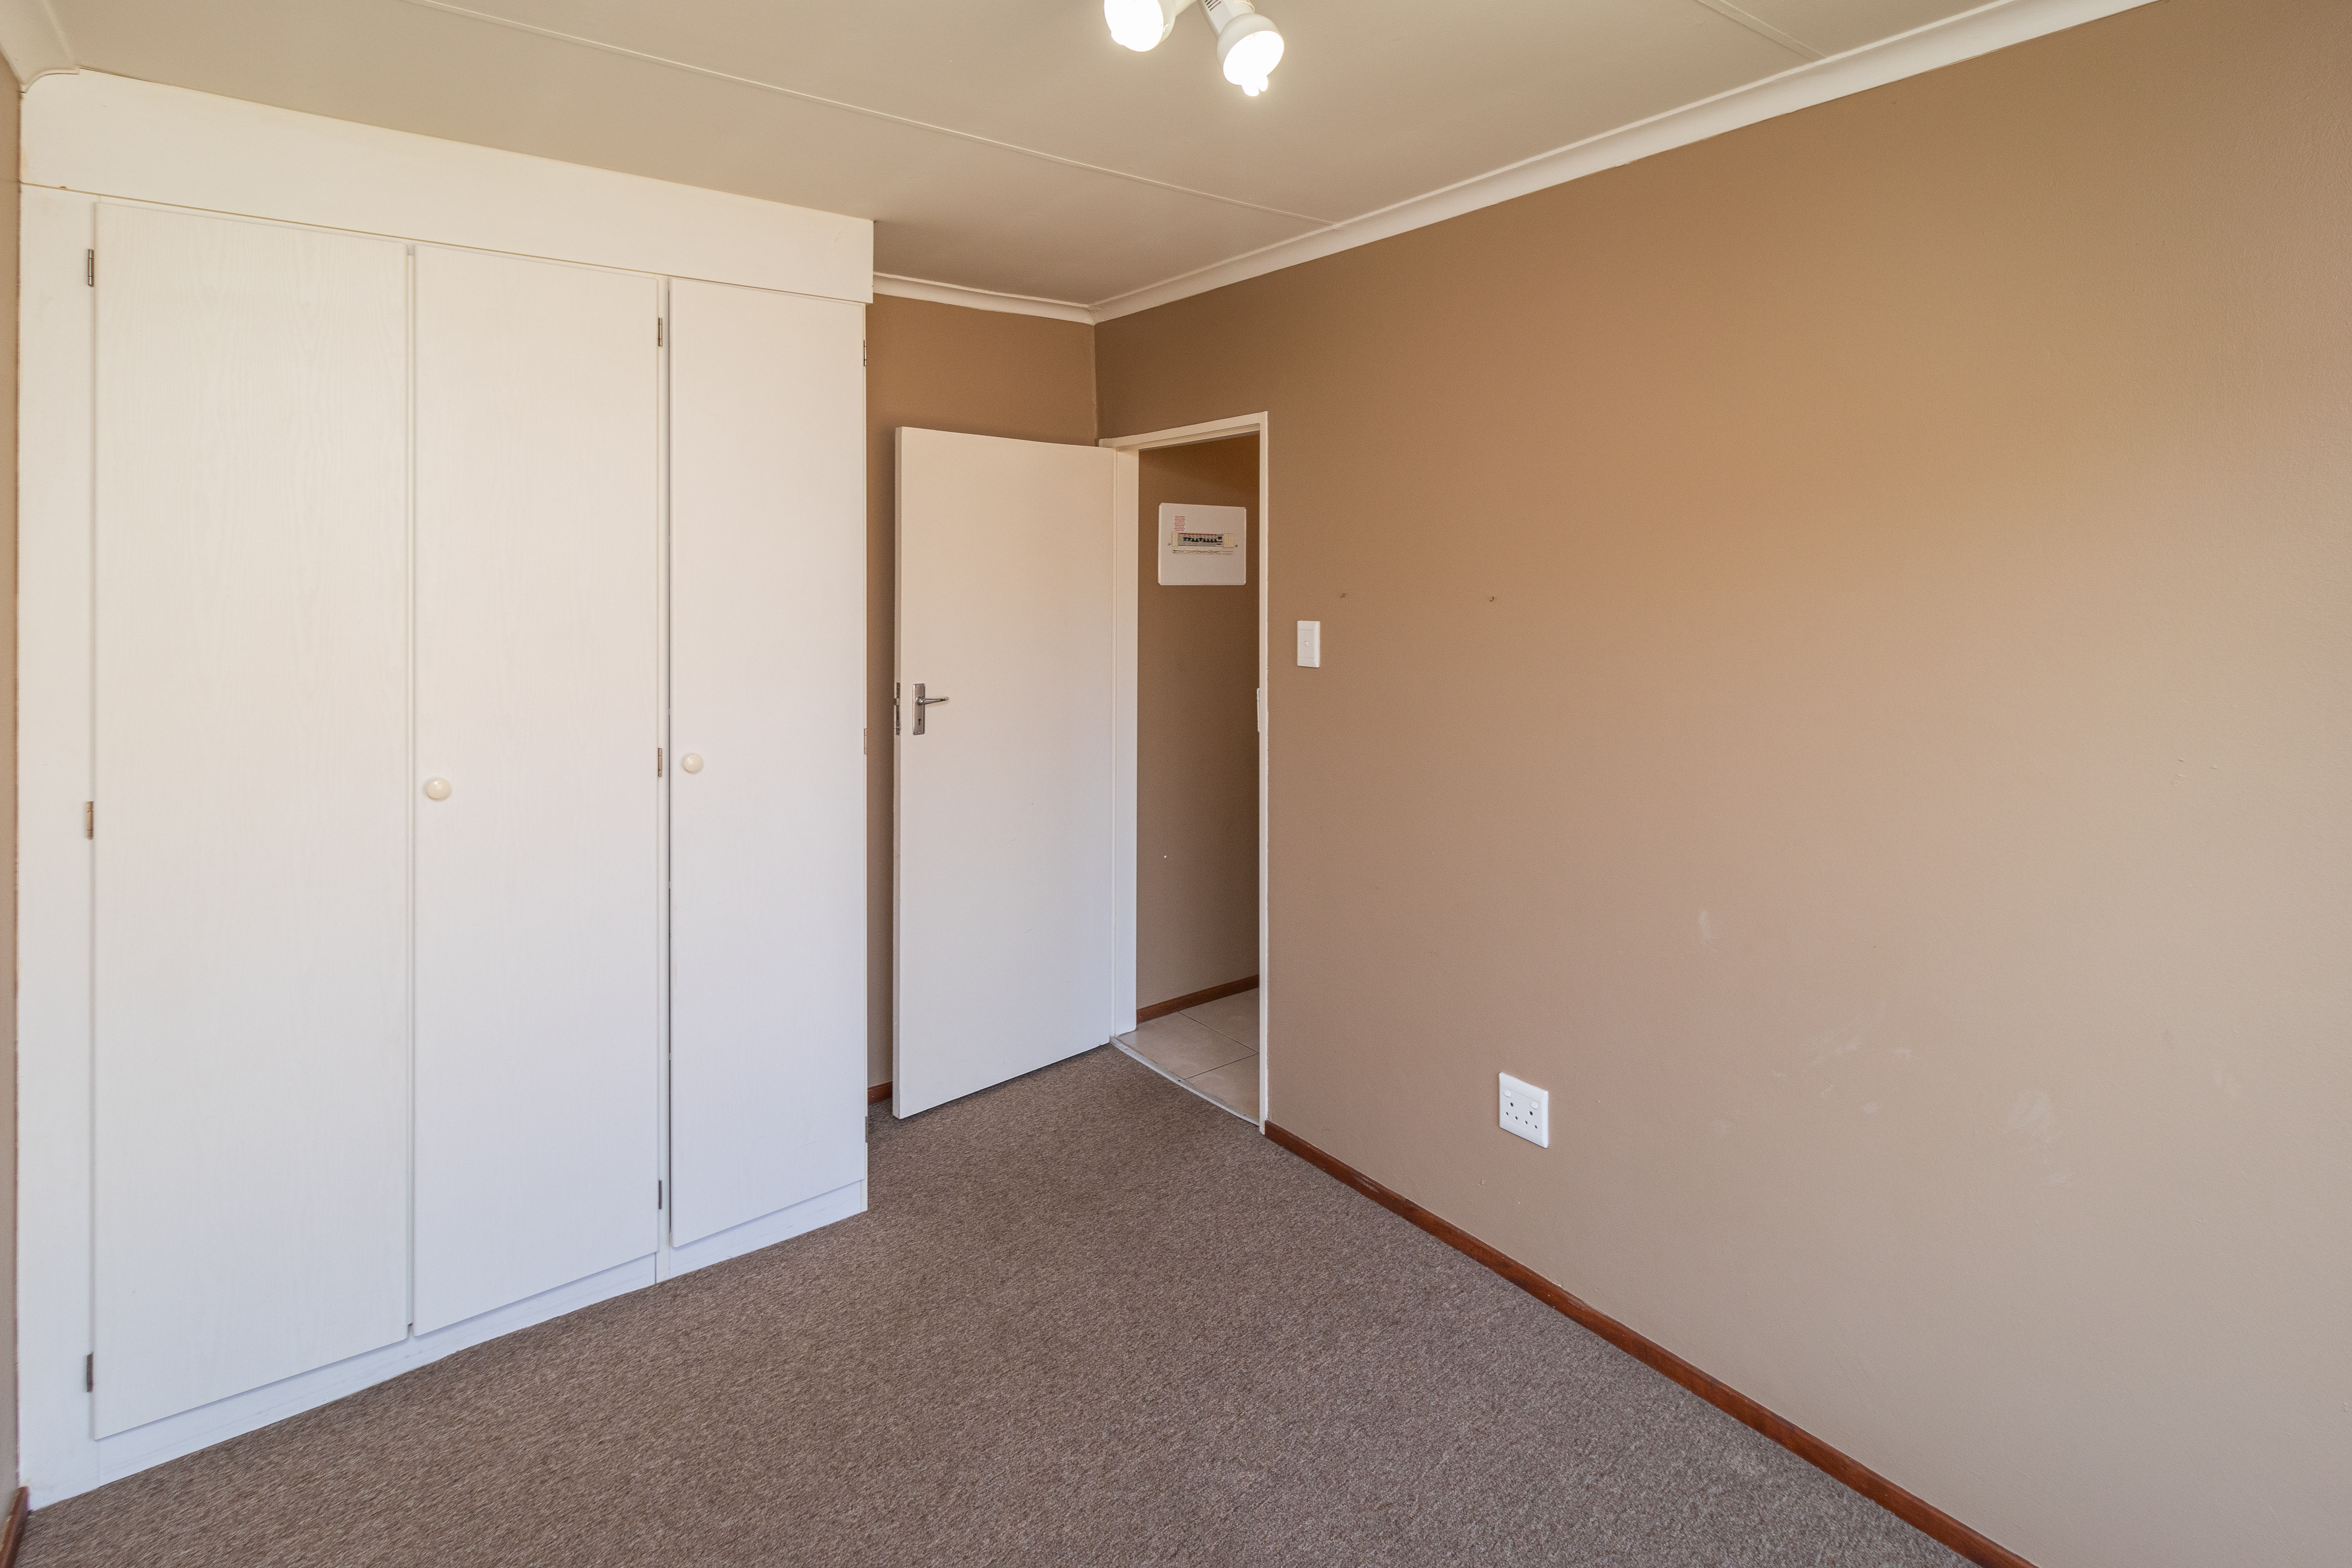
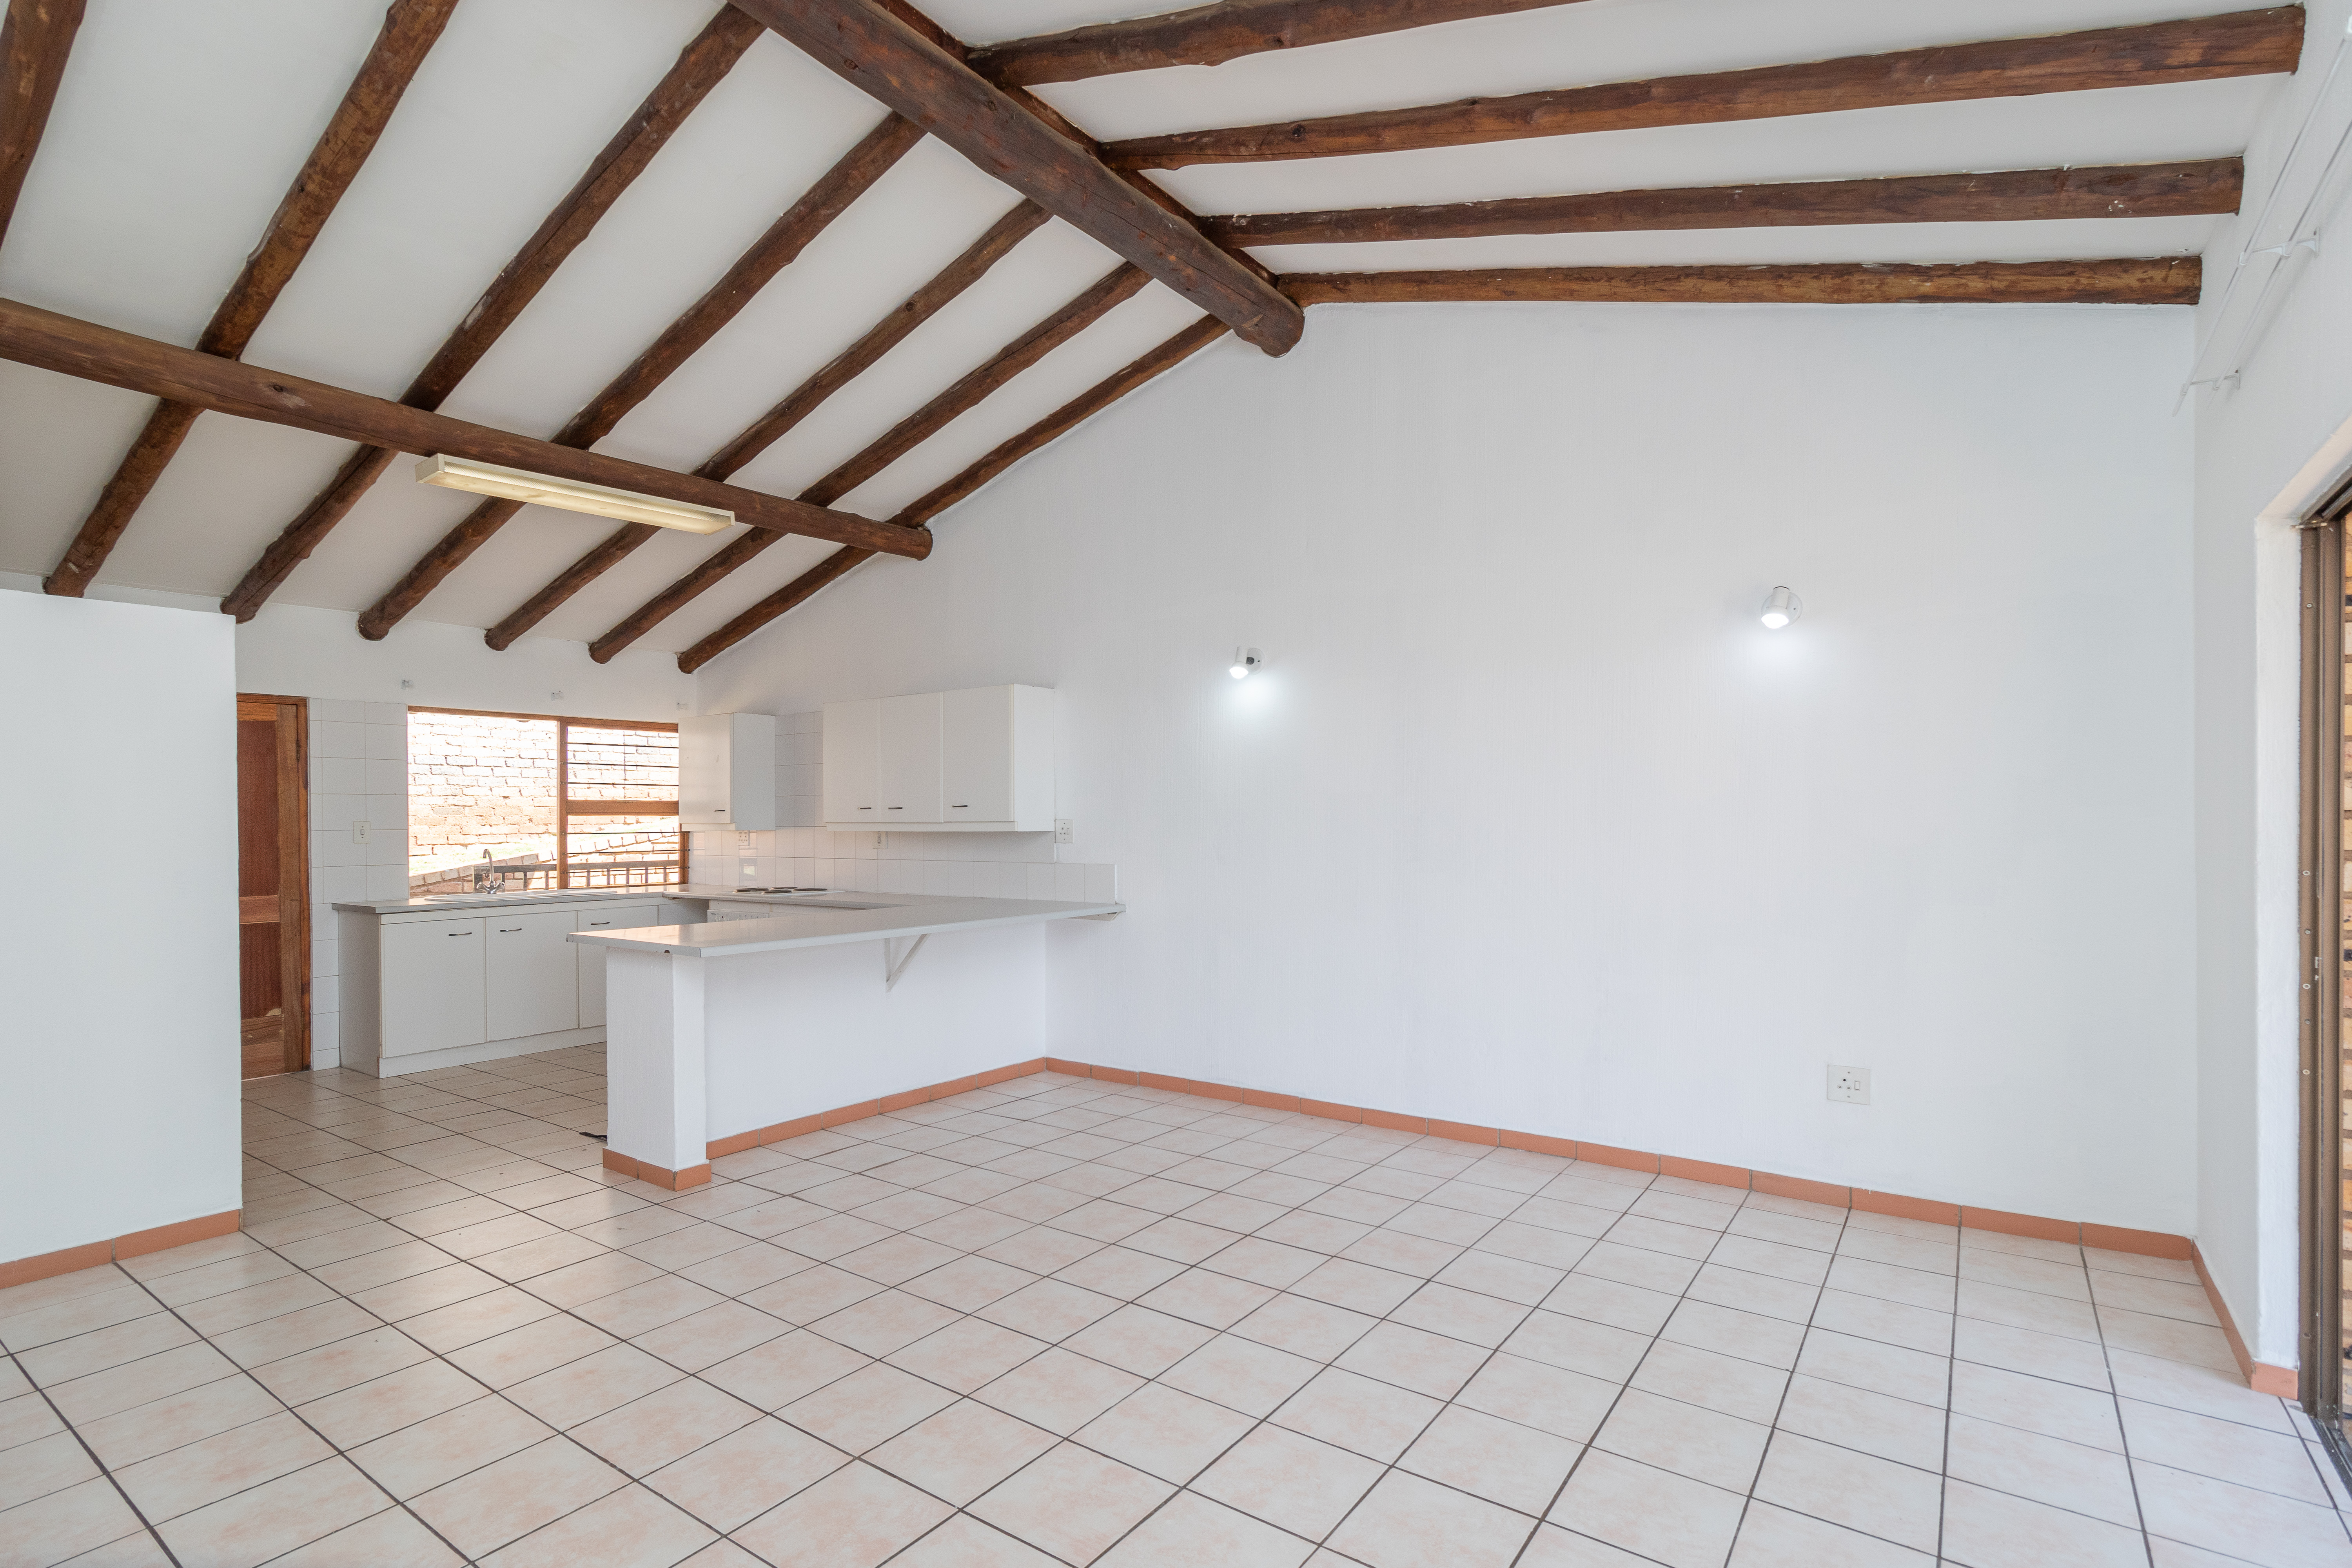
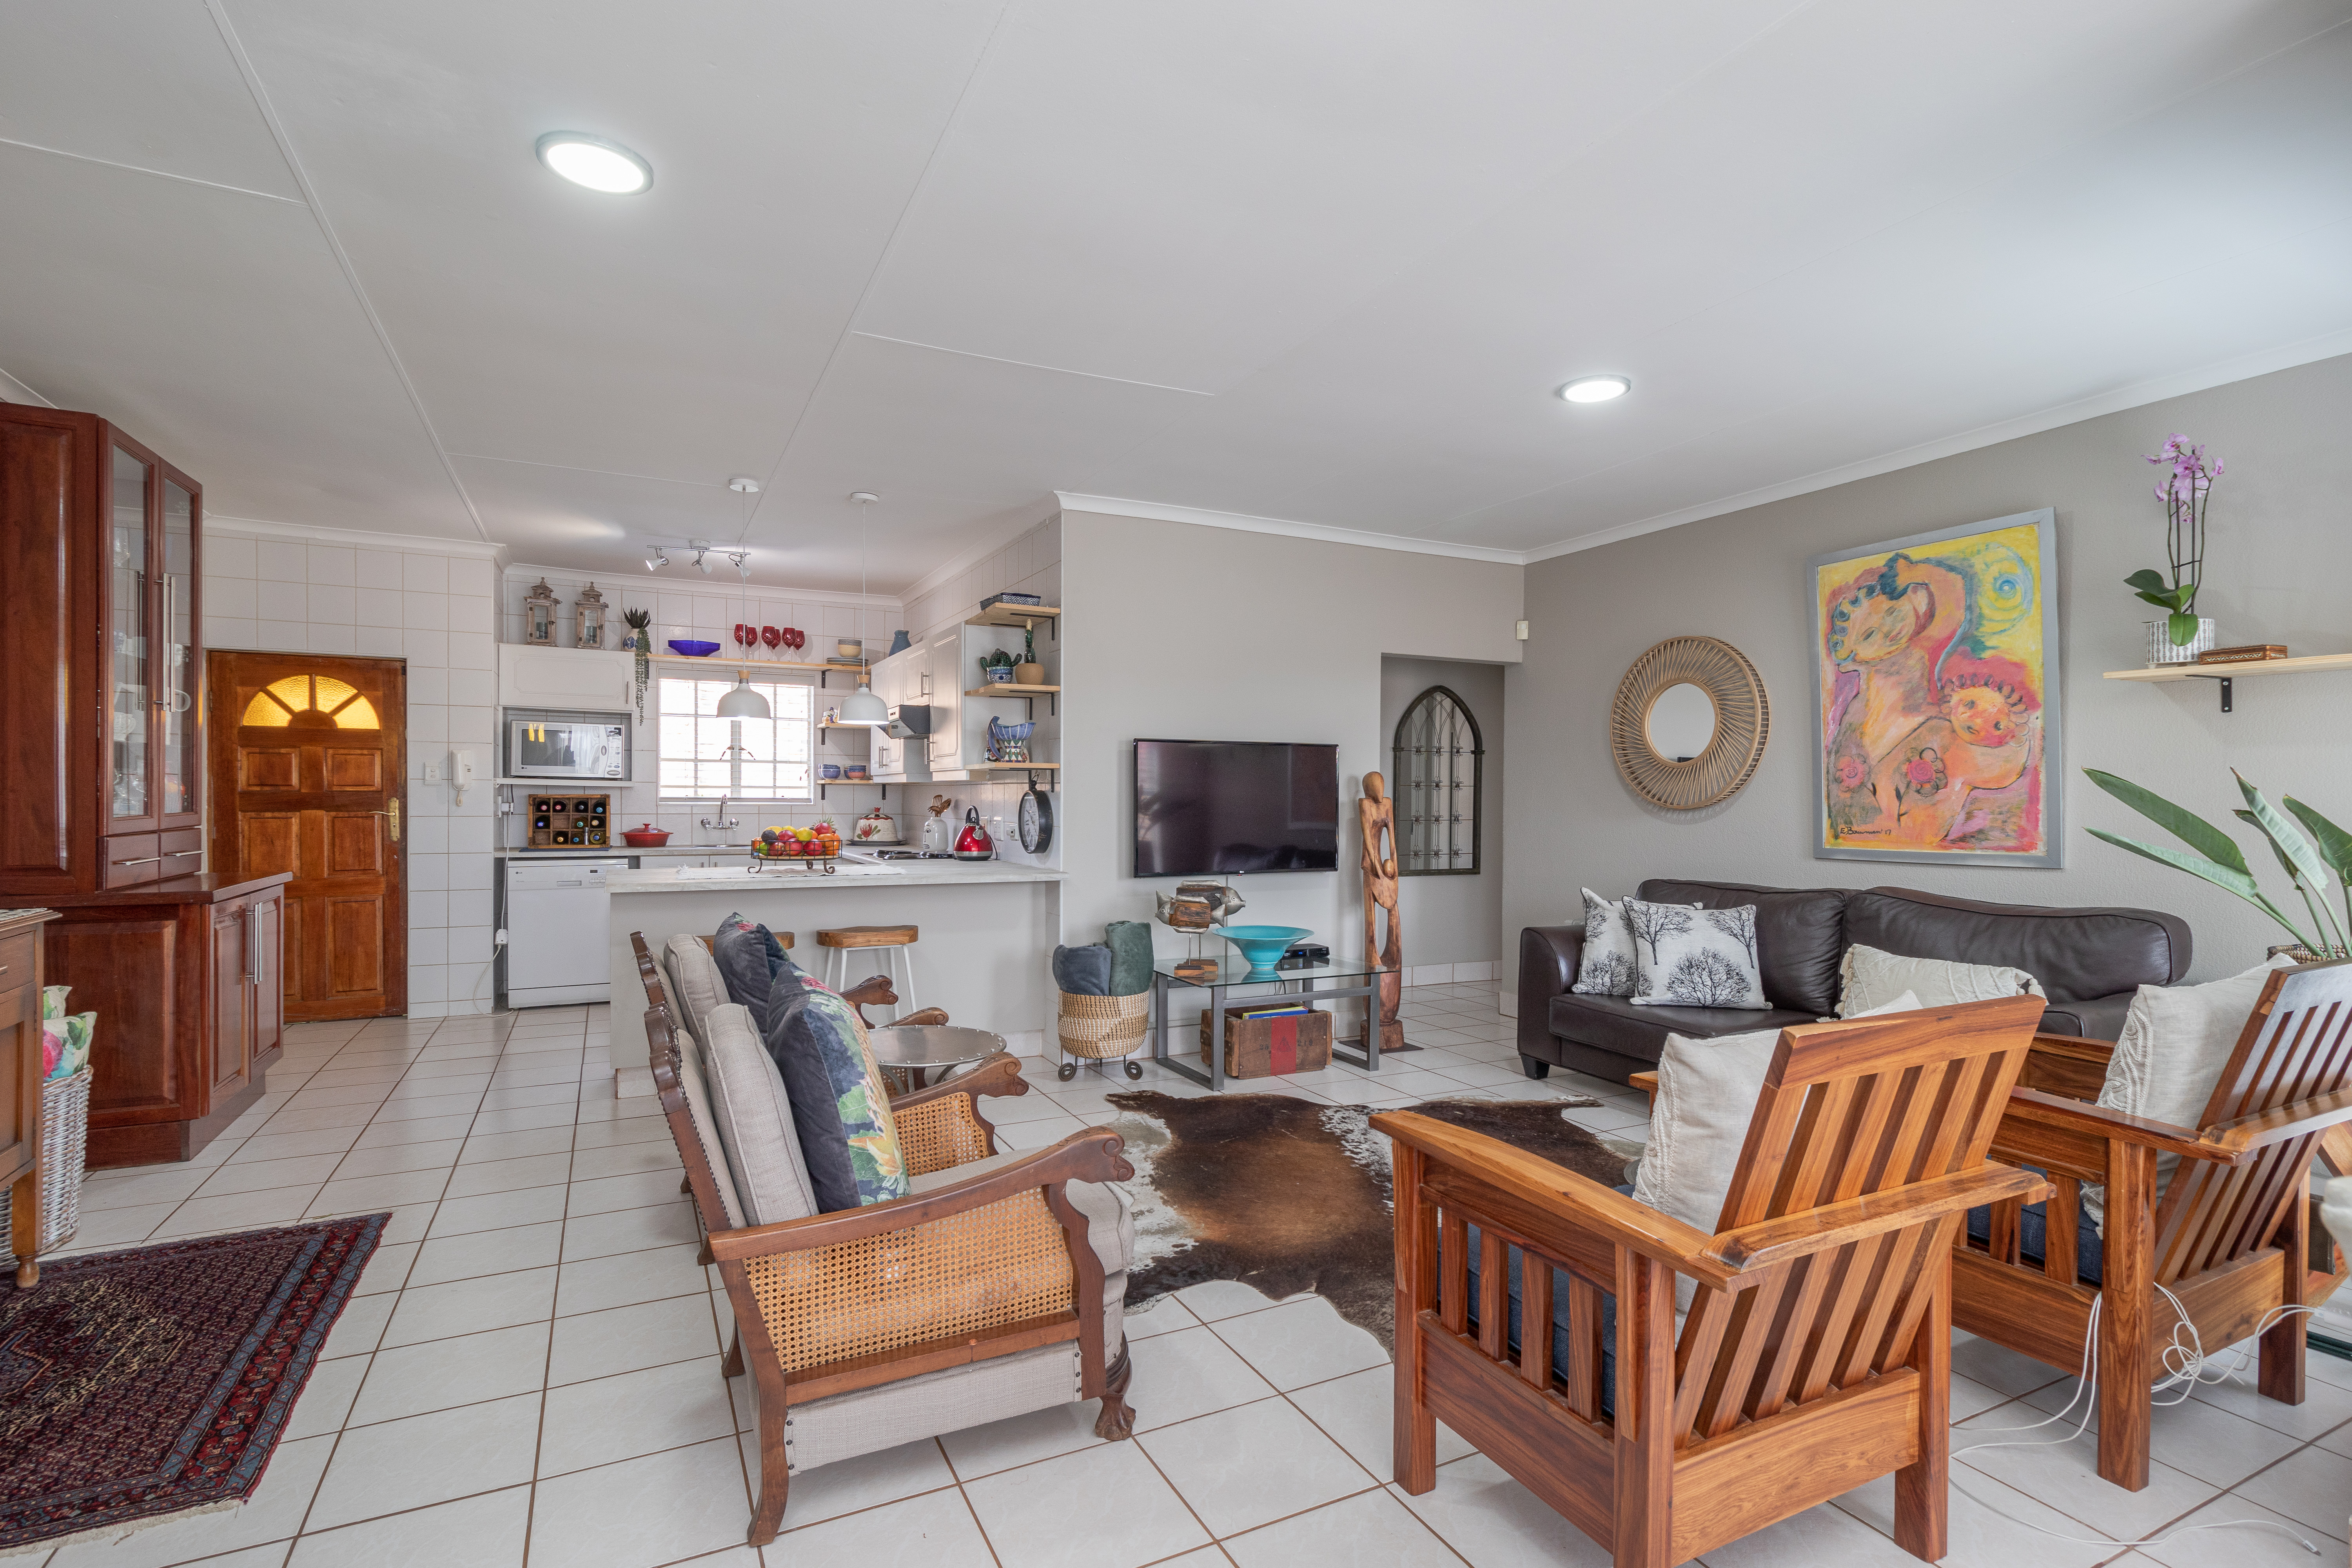
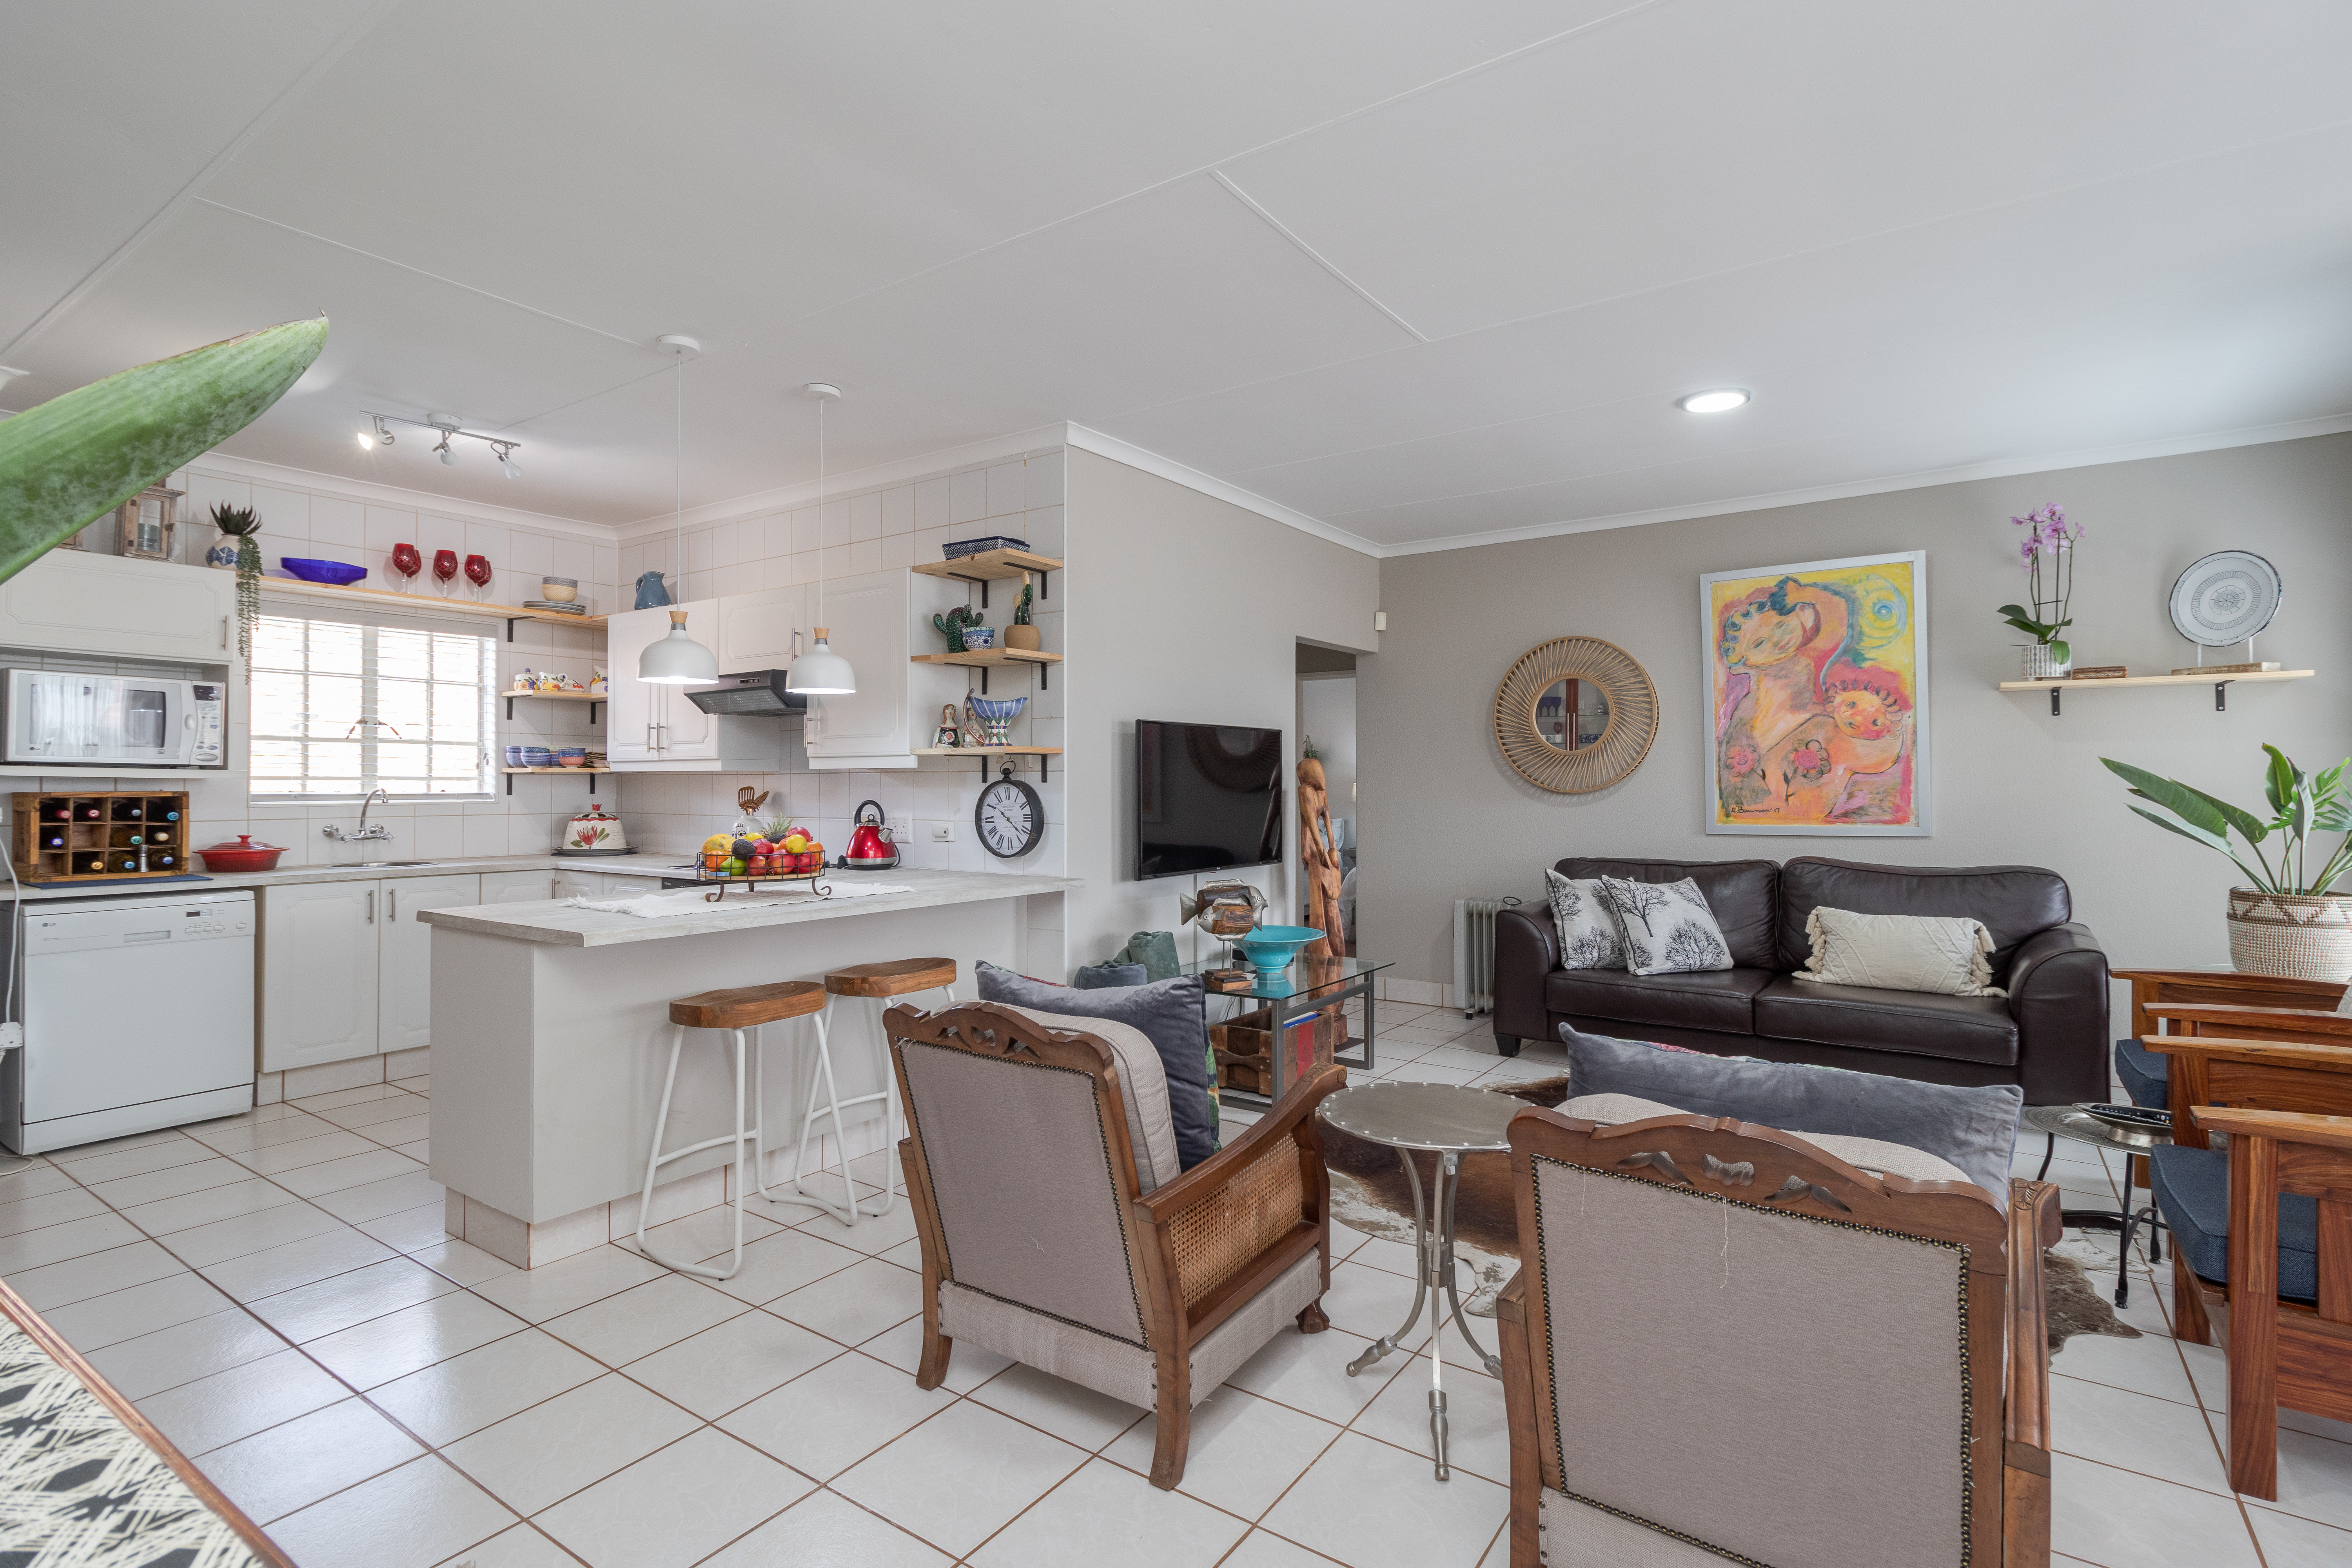
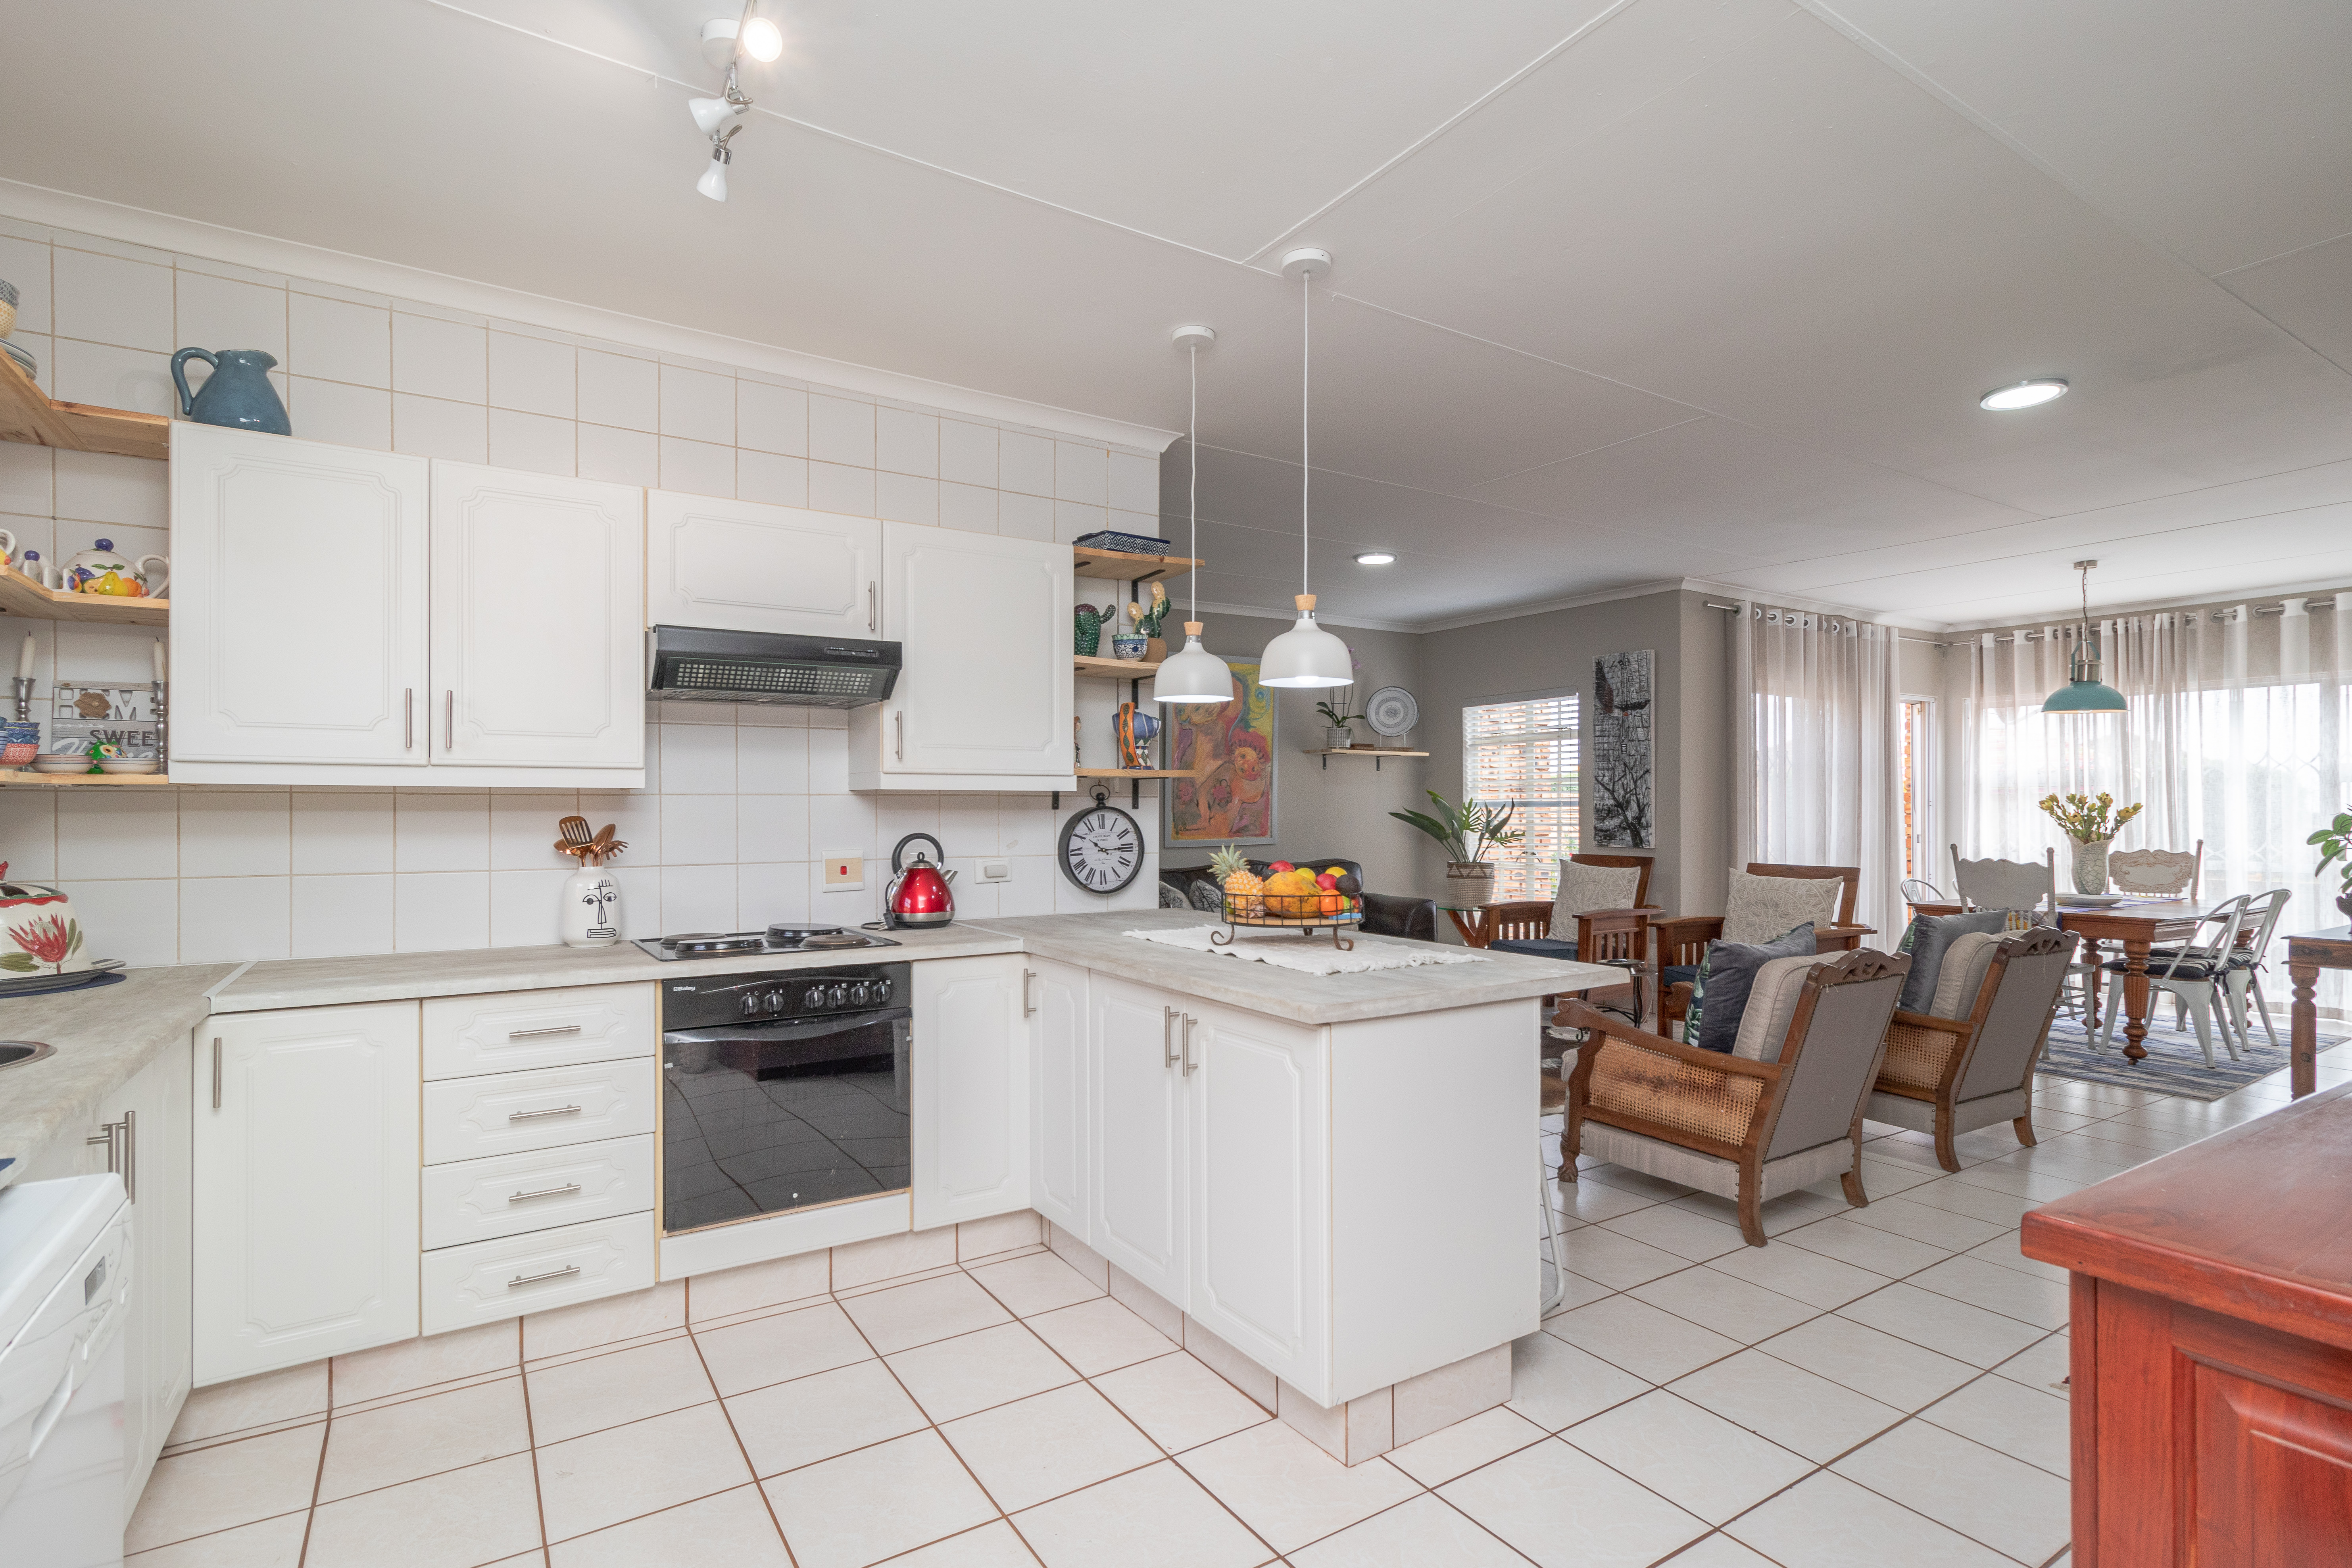
- Stand as deep into the corners of rooms as possible getting in as much of the room as possible.
- Try to keep the vertical lines straight unless shooting from a low or elevated position.
- If your camera has wireless connection to an app on your phone you can use this to place the camera and tripod right up against the wall in the corner of a room to get that awesome wide shot.
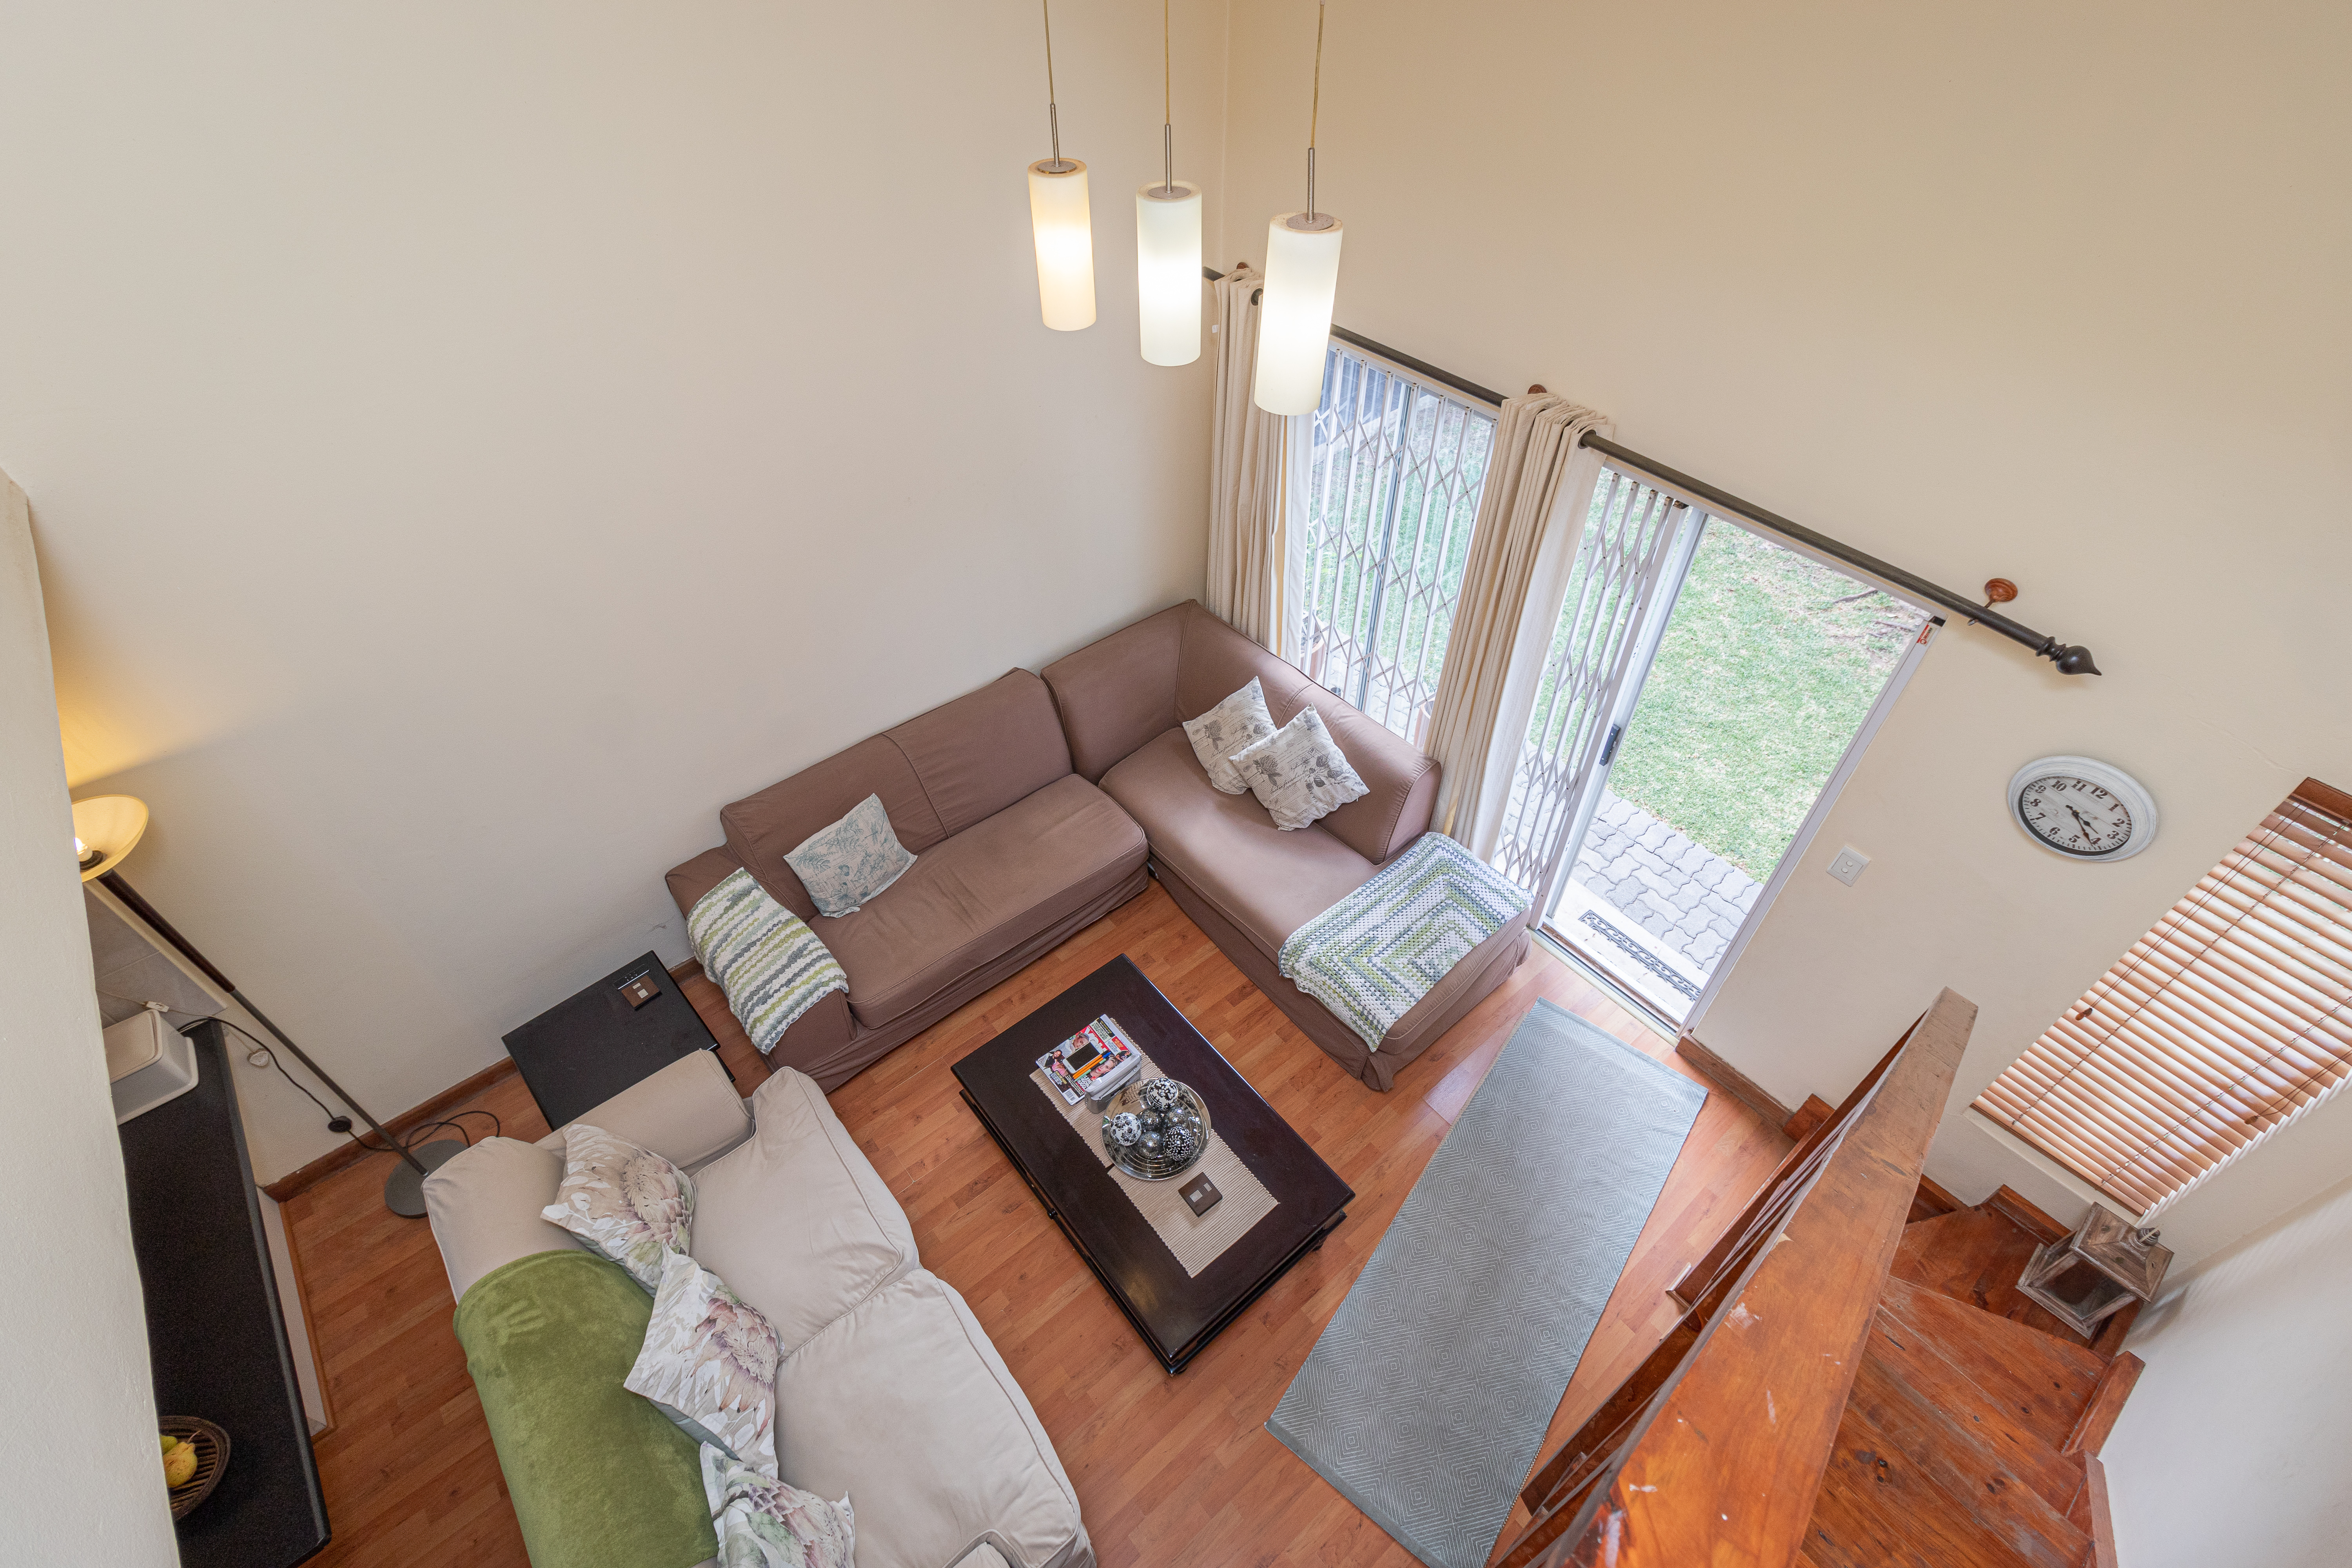
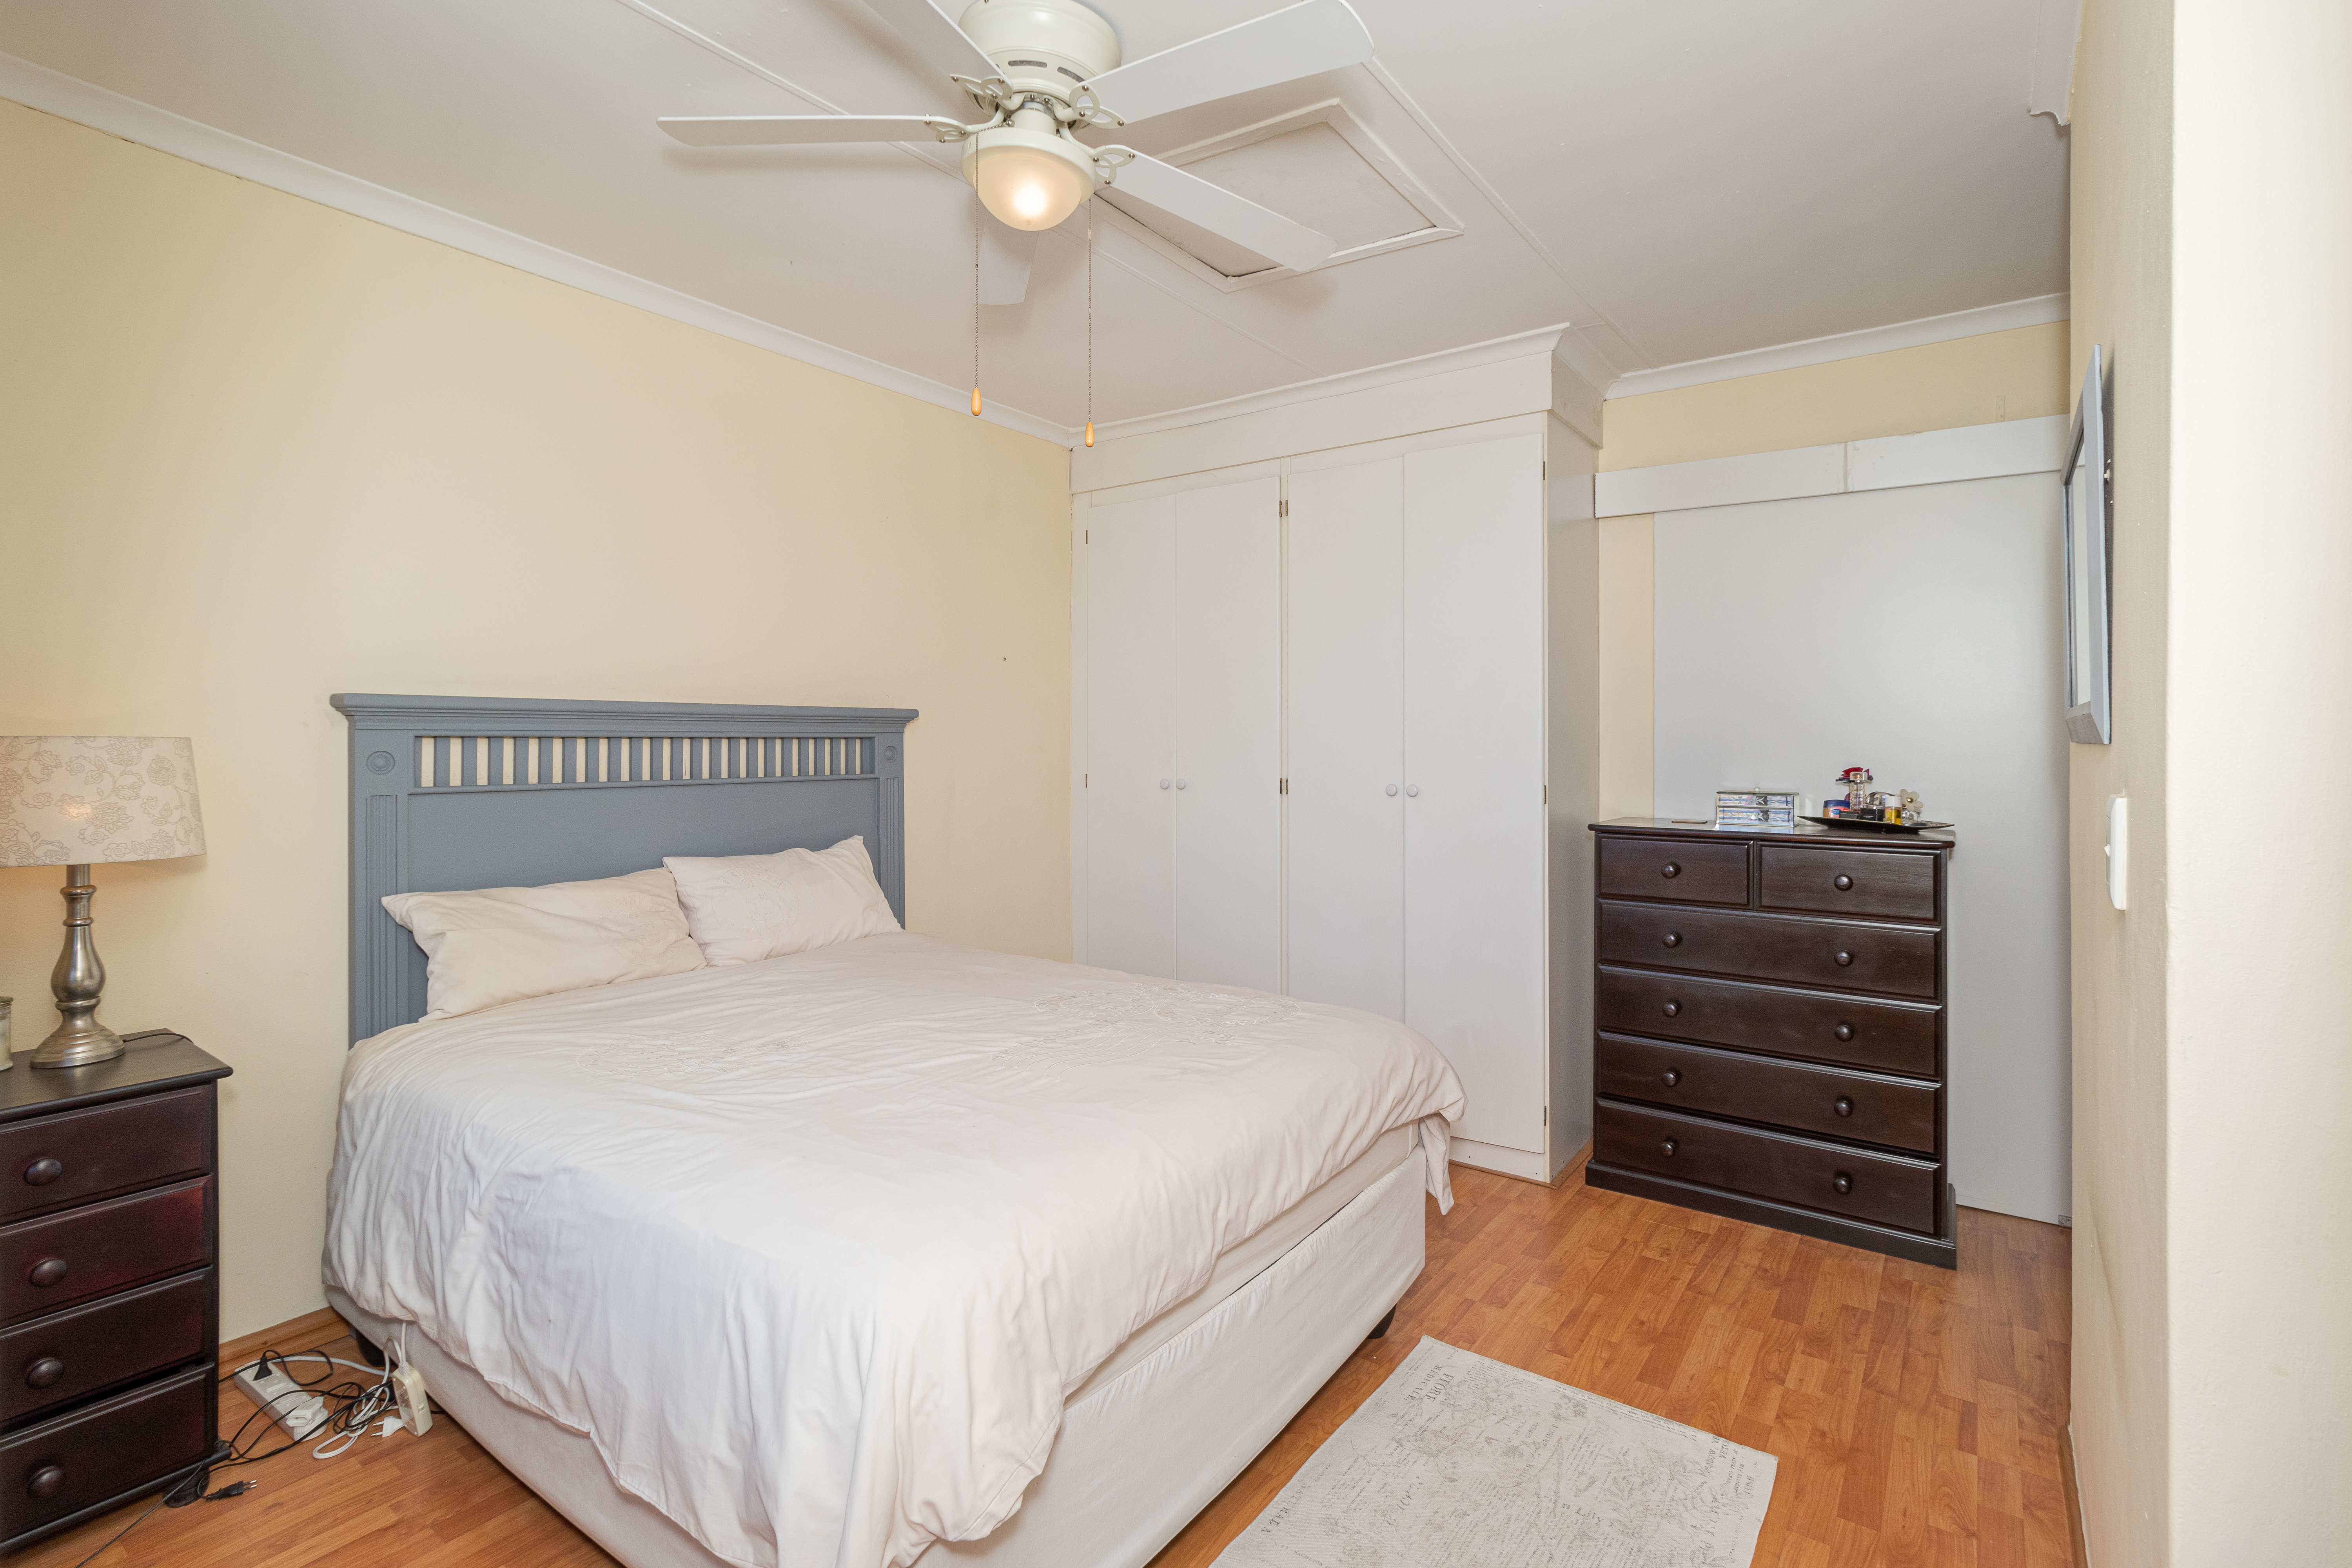
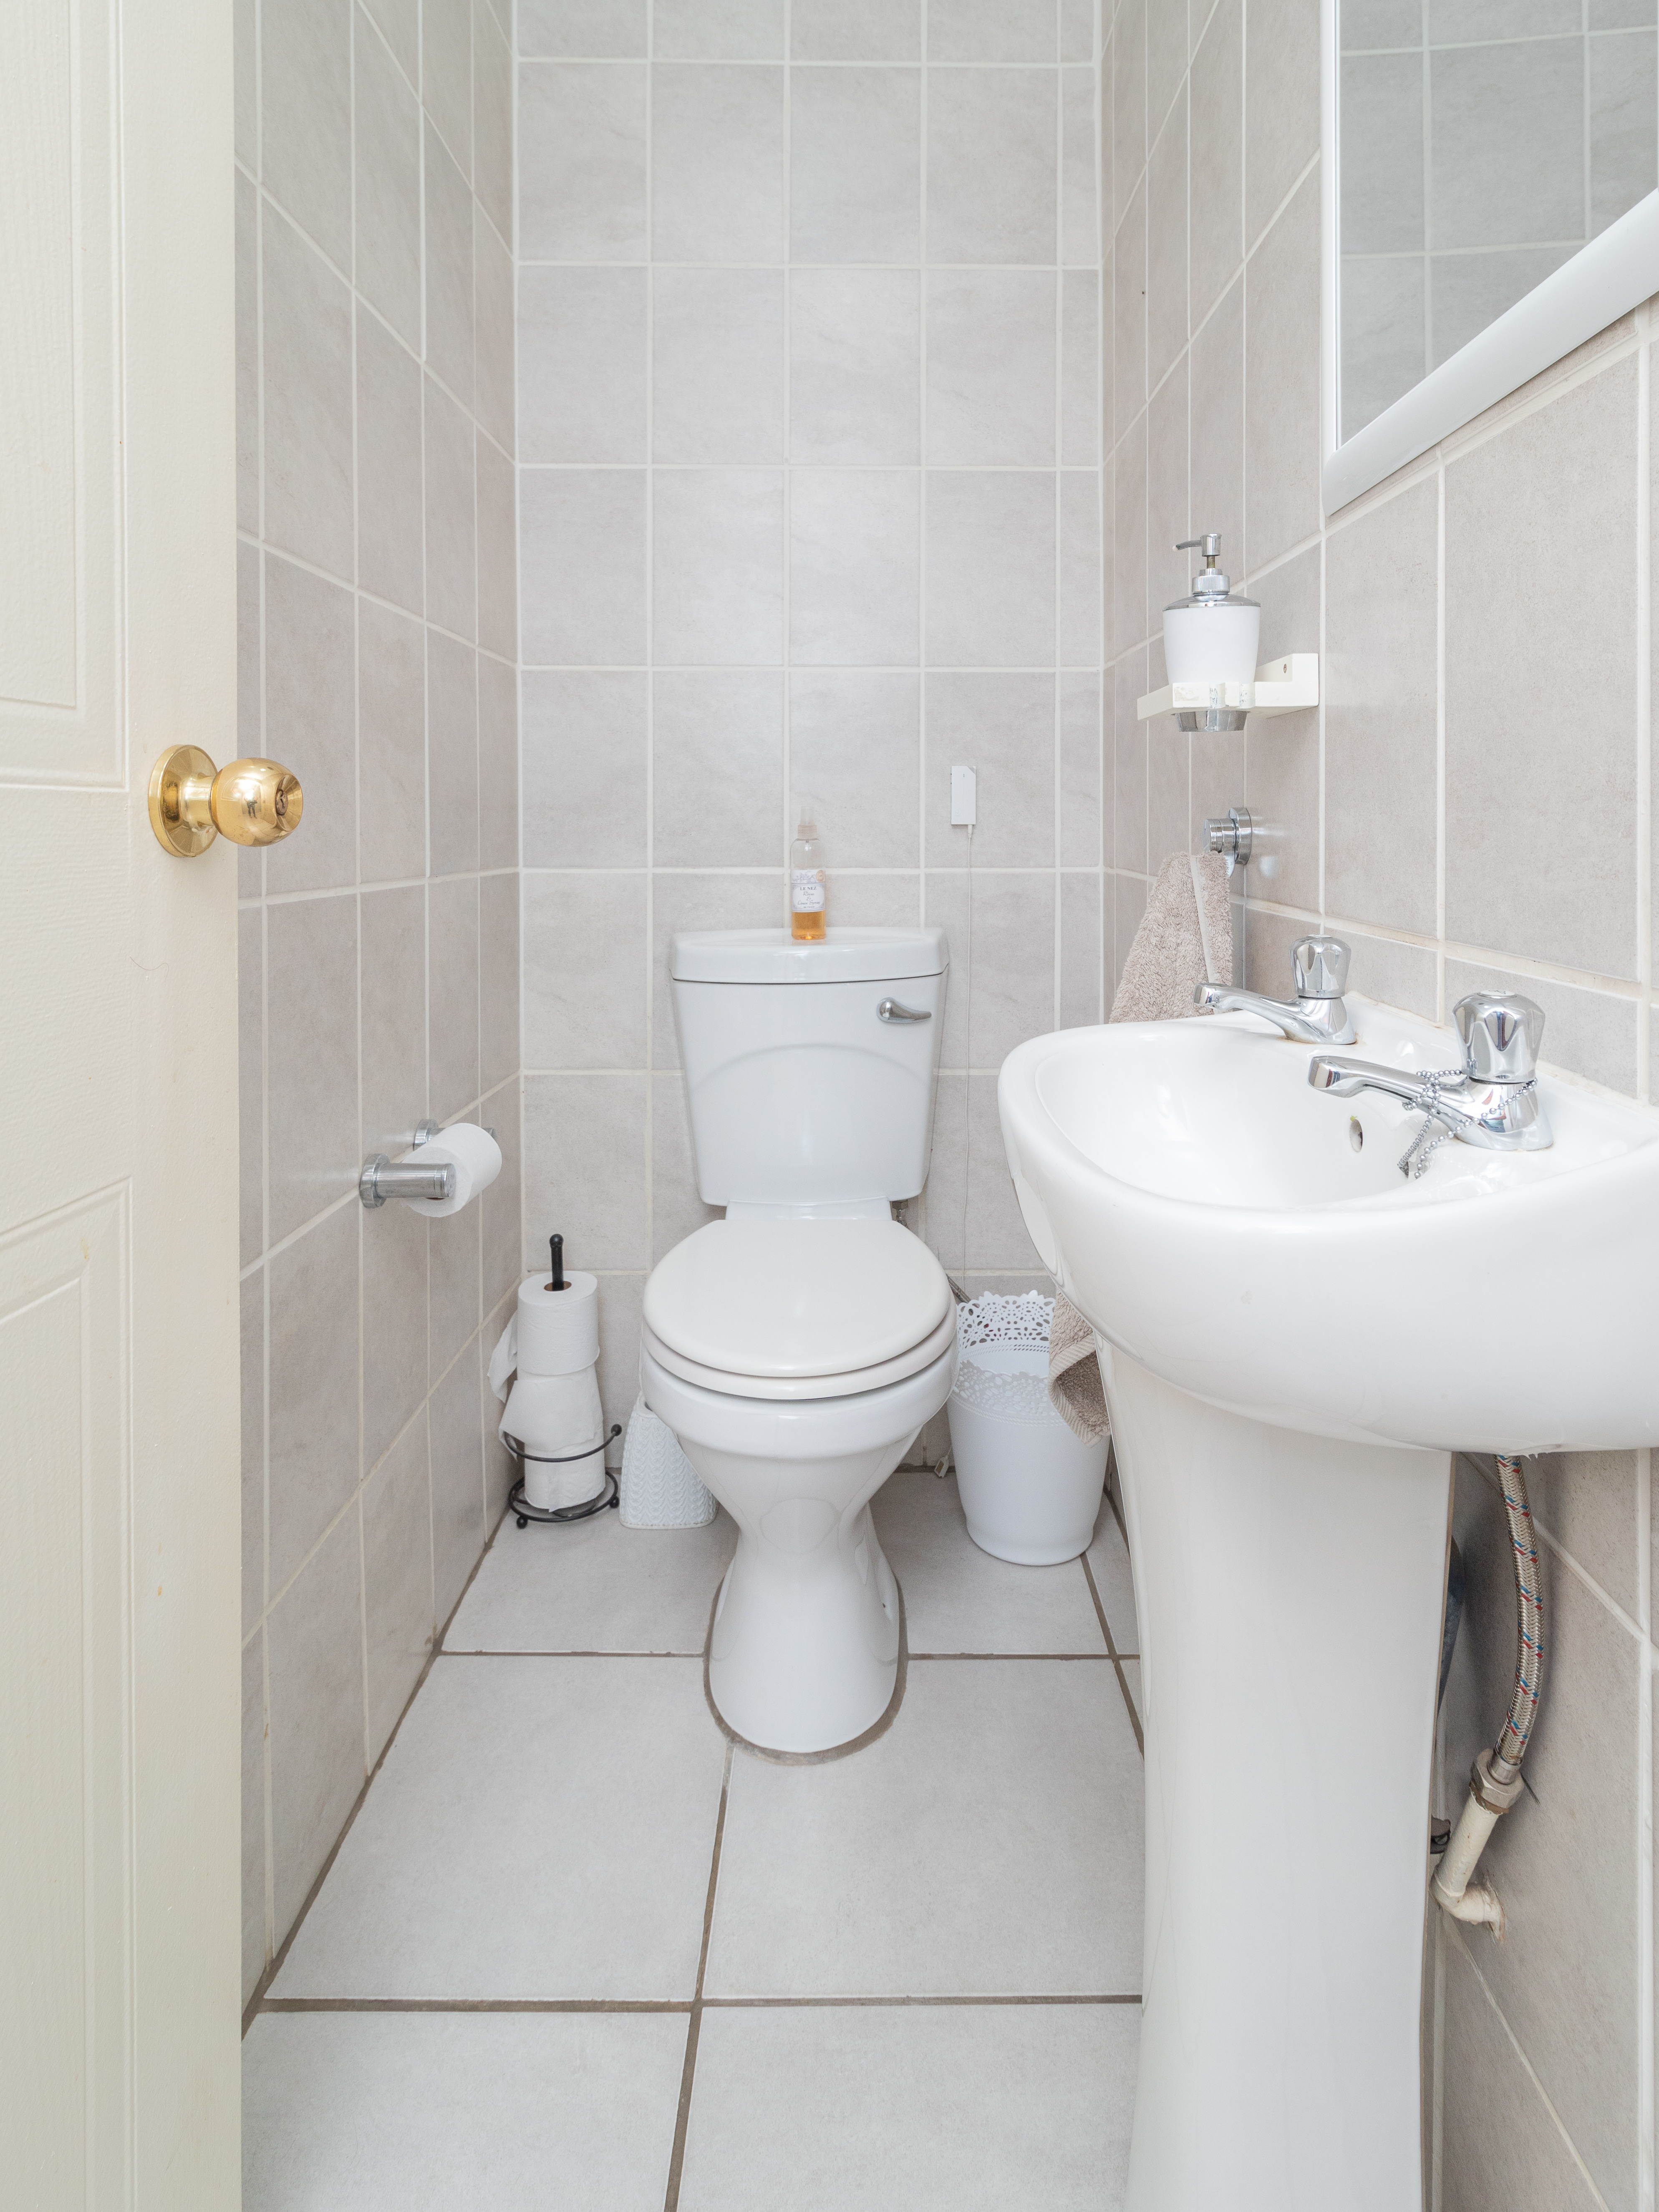
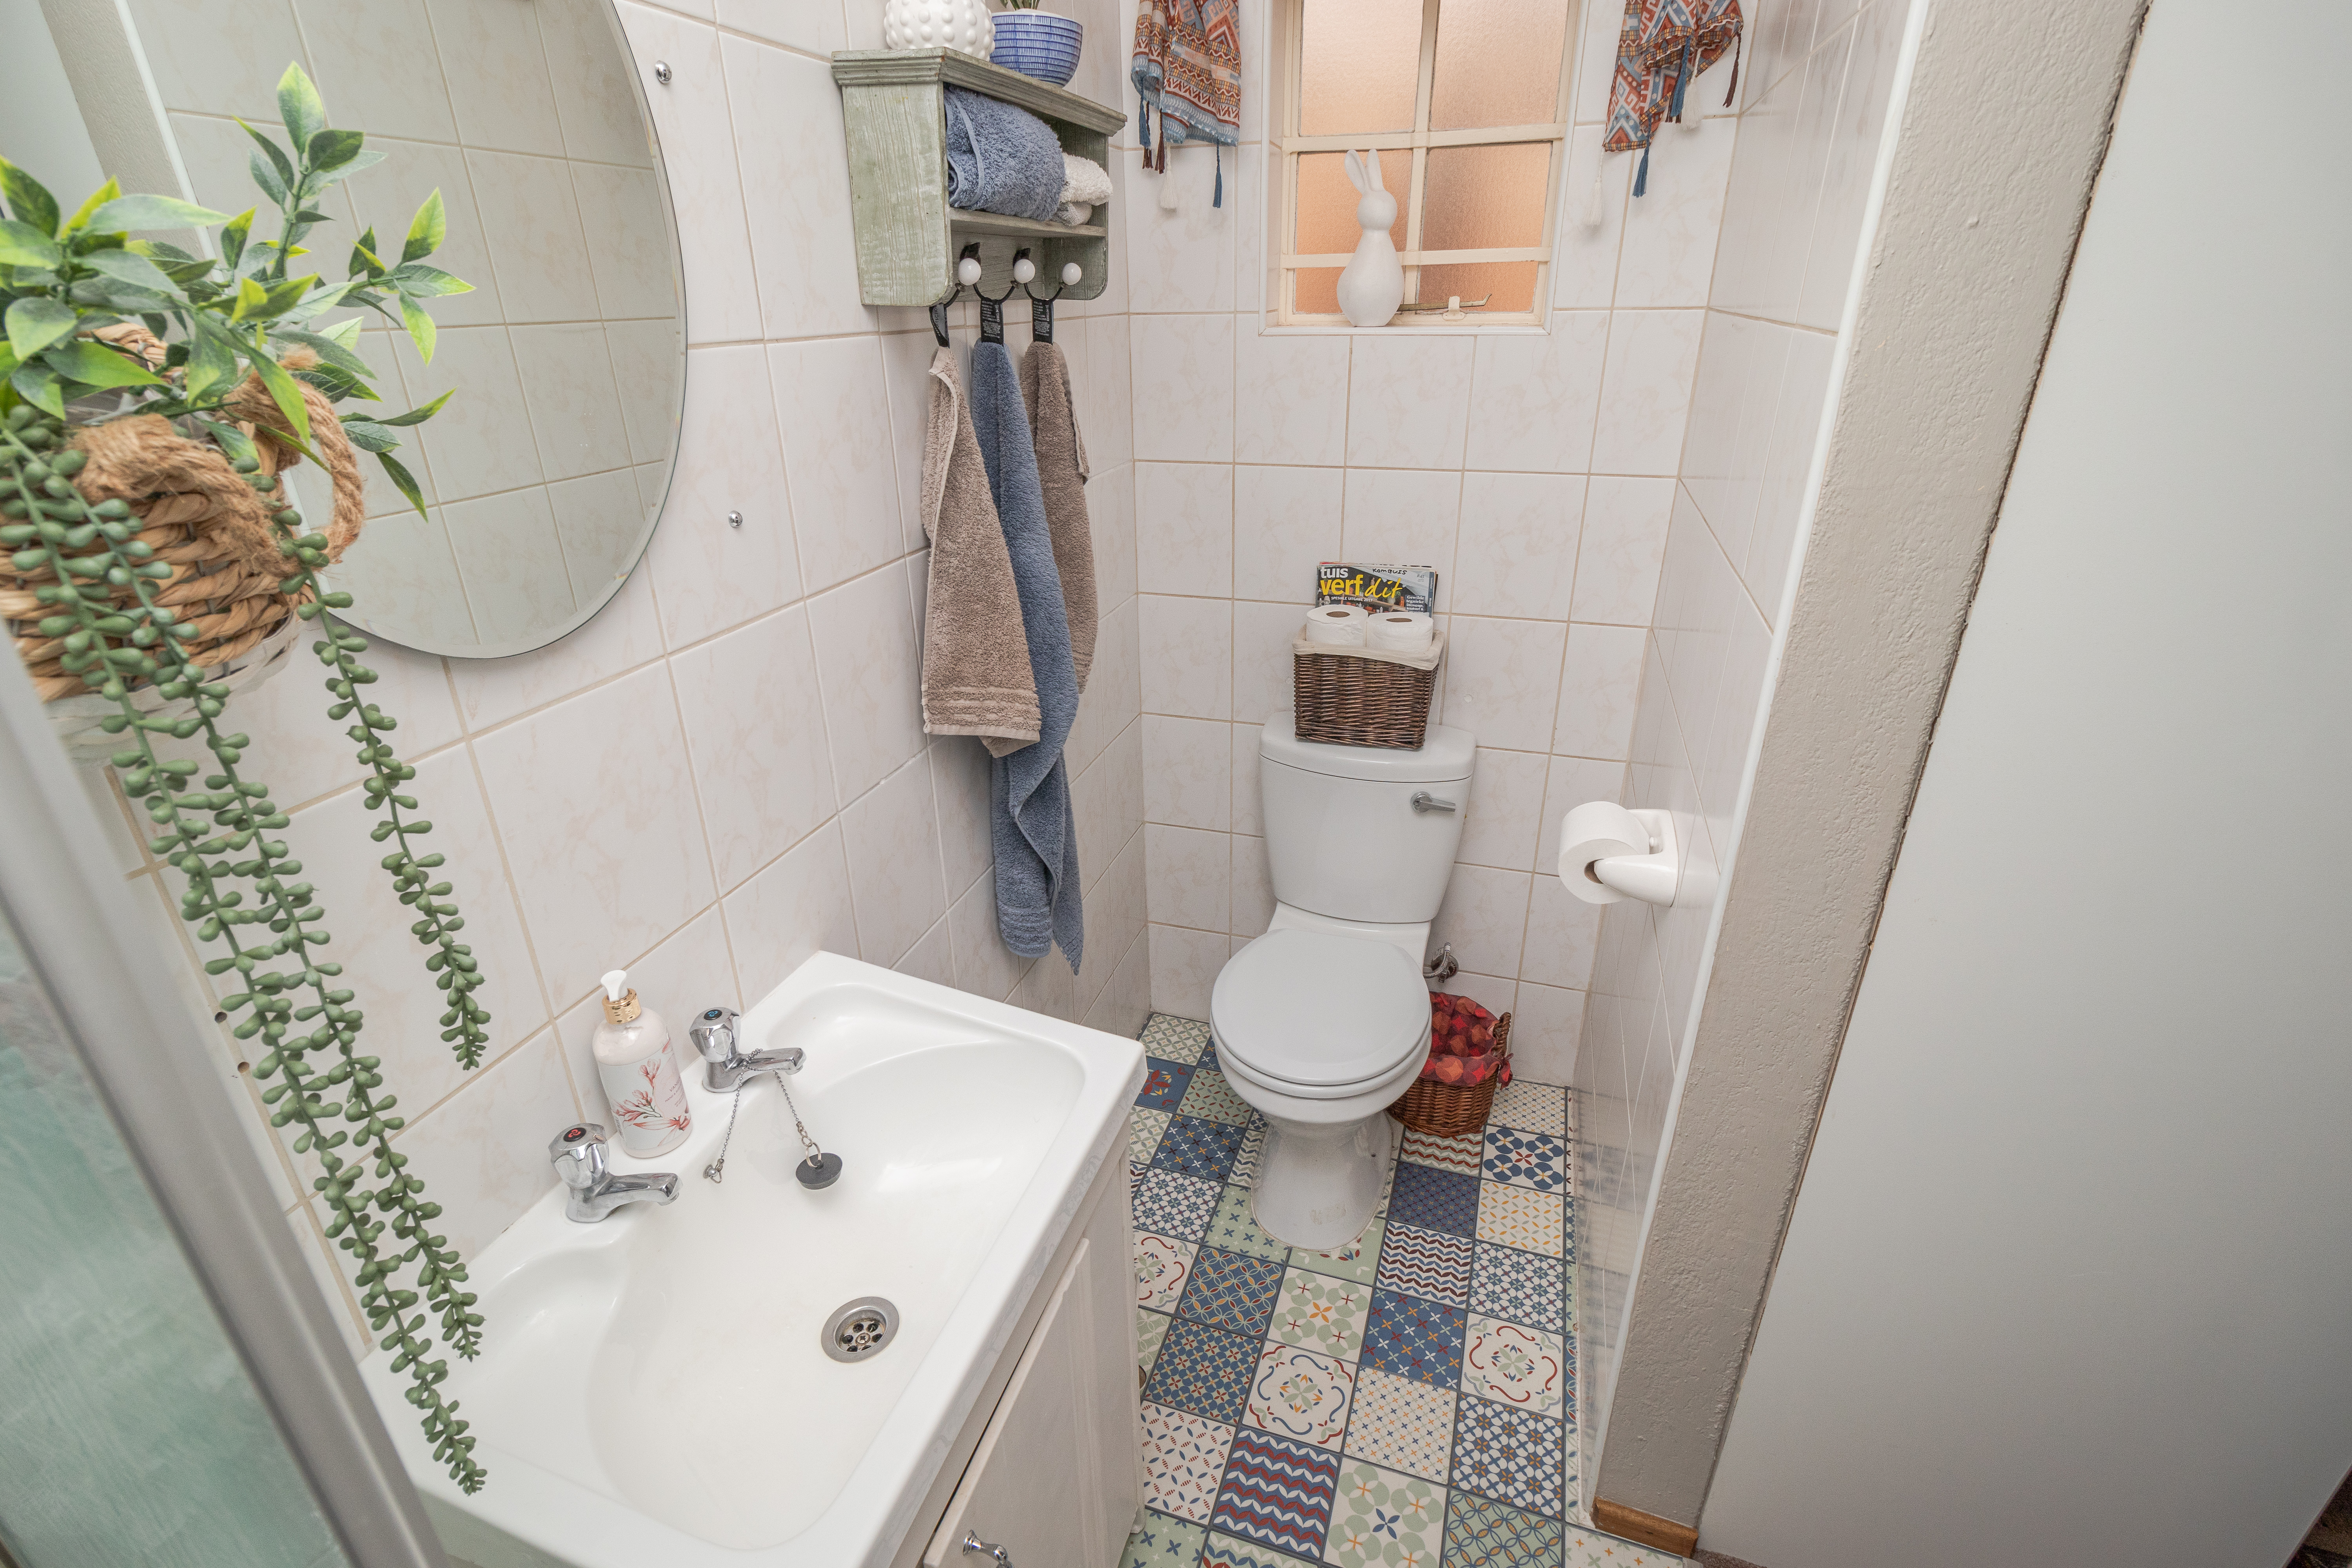
- In some cases elevated shots of rooms & bathrooms can also assist in showcasing the room size and features, especially smaller bathrooms.
- Get rid of as much clutter as possible as this will make the rooms look bigger with less distractions.
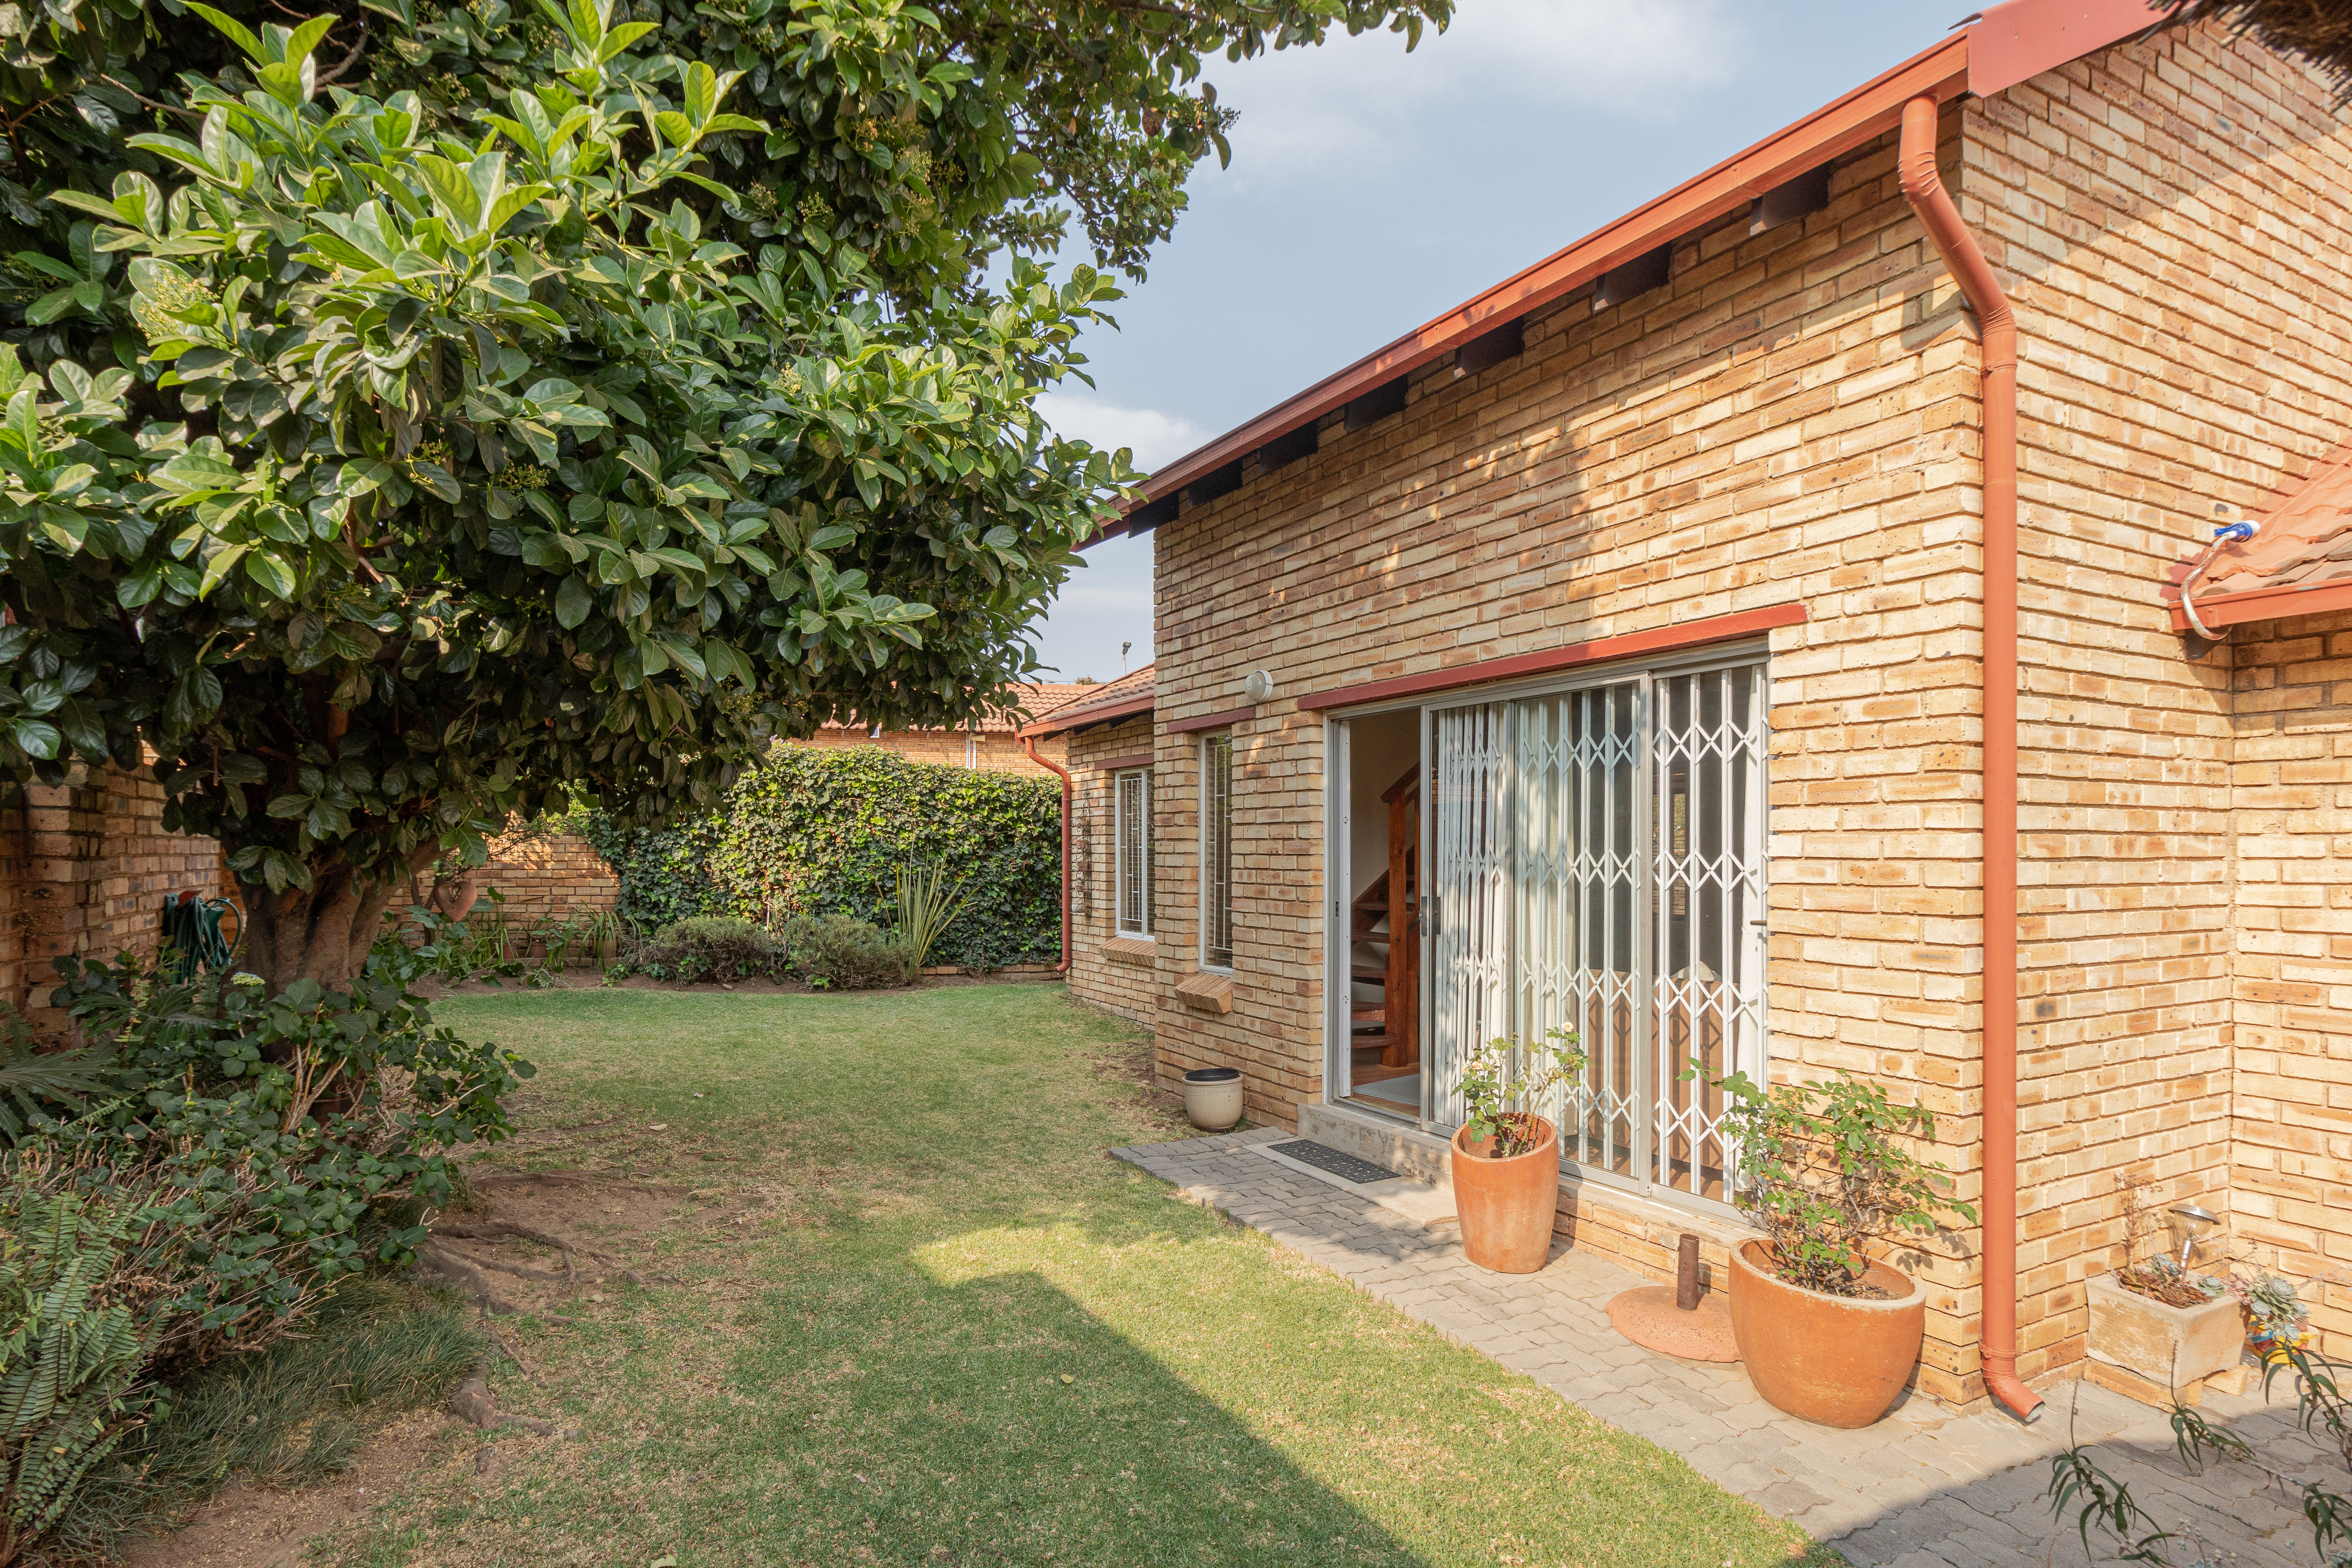
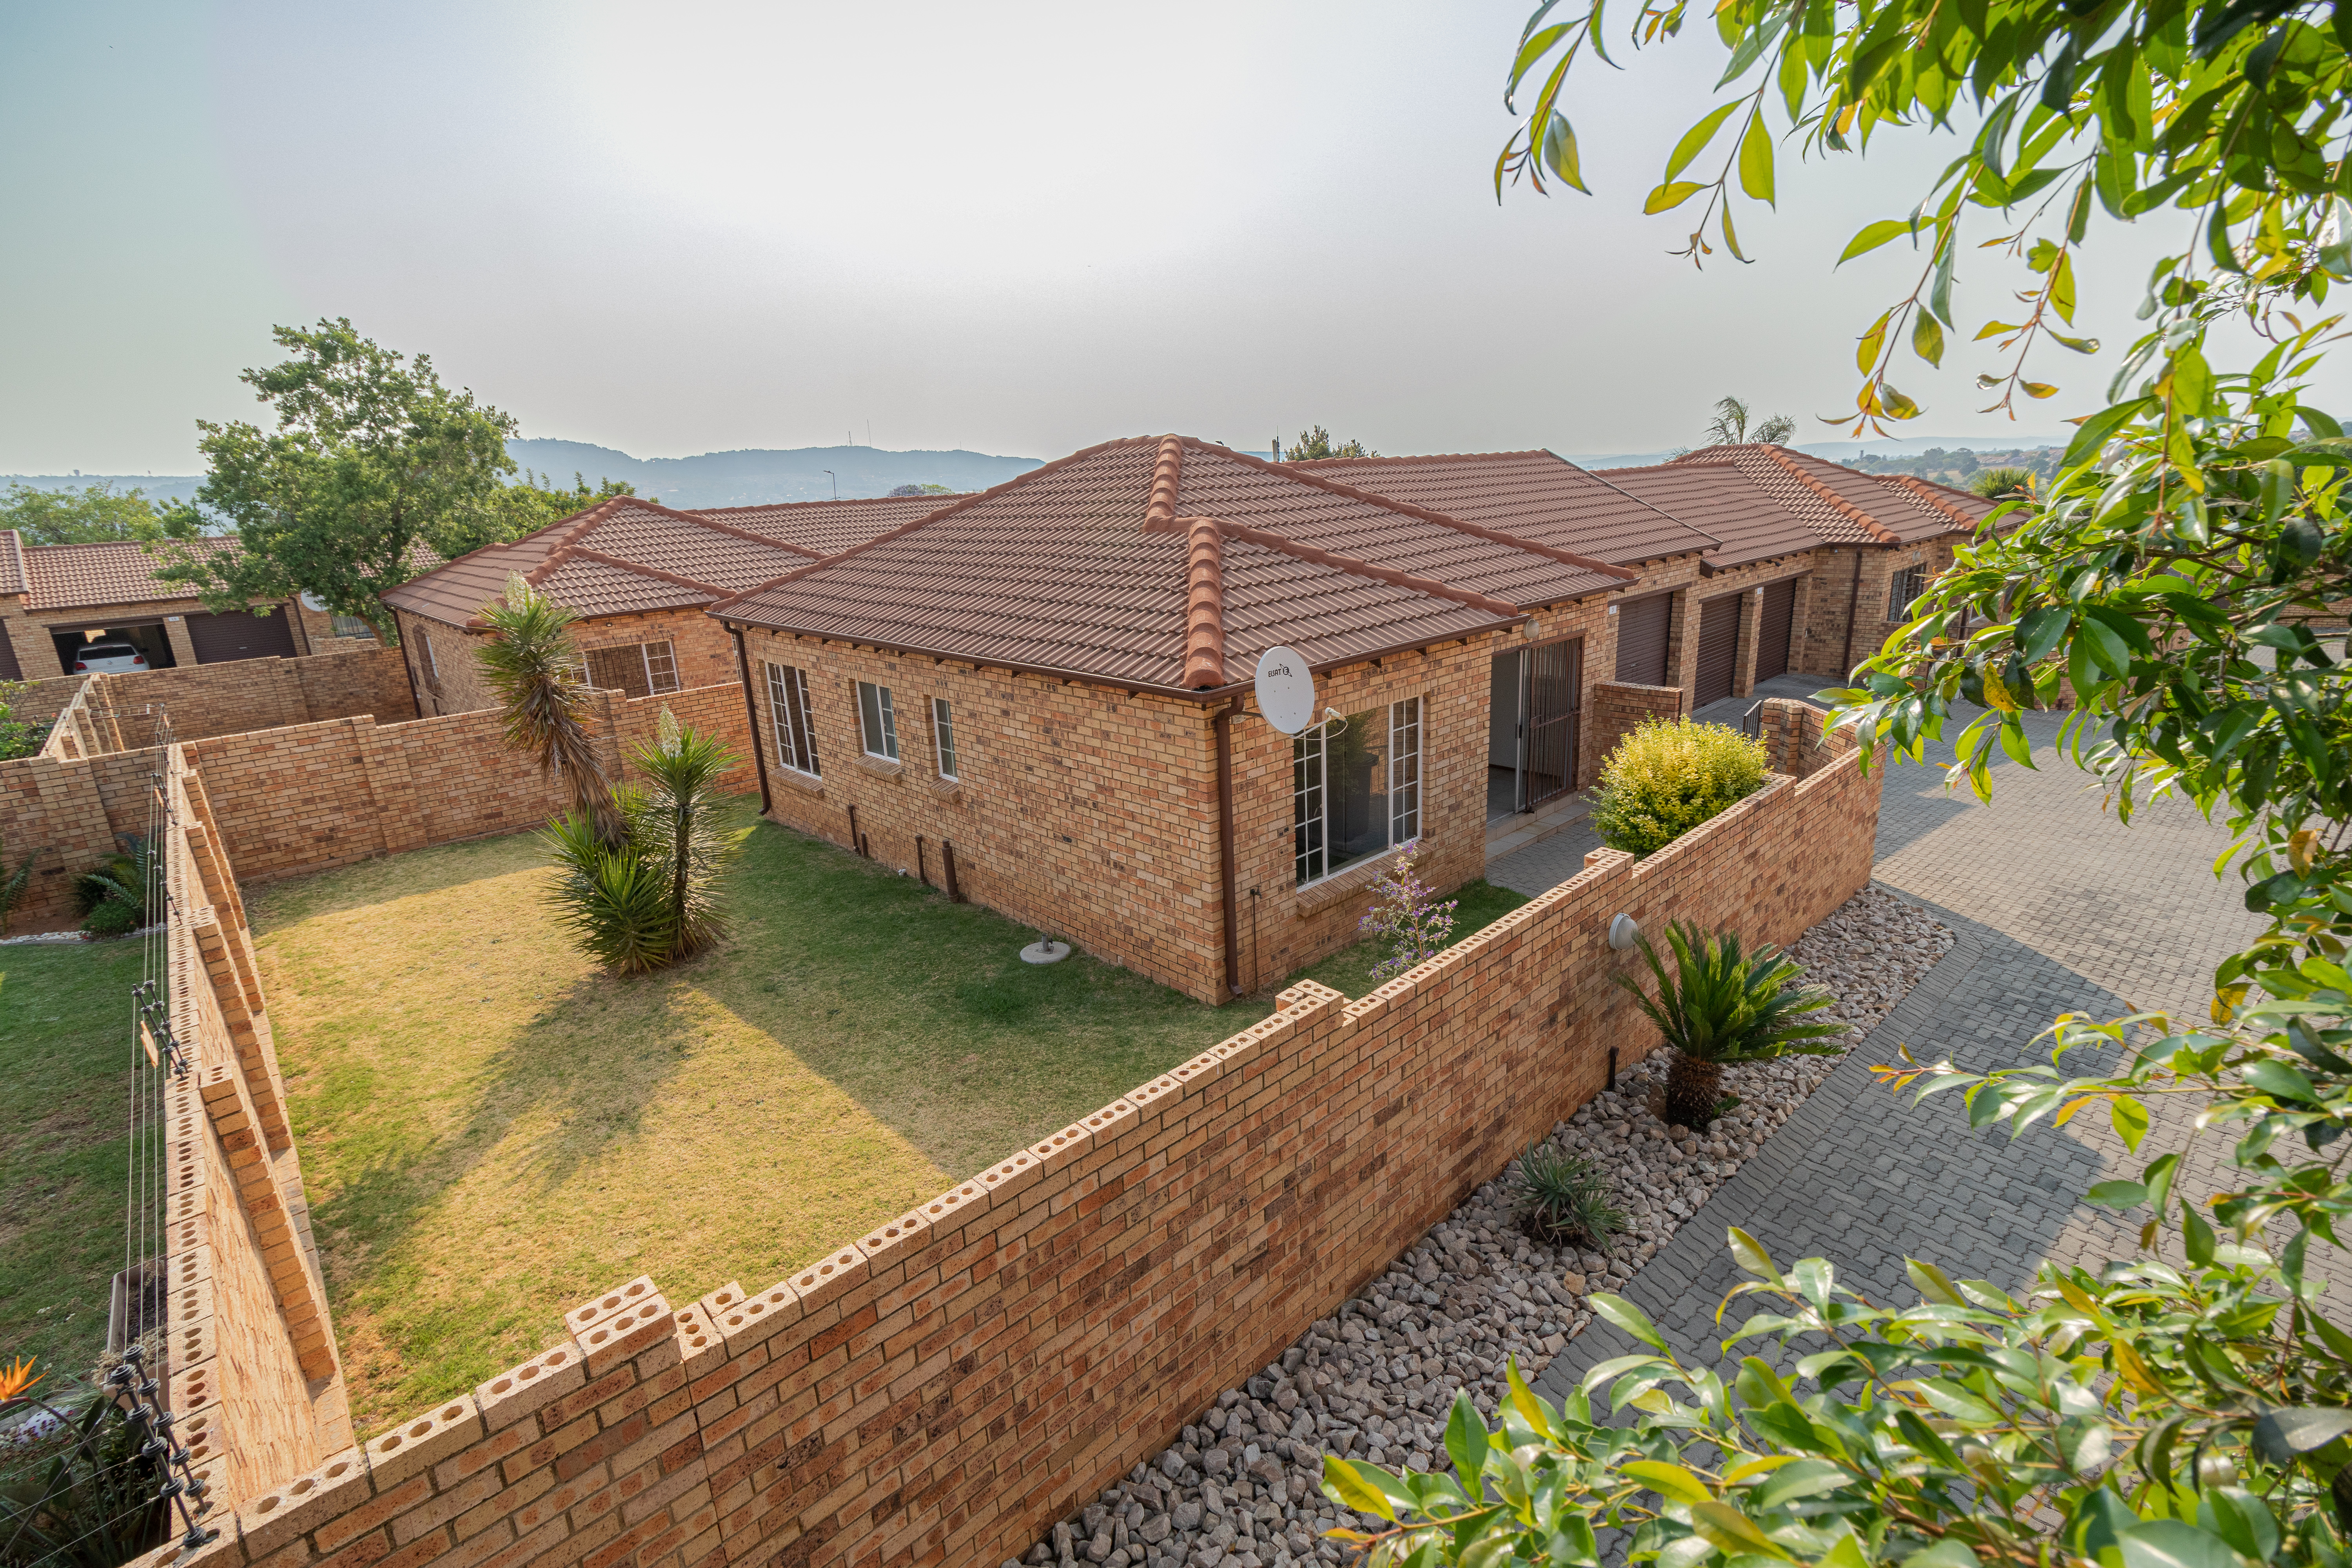
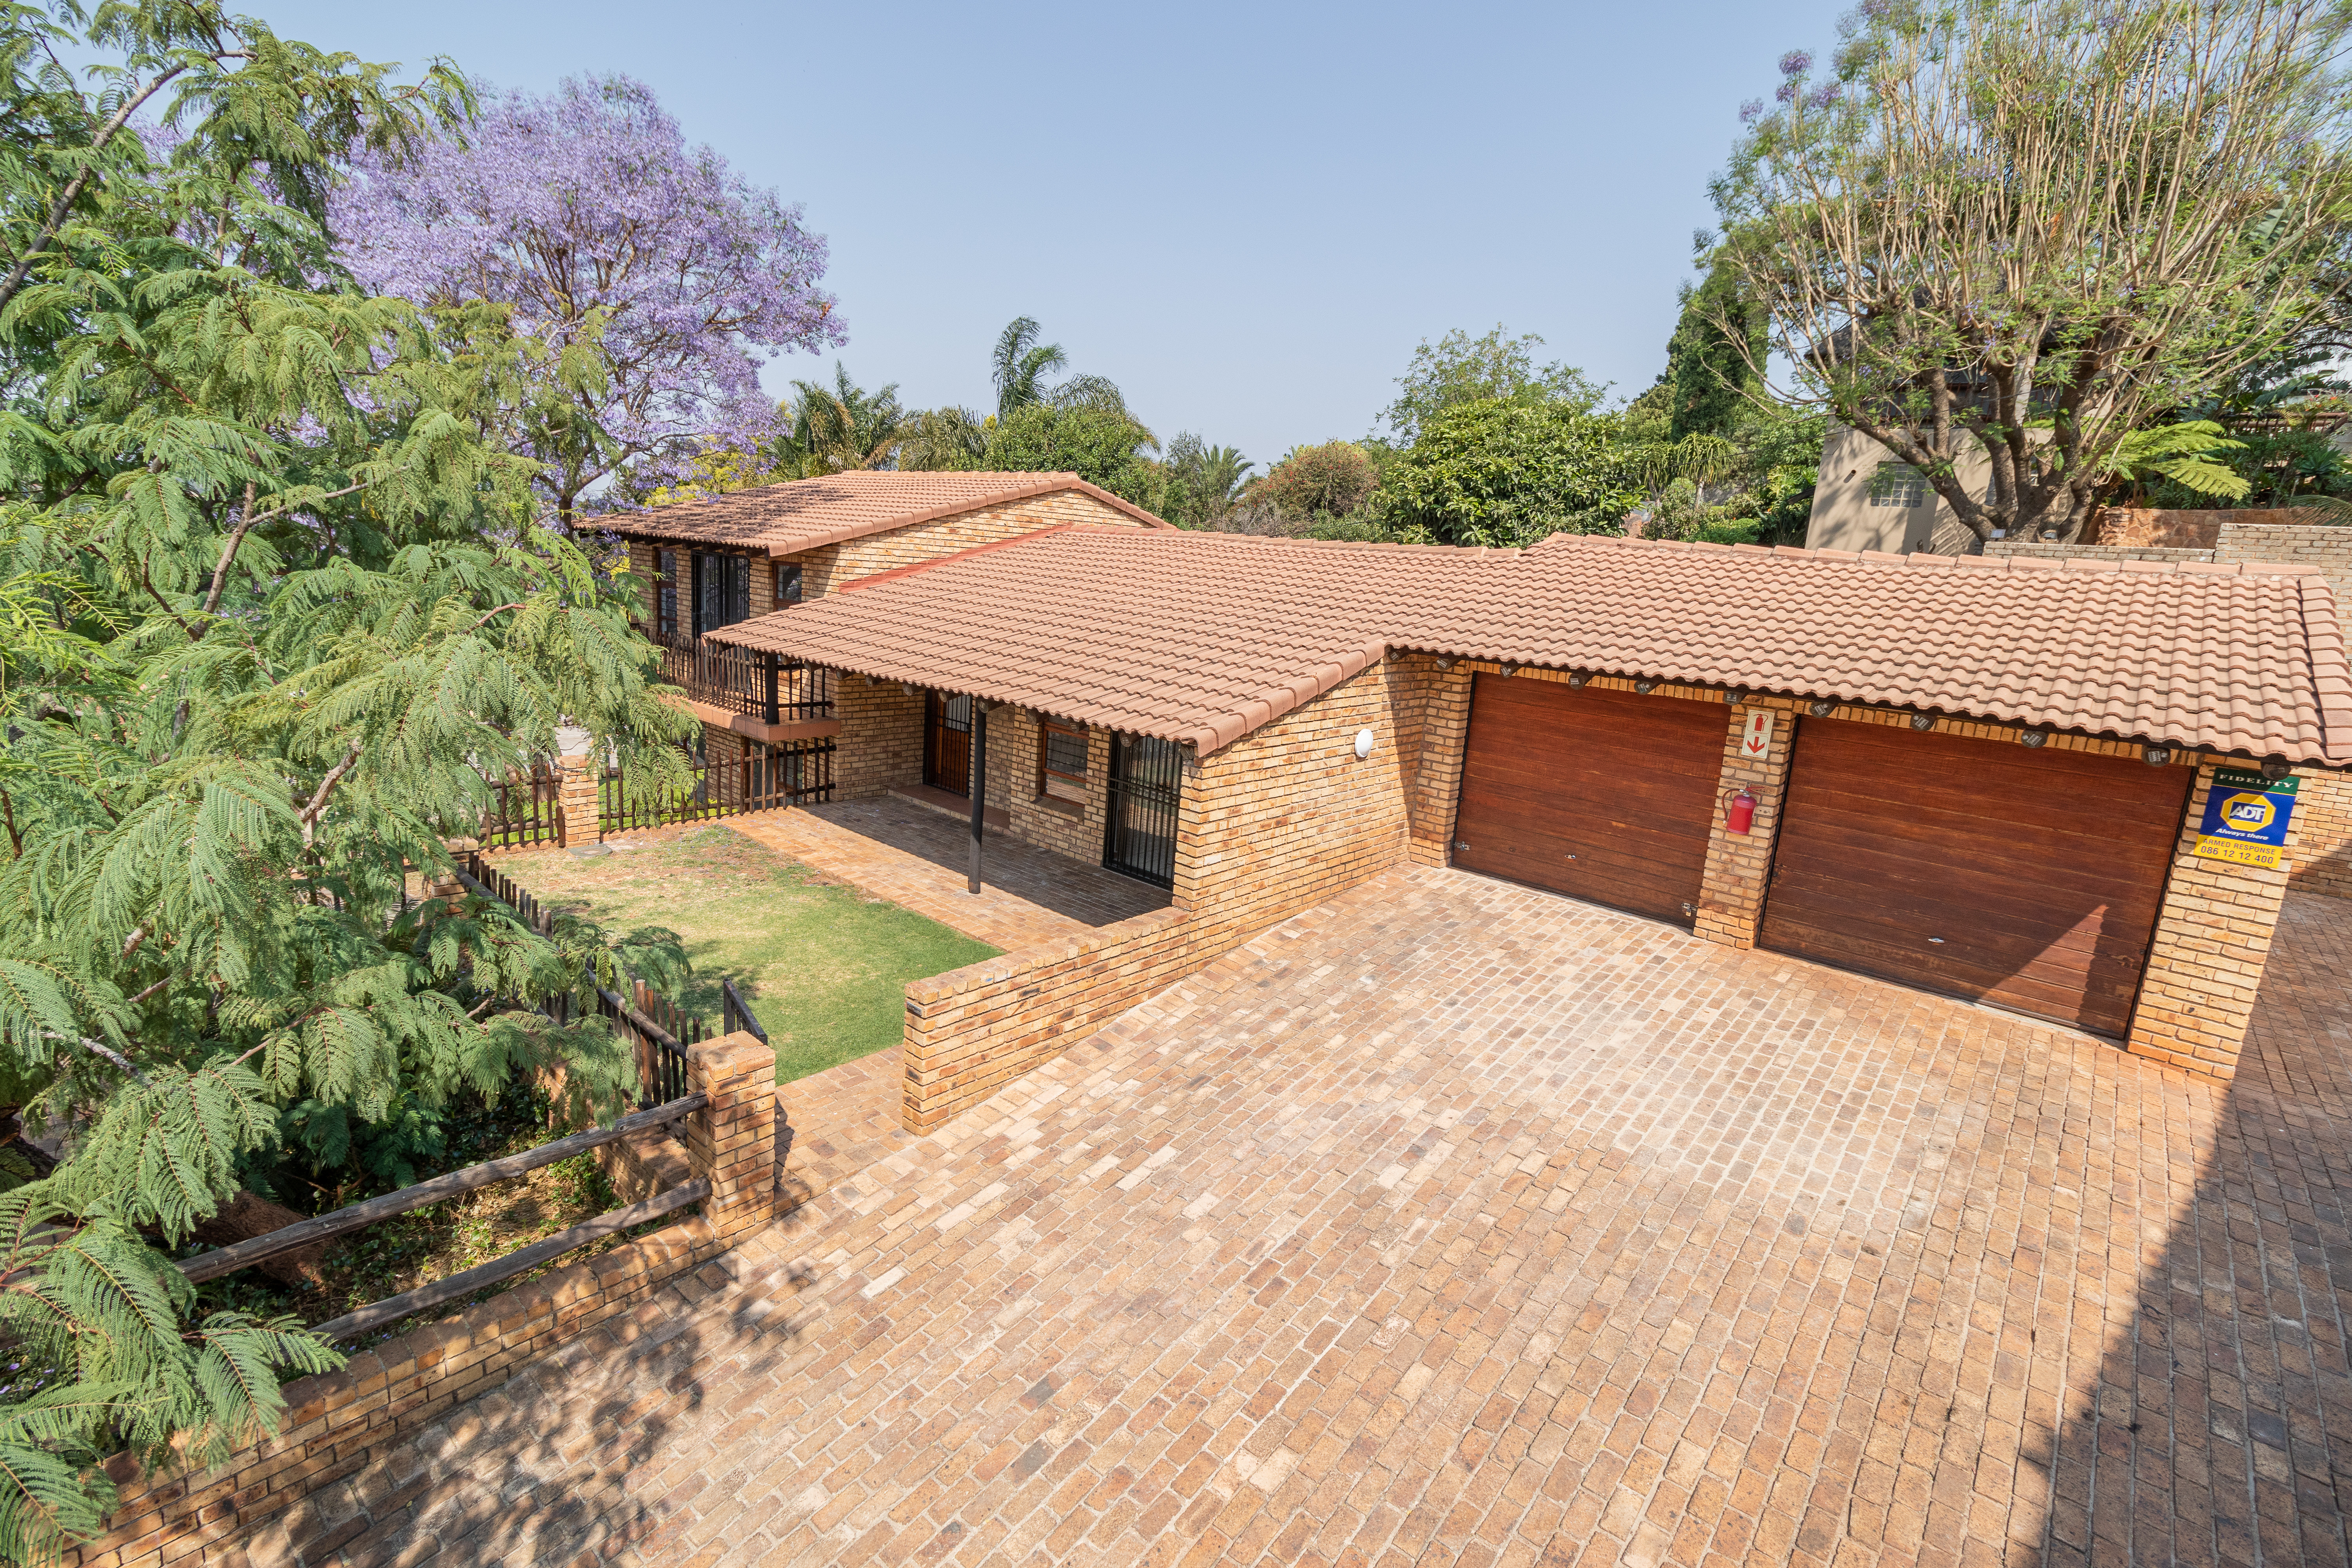
- When taking photos of the outside of the property, try to get the whole house / townhouse into the shot.
- Stand further away at a slight angle to the house.
- Experiment with shooting from the bottom up or from the top down as high as you can to get a better idea of the layout and garden of the property or where the property is situated.
- Try not to shoot straight into the sun.
Focus on getting the following important shots:
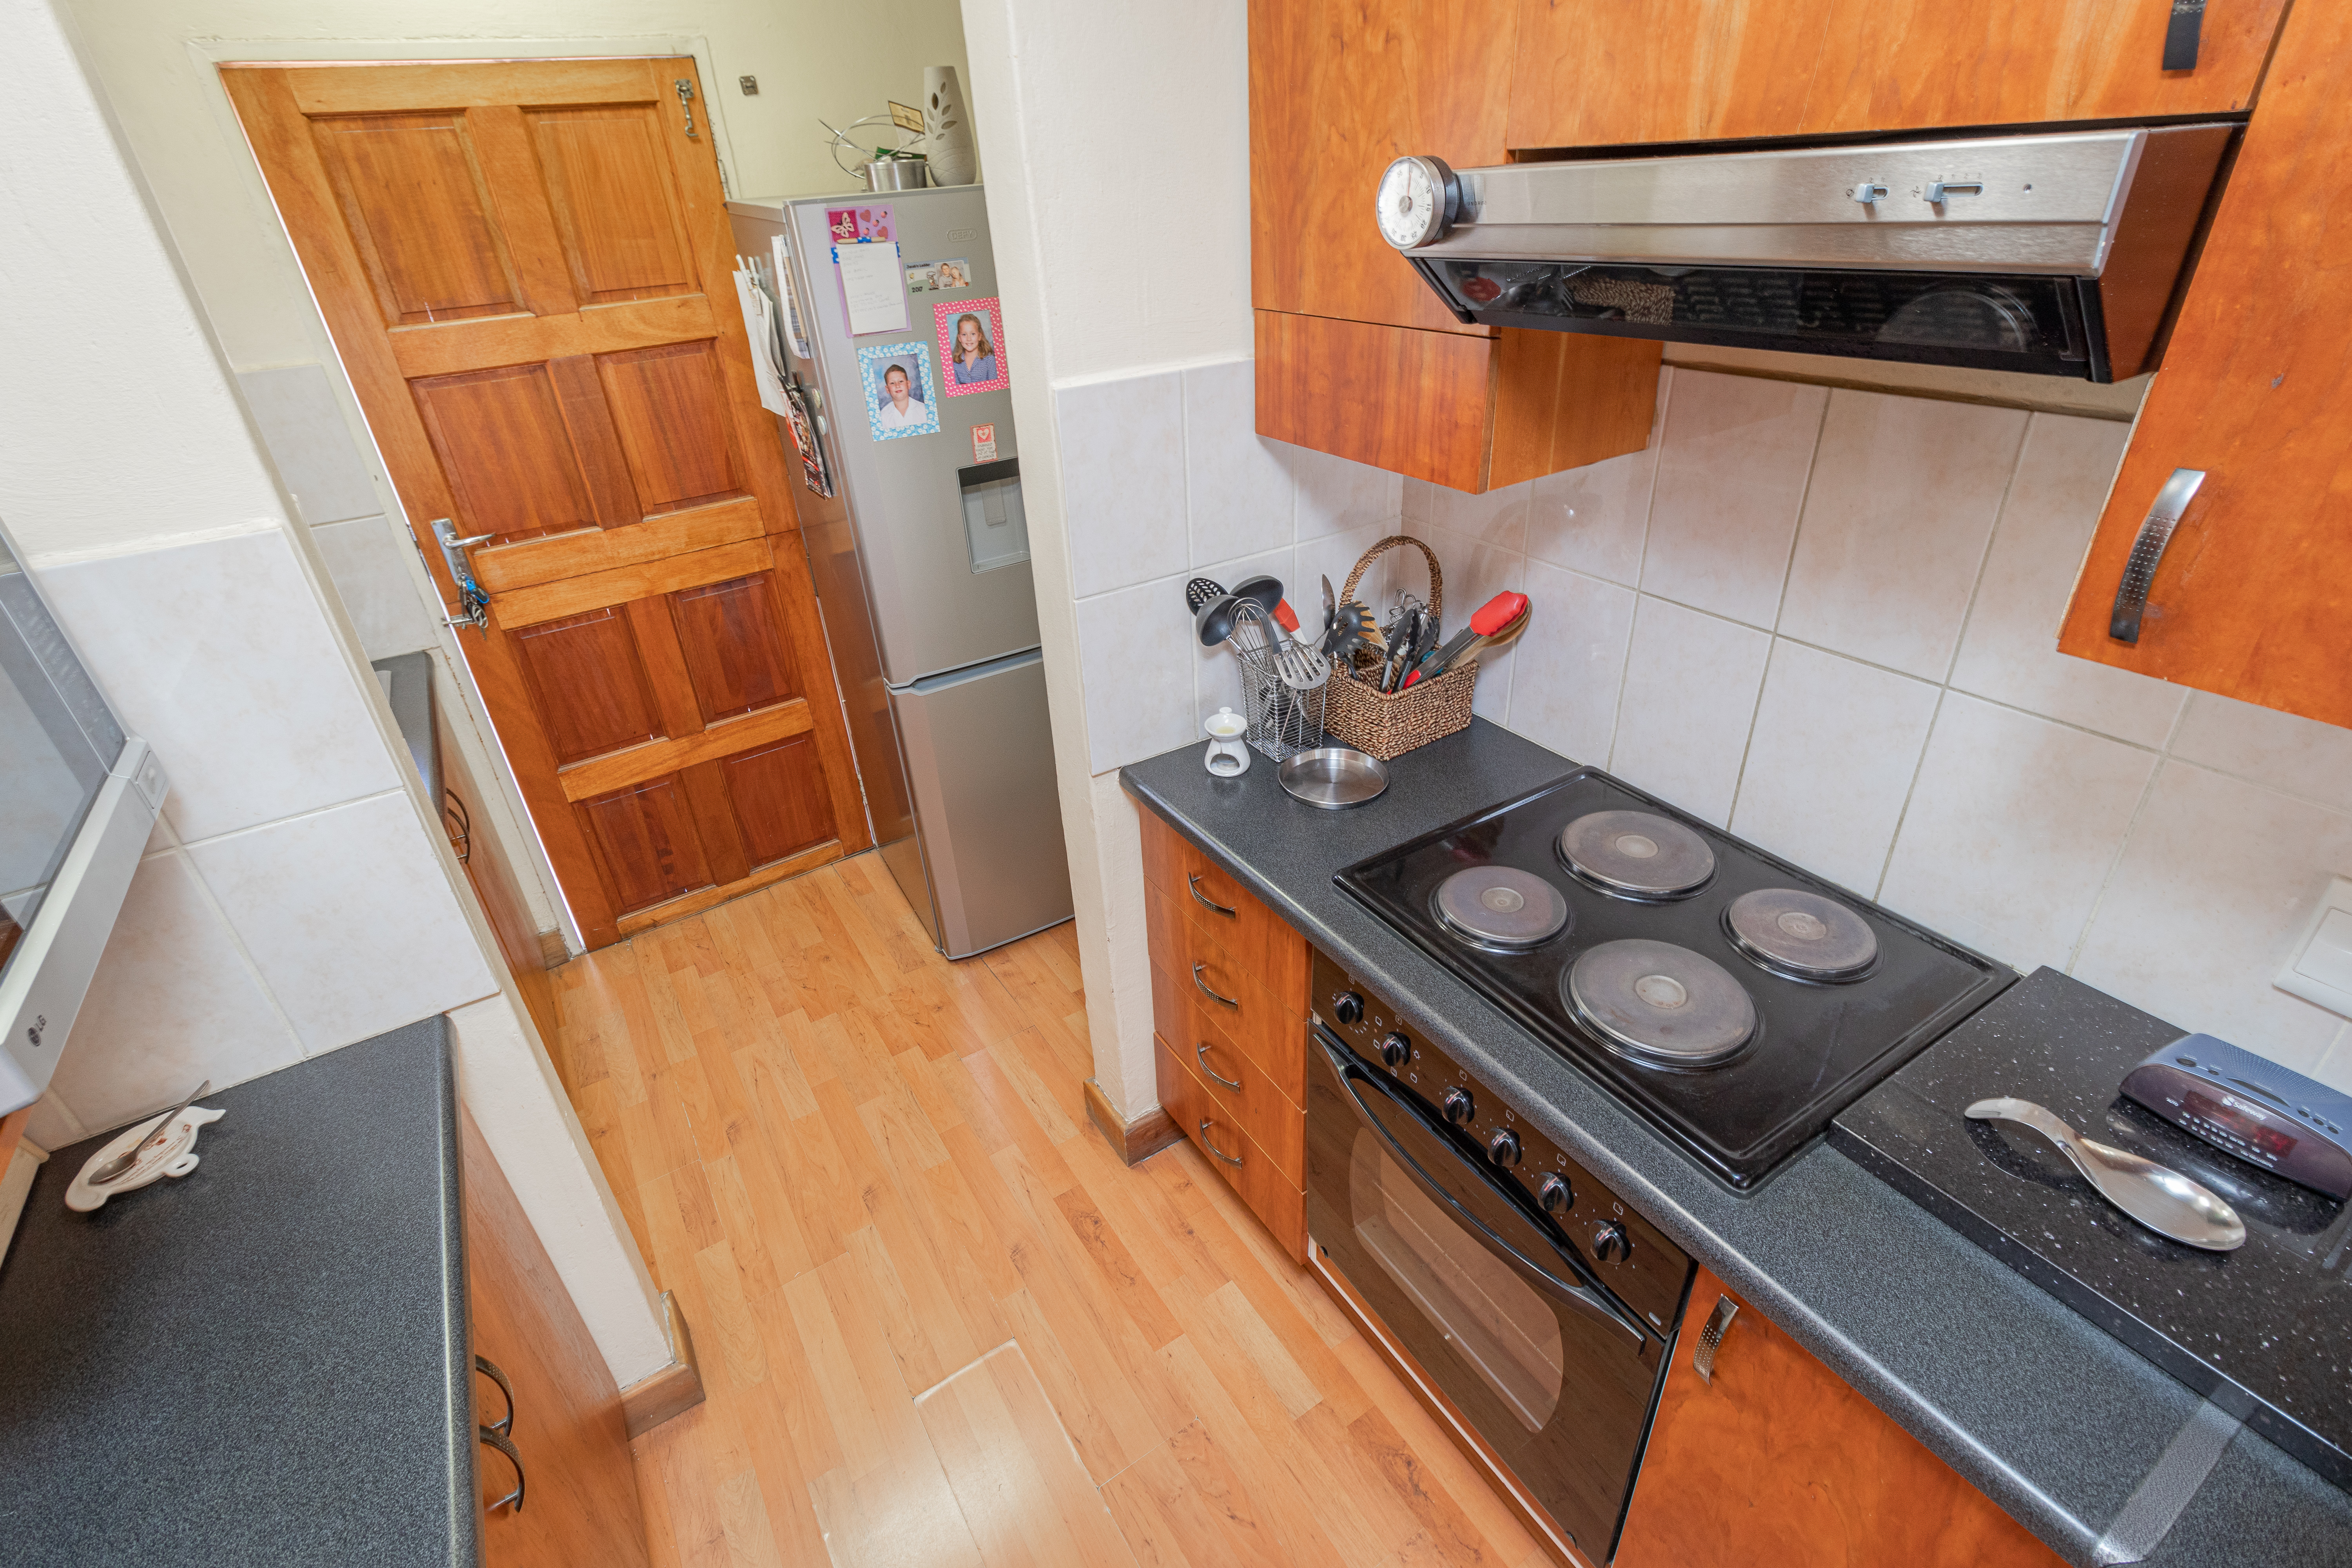
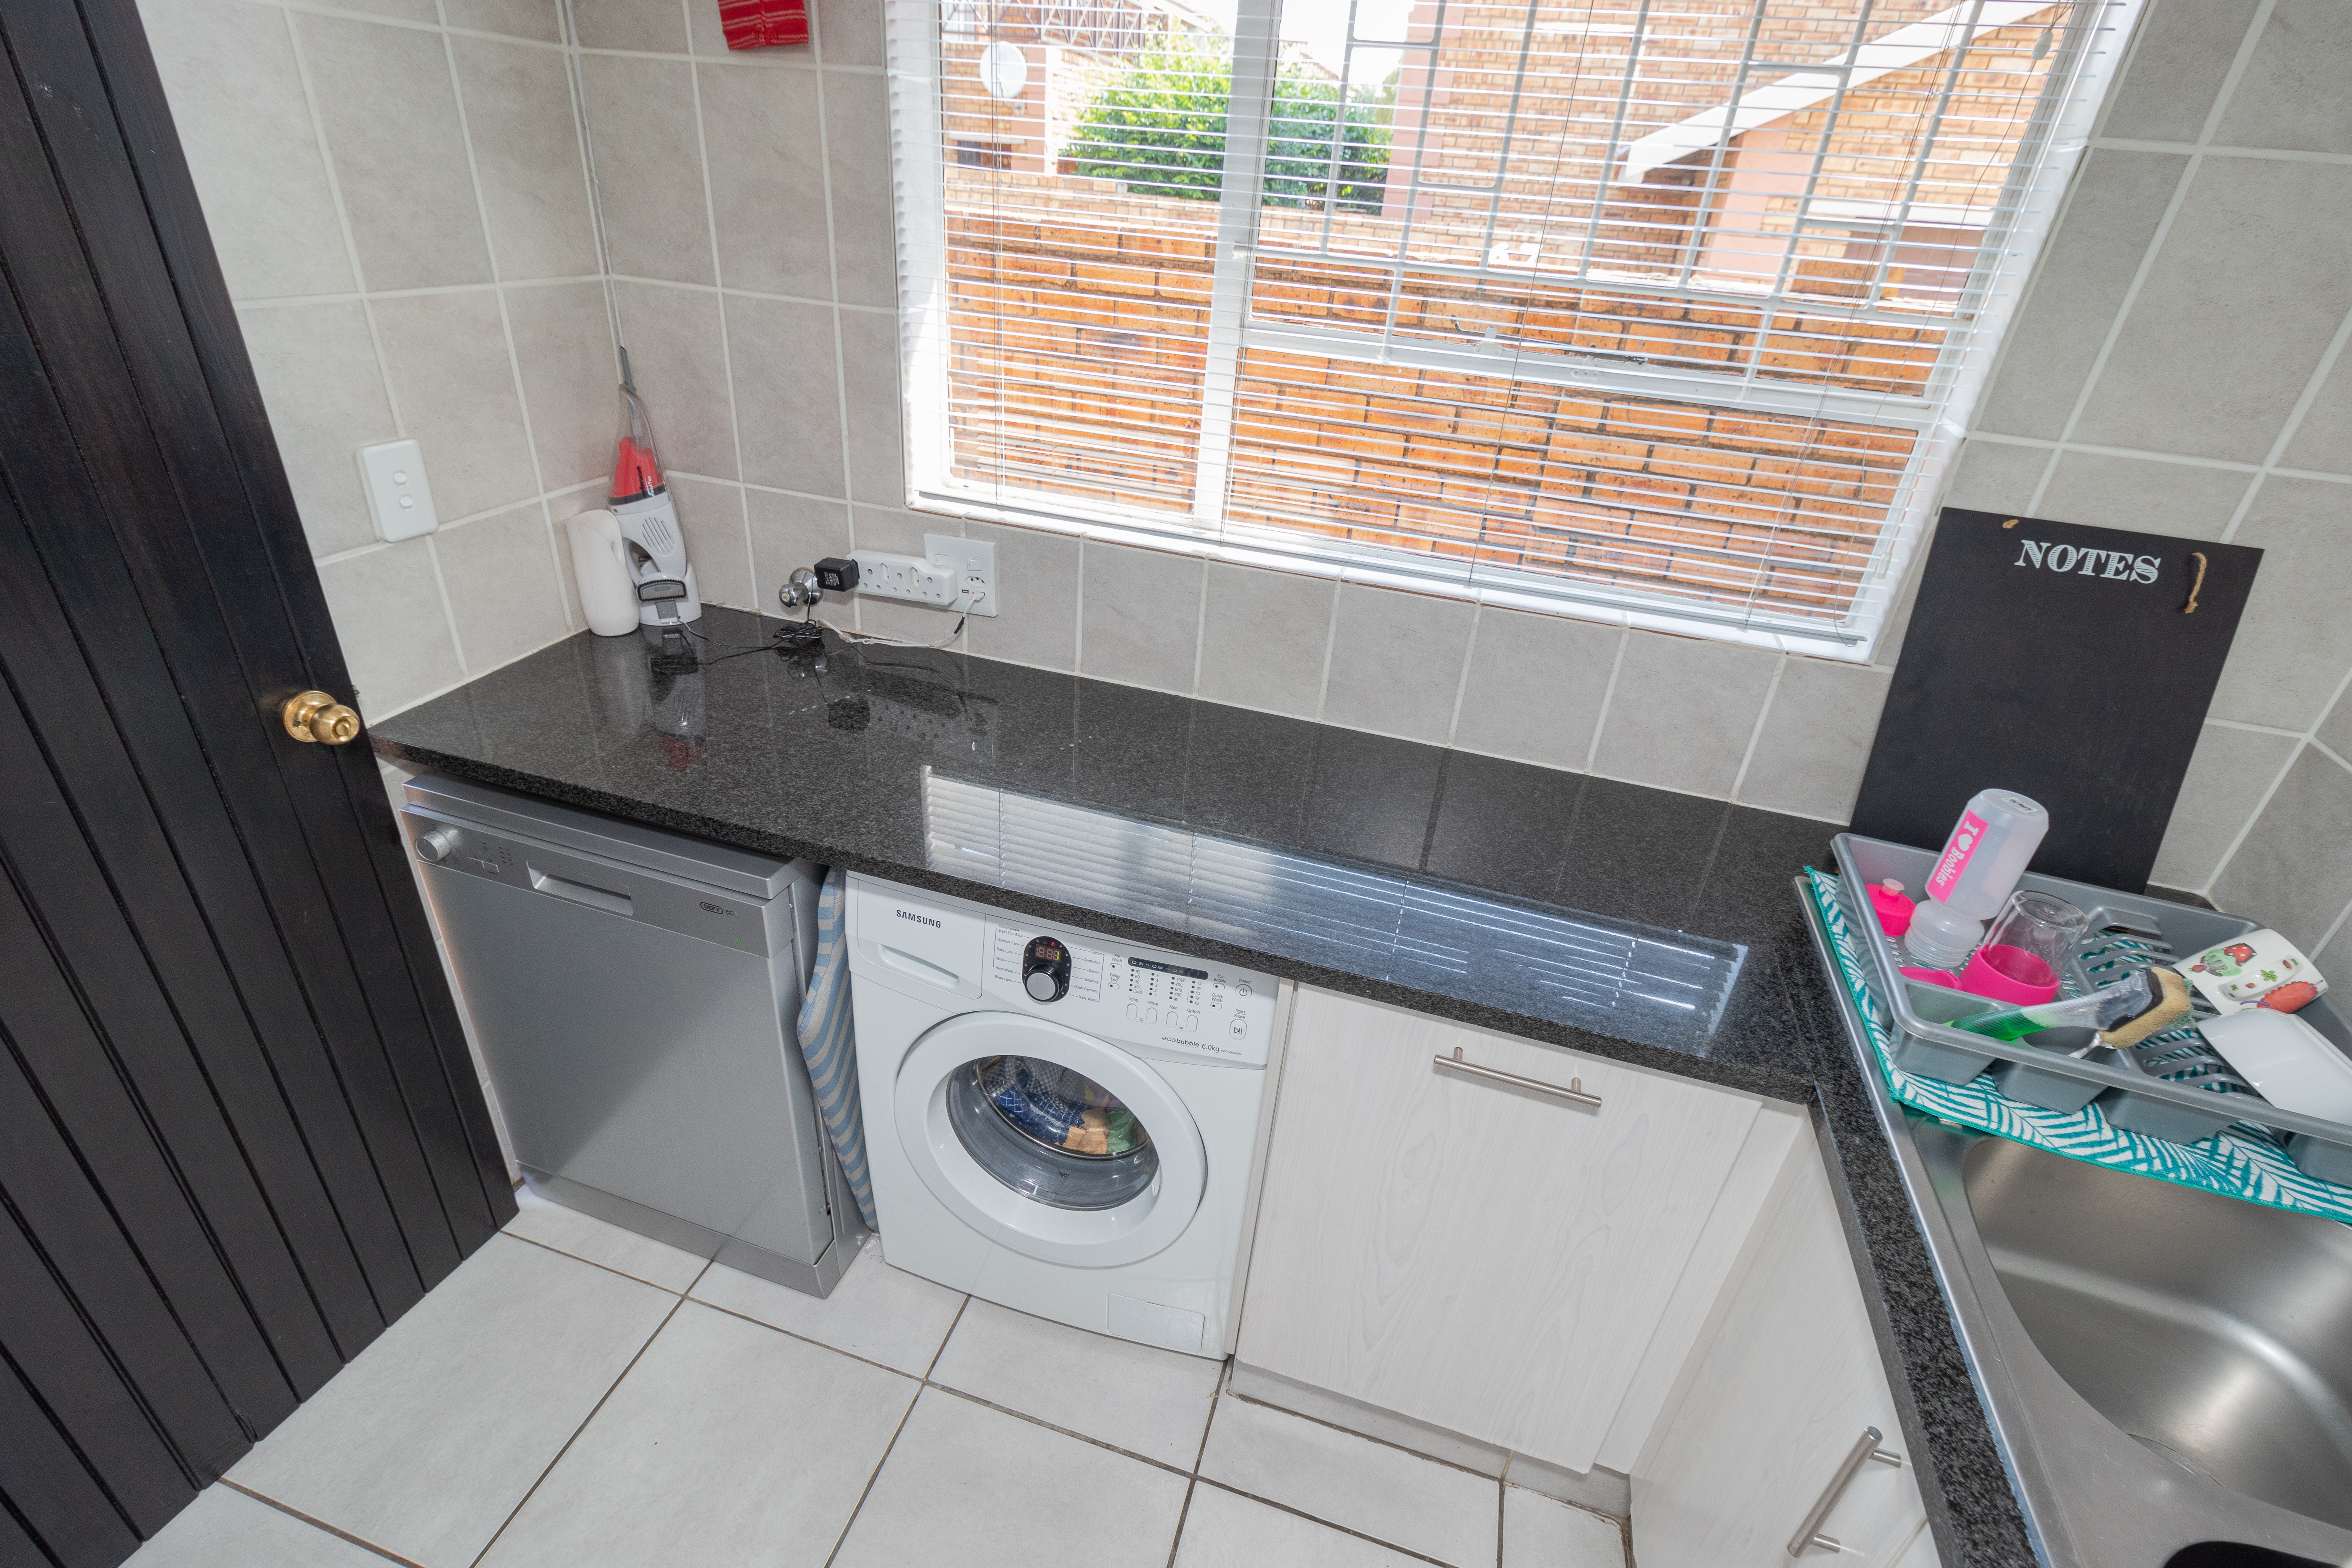
- Appliance space in the kitchen.
- Cupboard space in bedrooms and kitchen.
- Bathroom features.
- Special fixtures & fittings sold with the property such as floors, special lighting, security features, solar & gas installations, garden & entertainment space, communal areas in complexes,
Hopefully the tips above will help you take better photos of small properties in the future.
Here are some photos I recently took of smaller Townhouse properties.


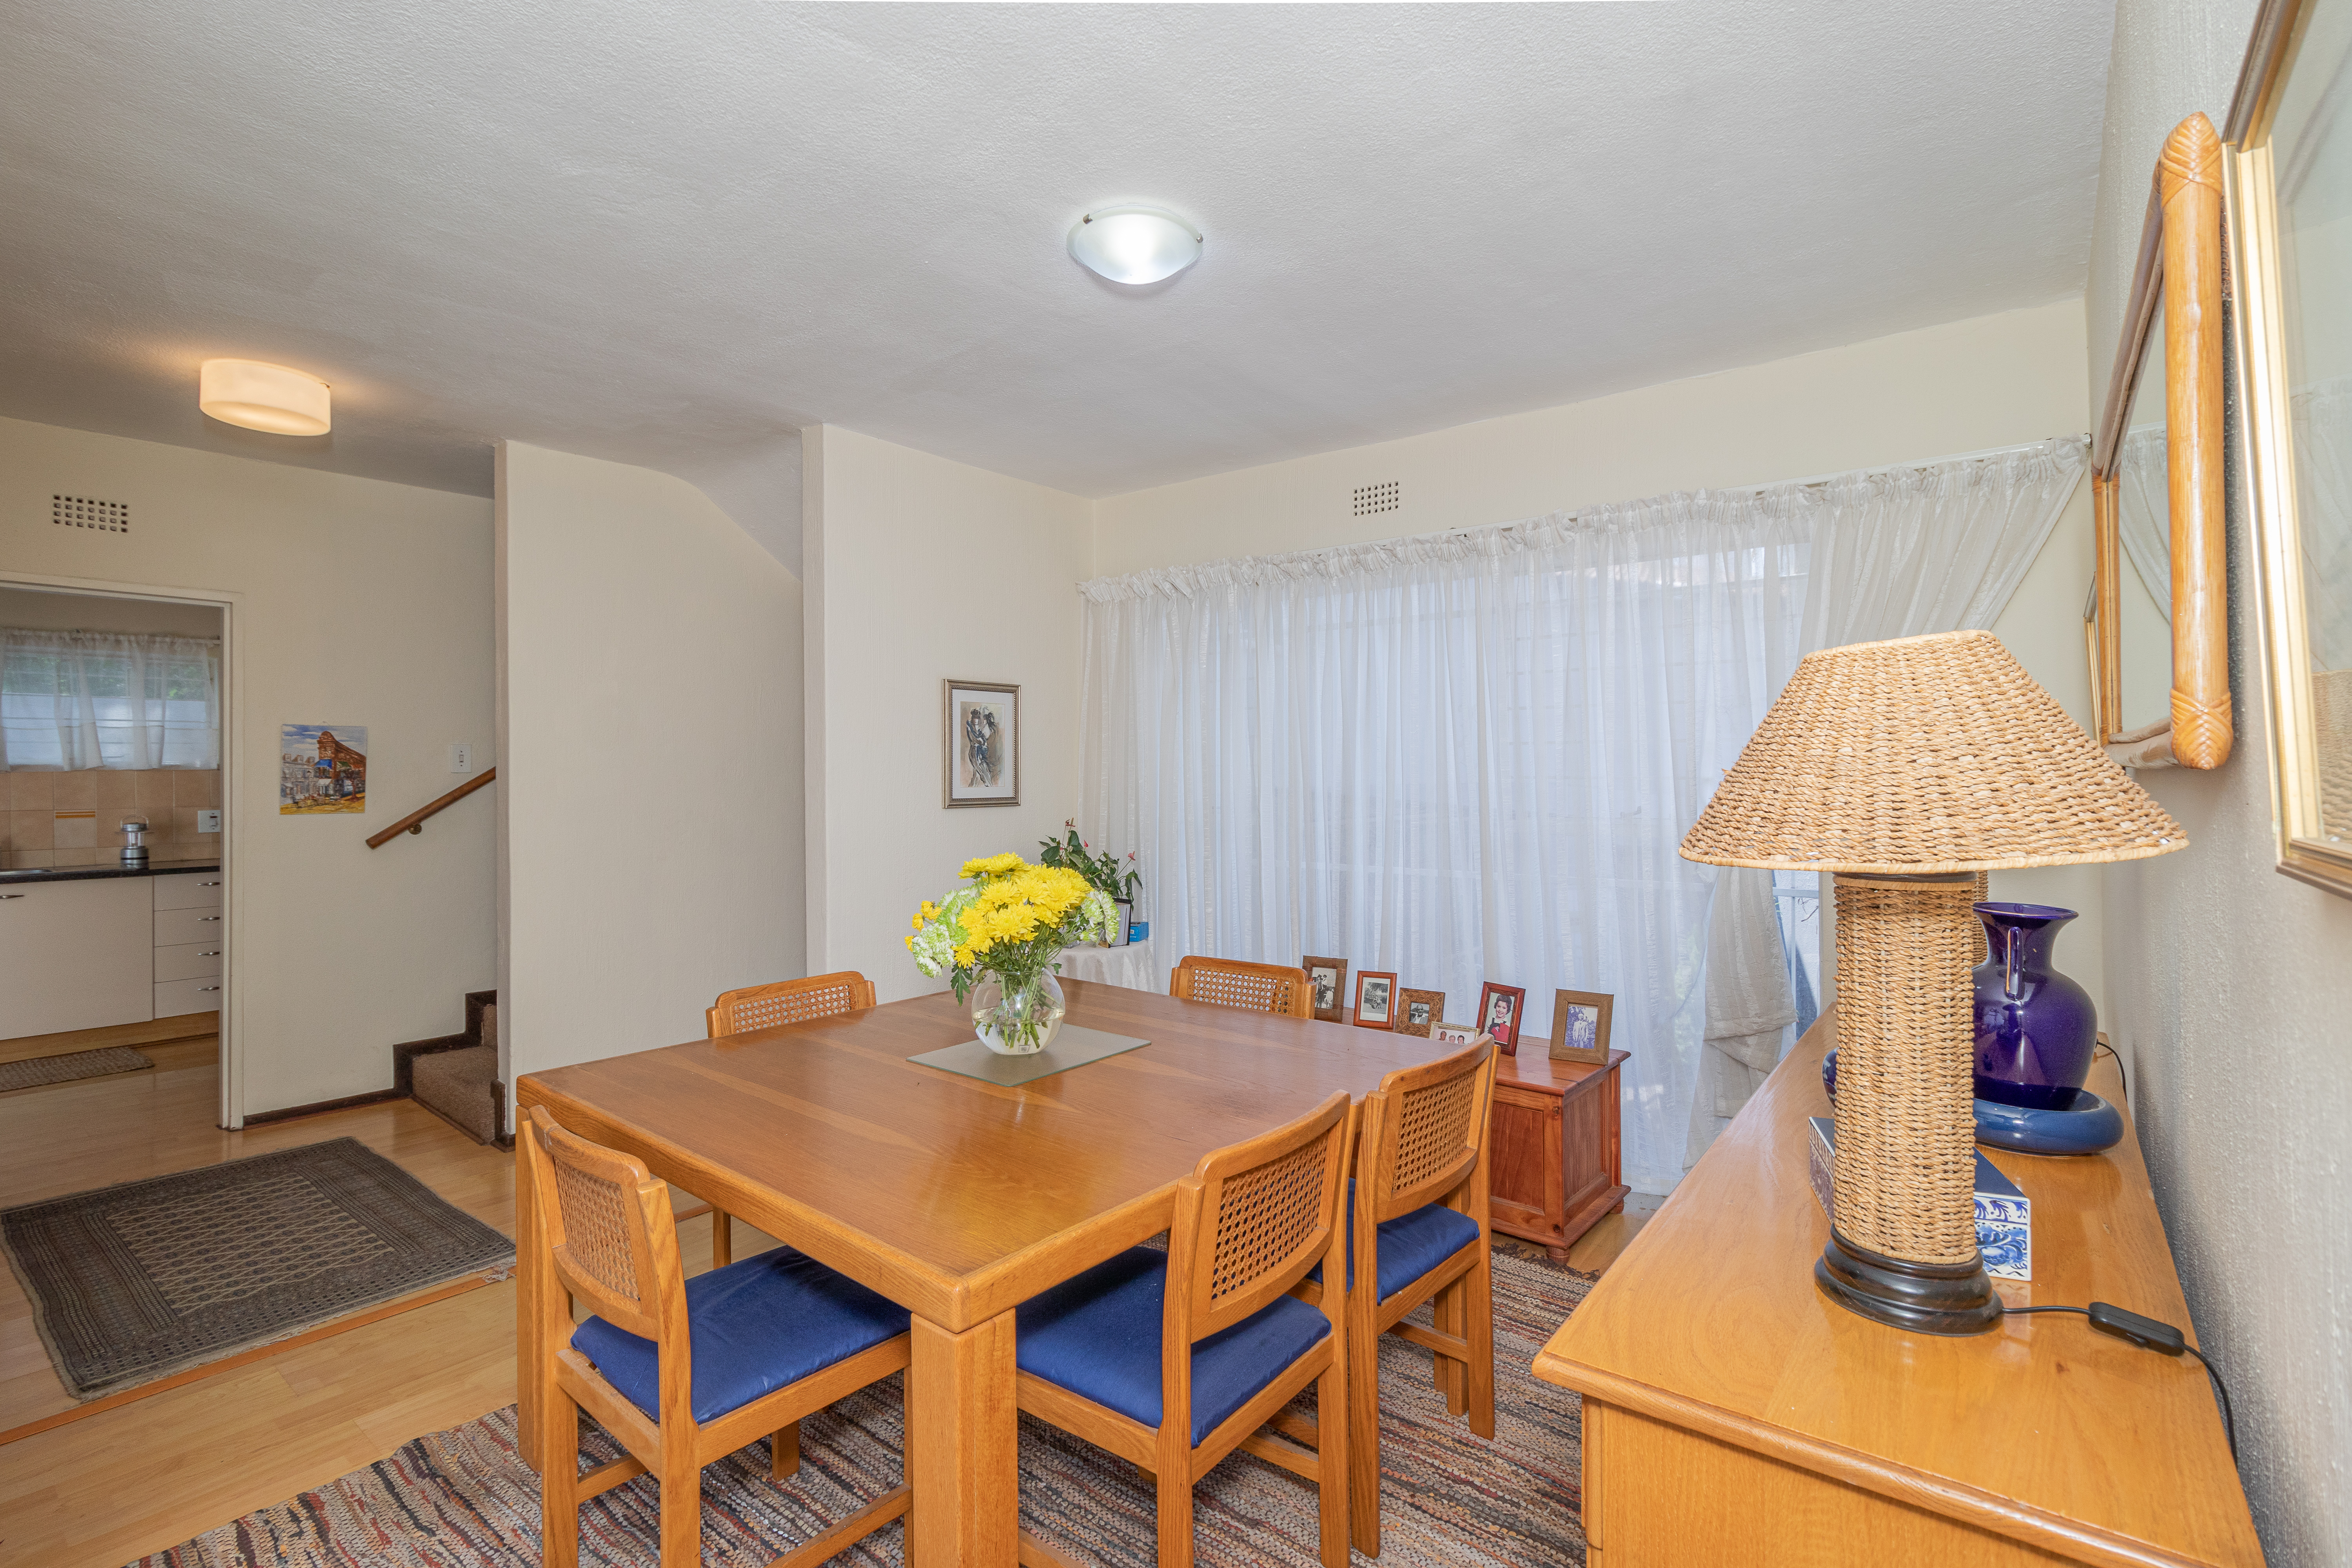

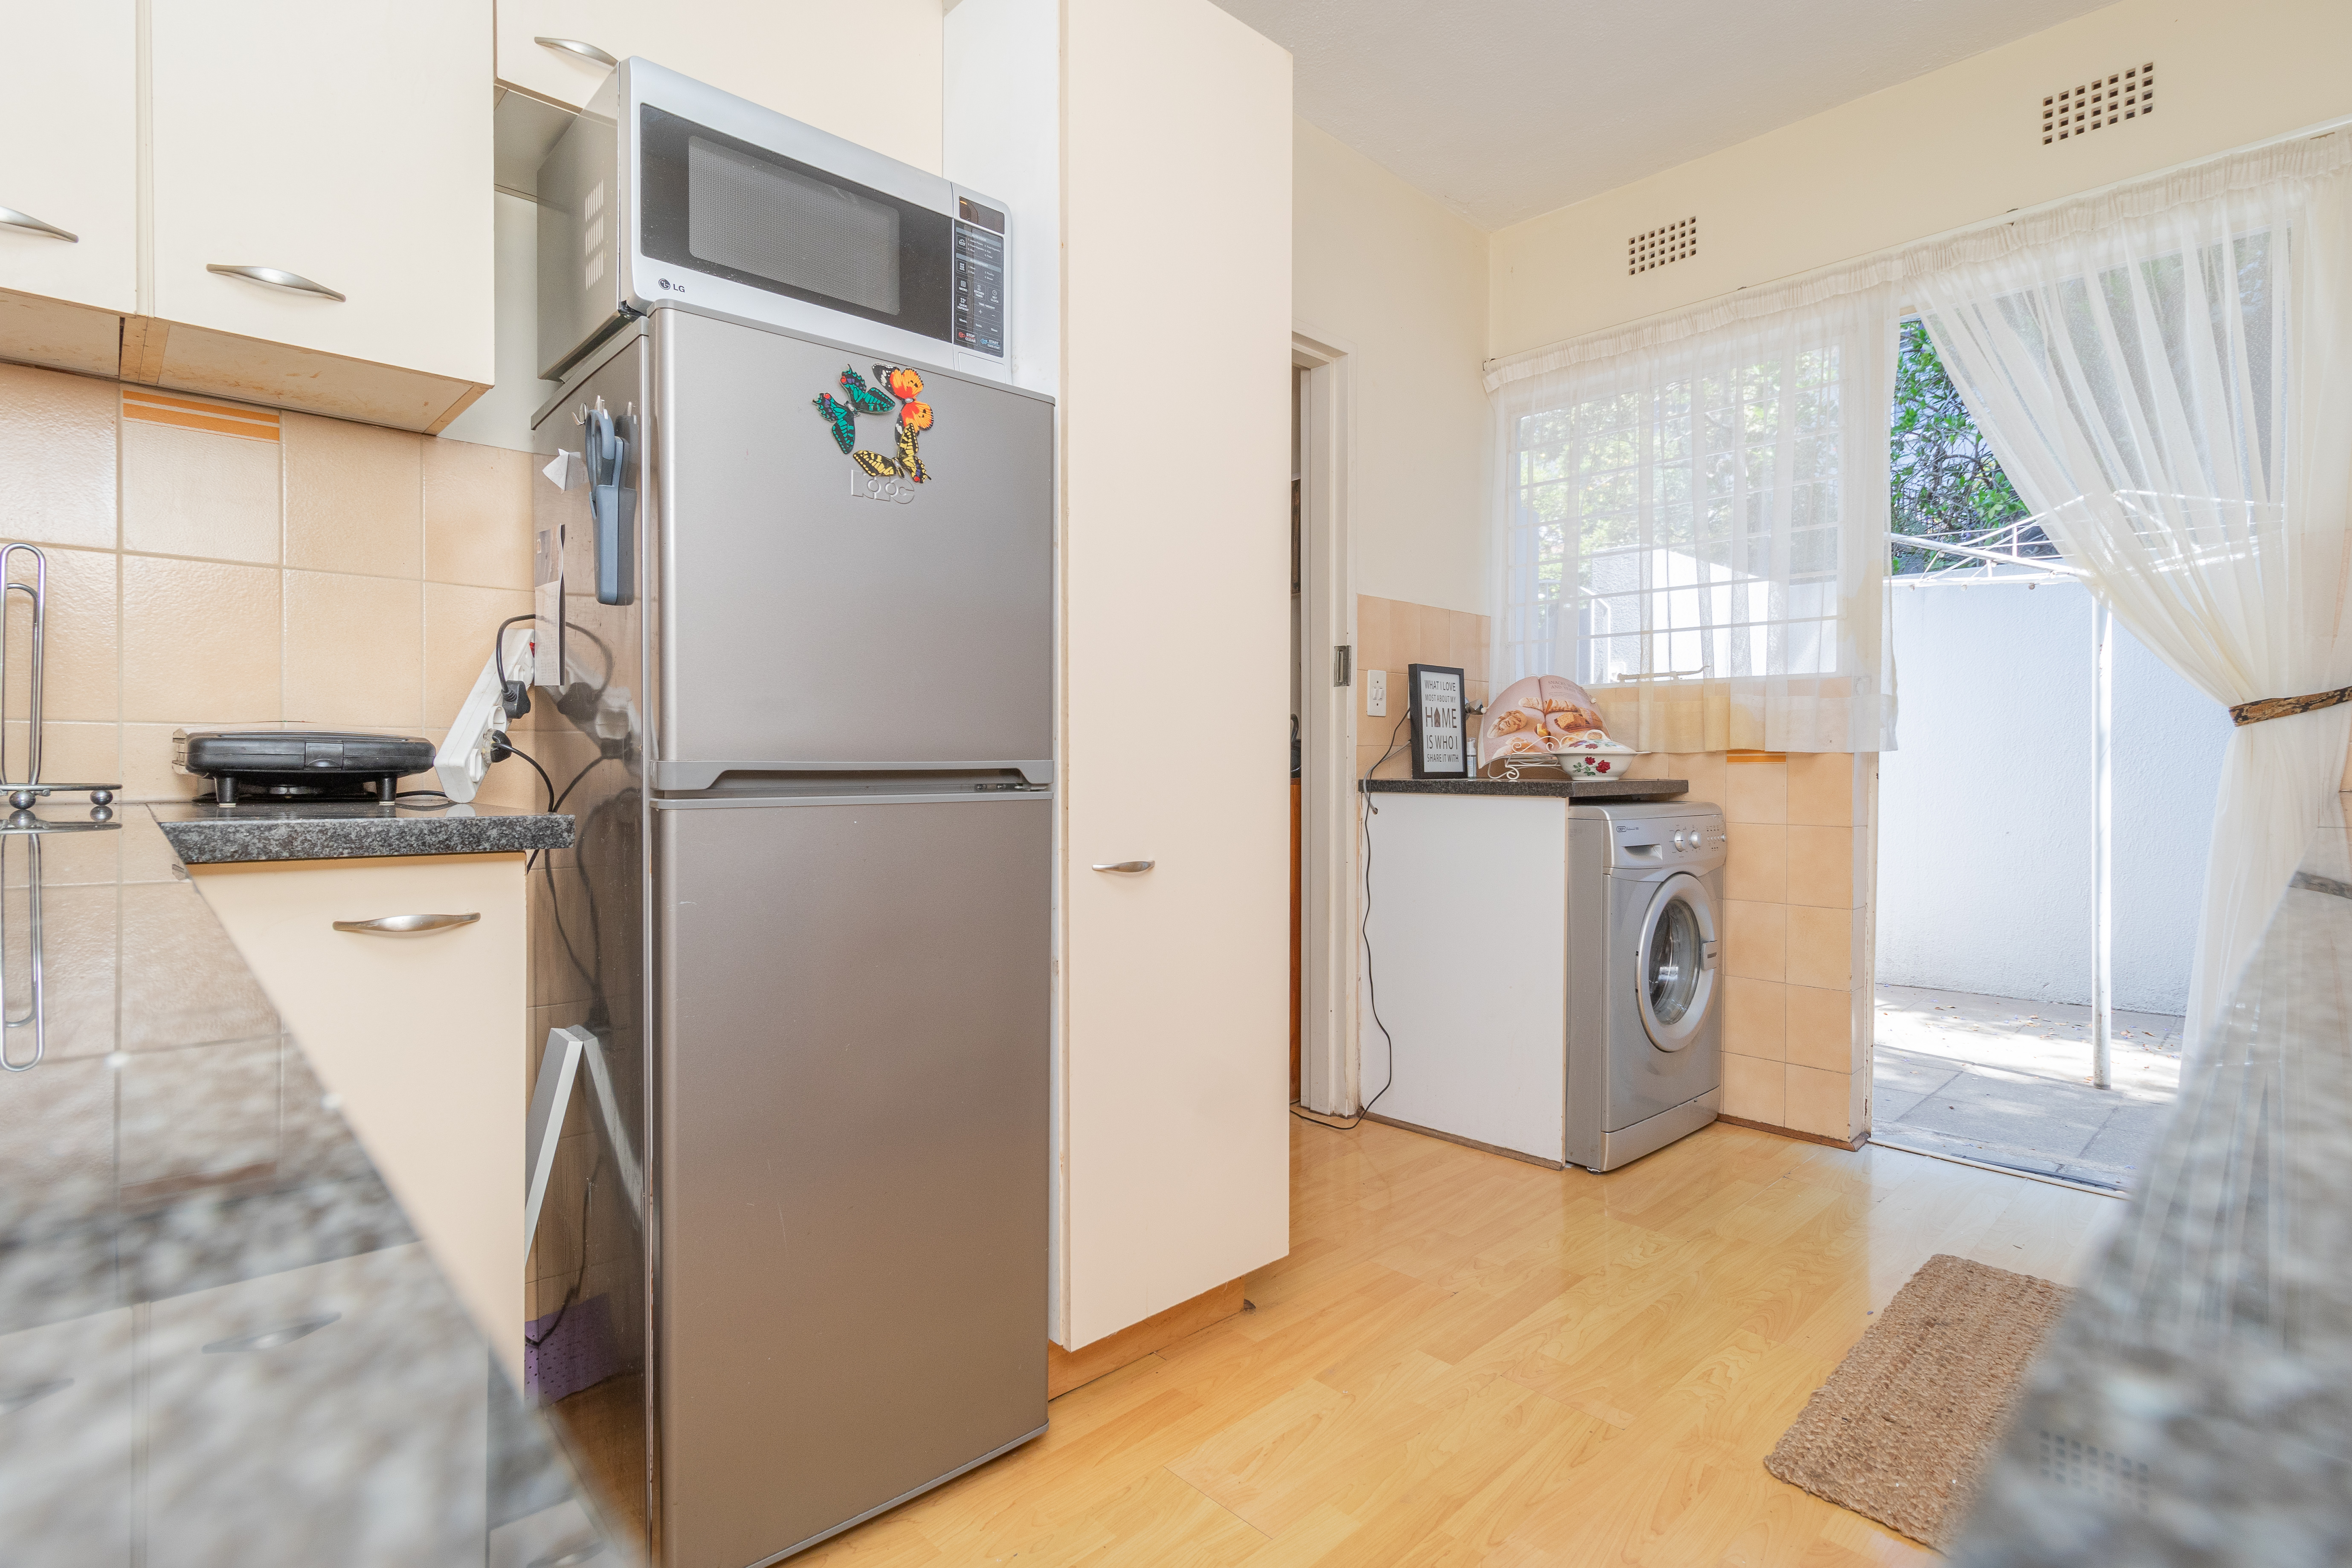
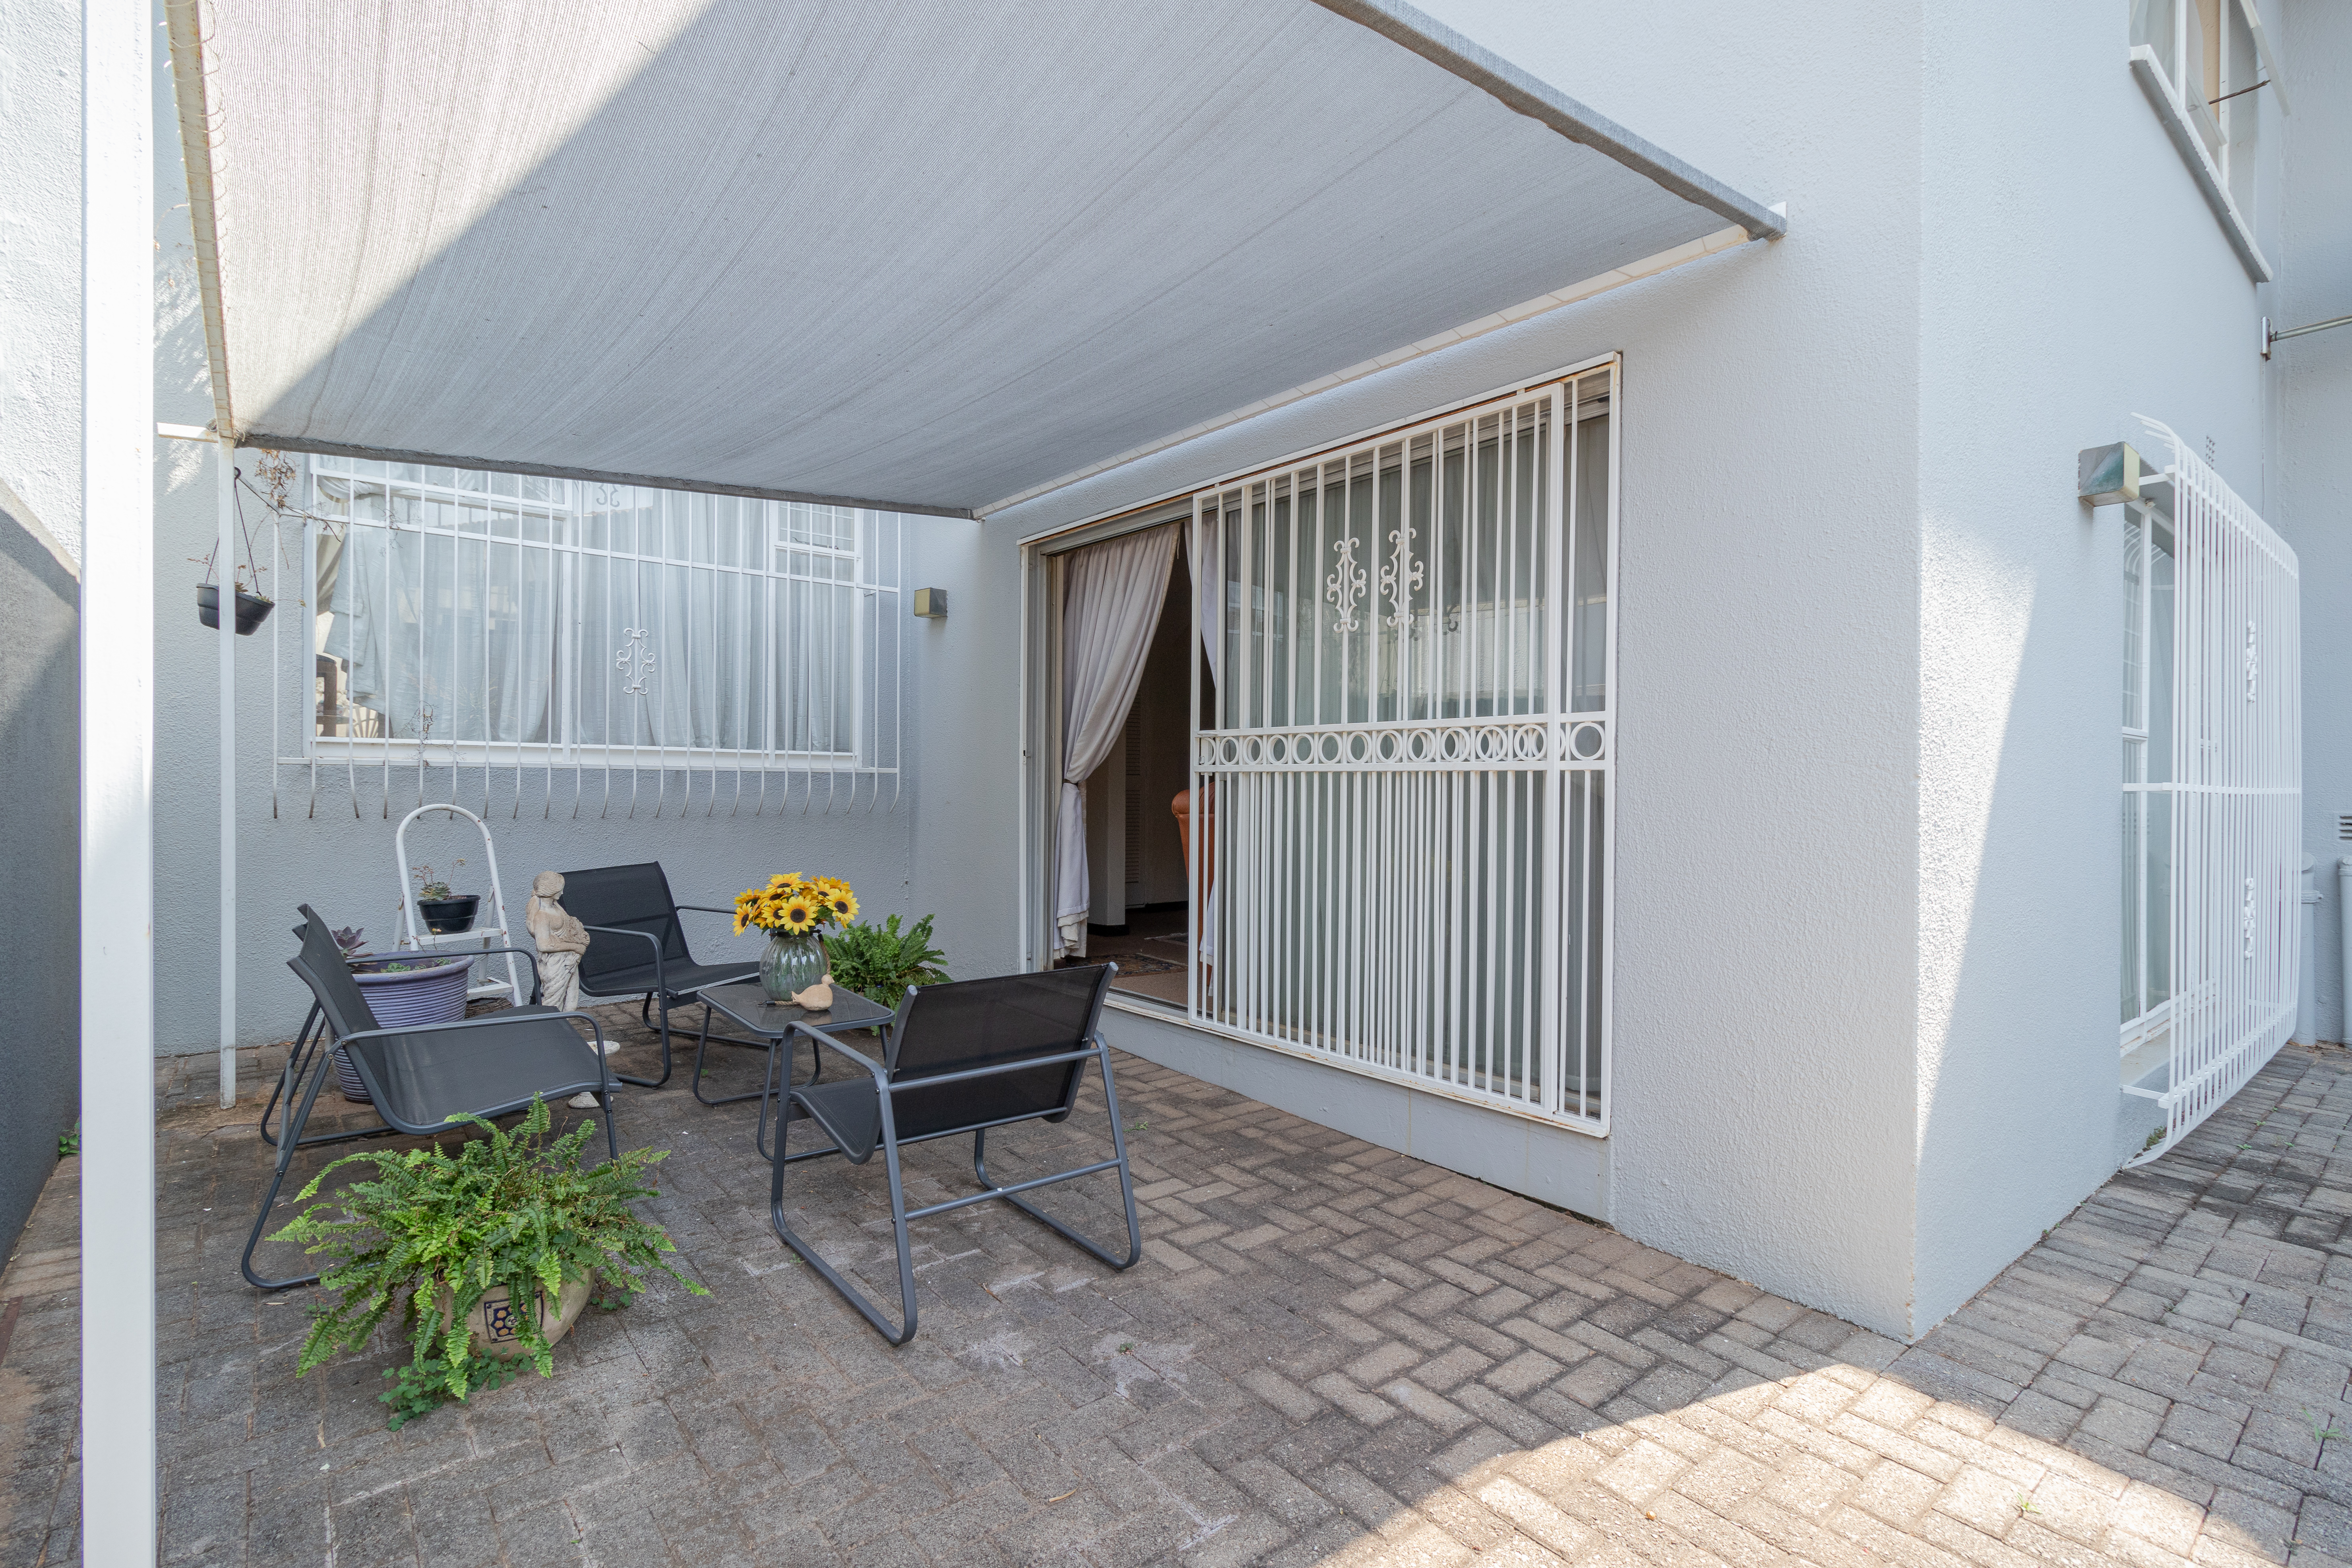
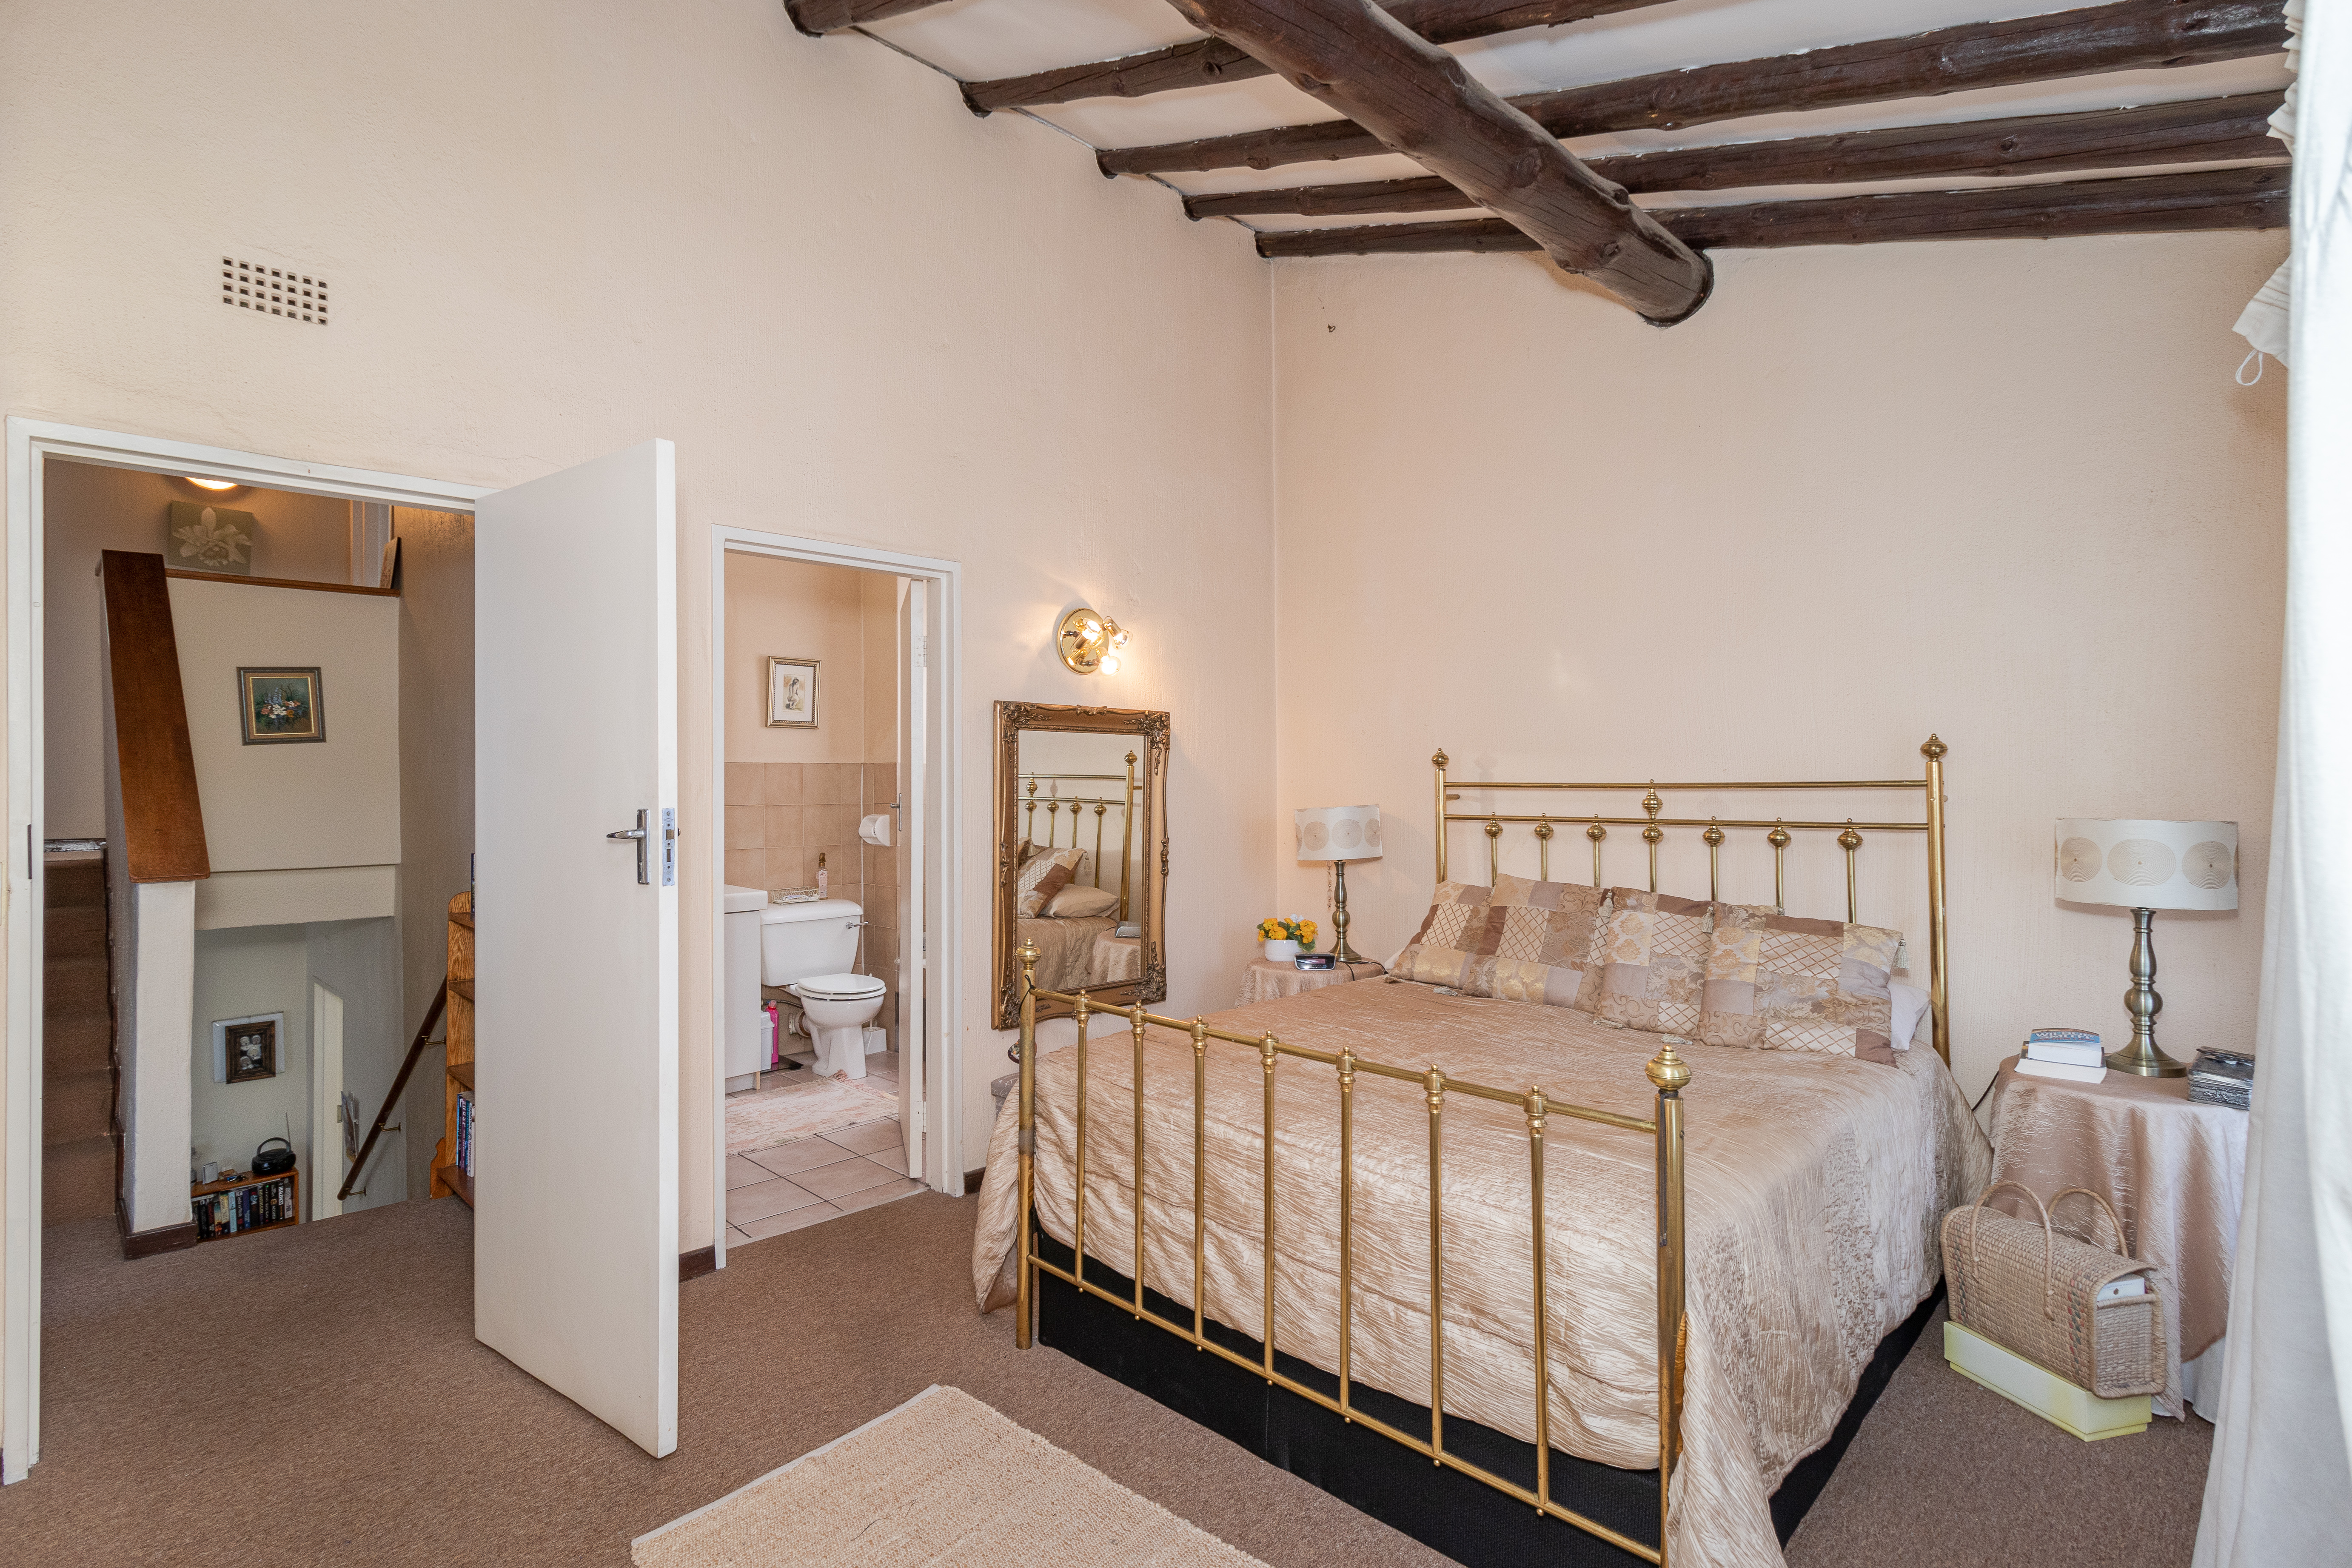


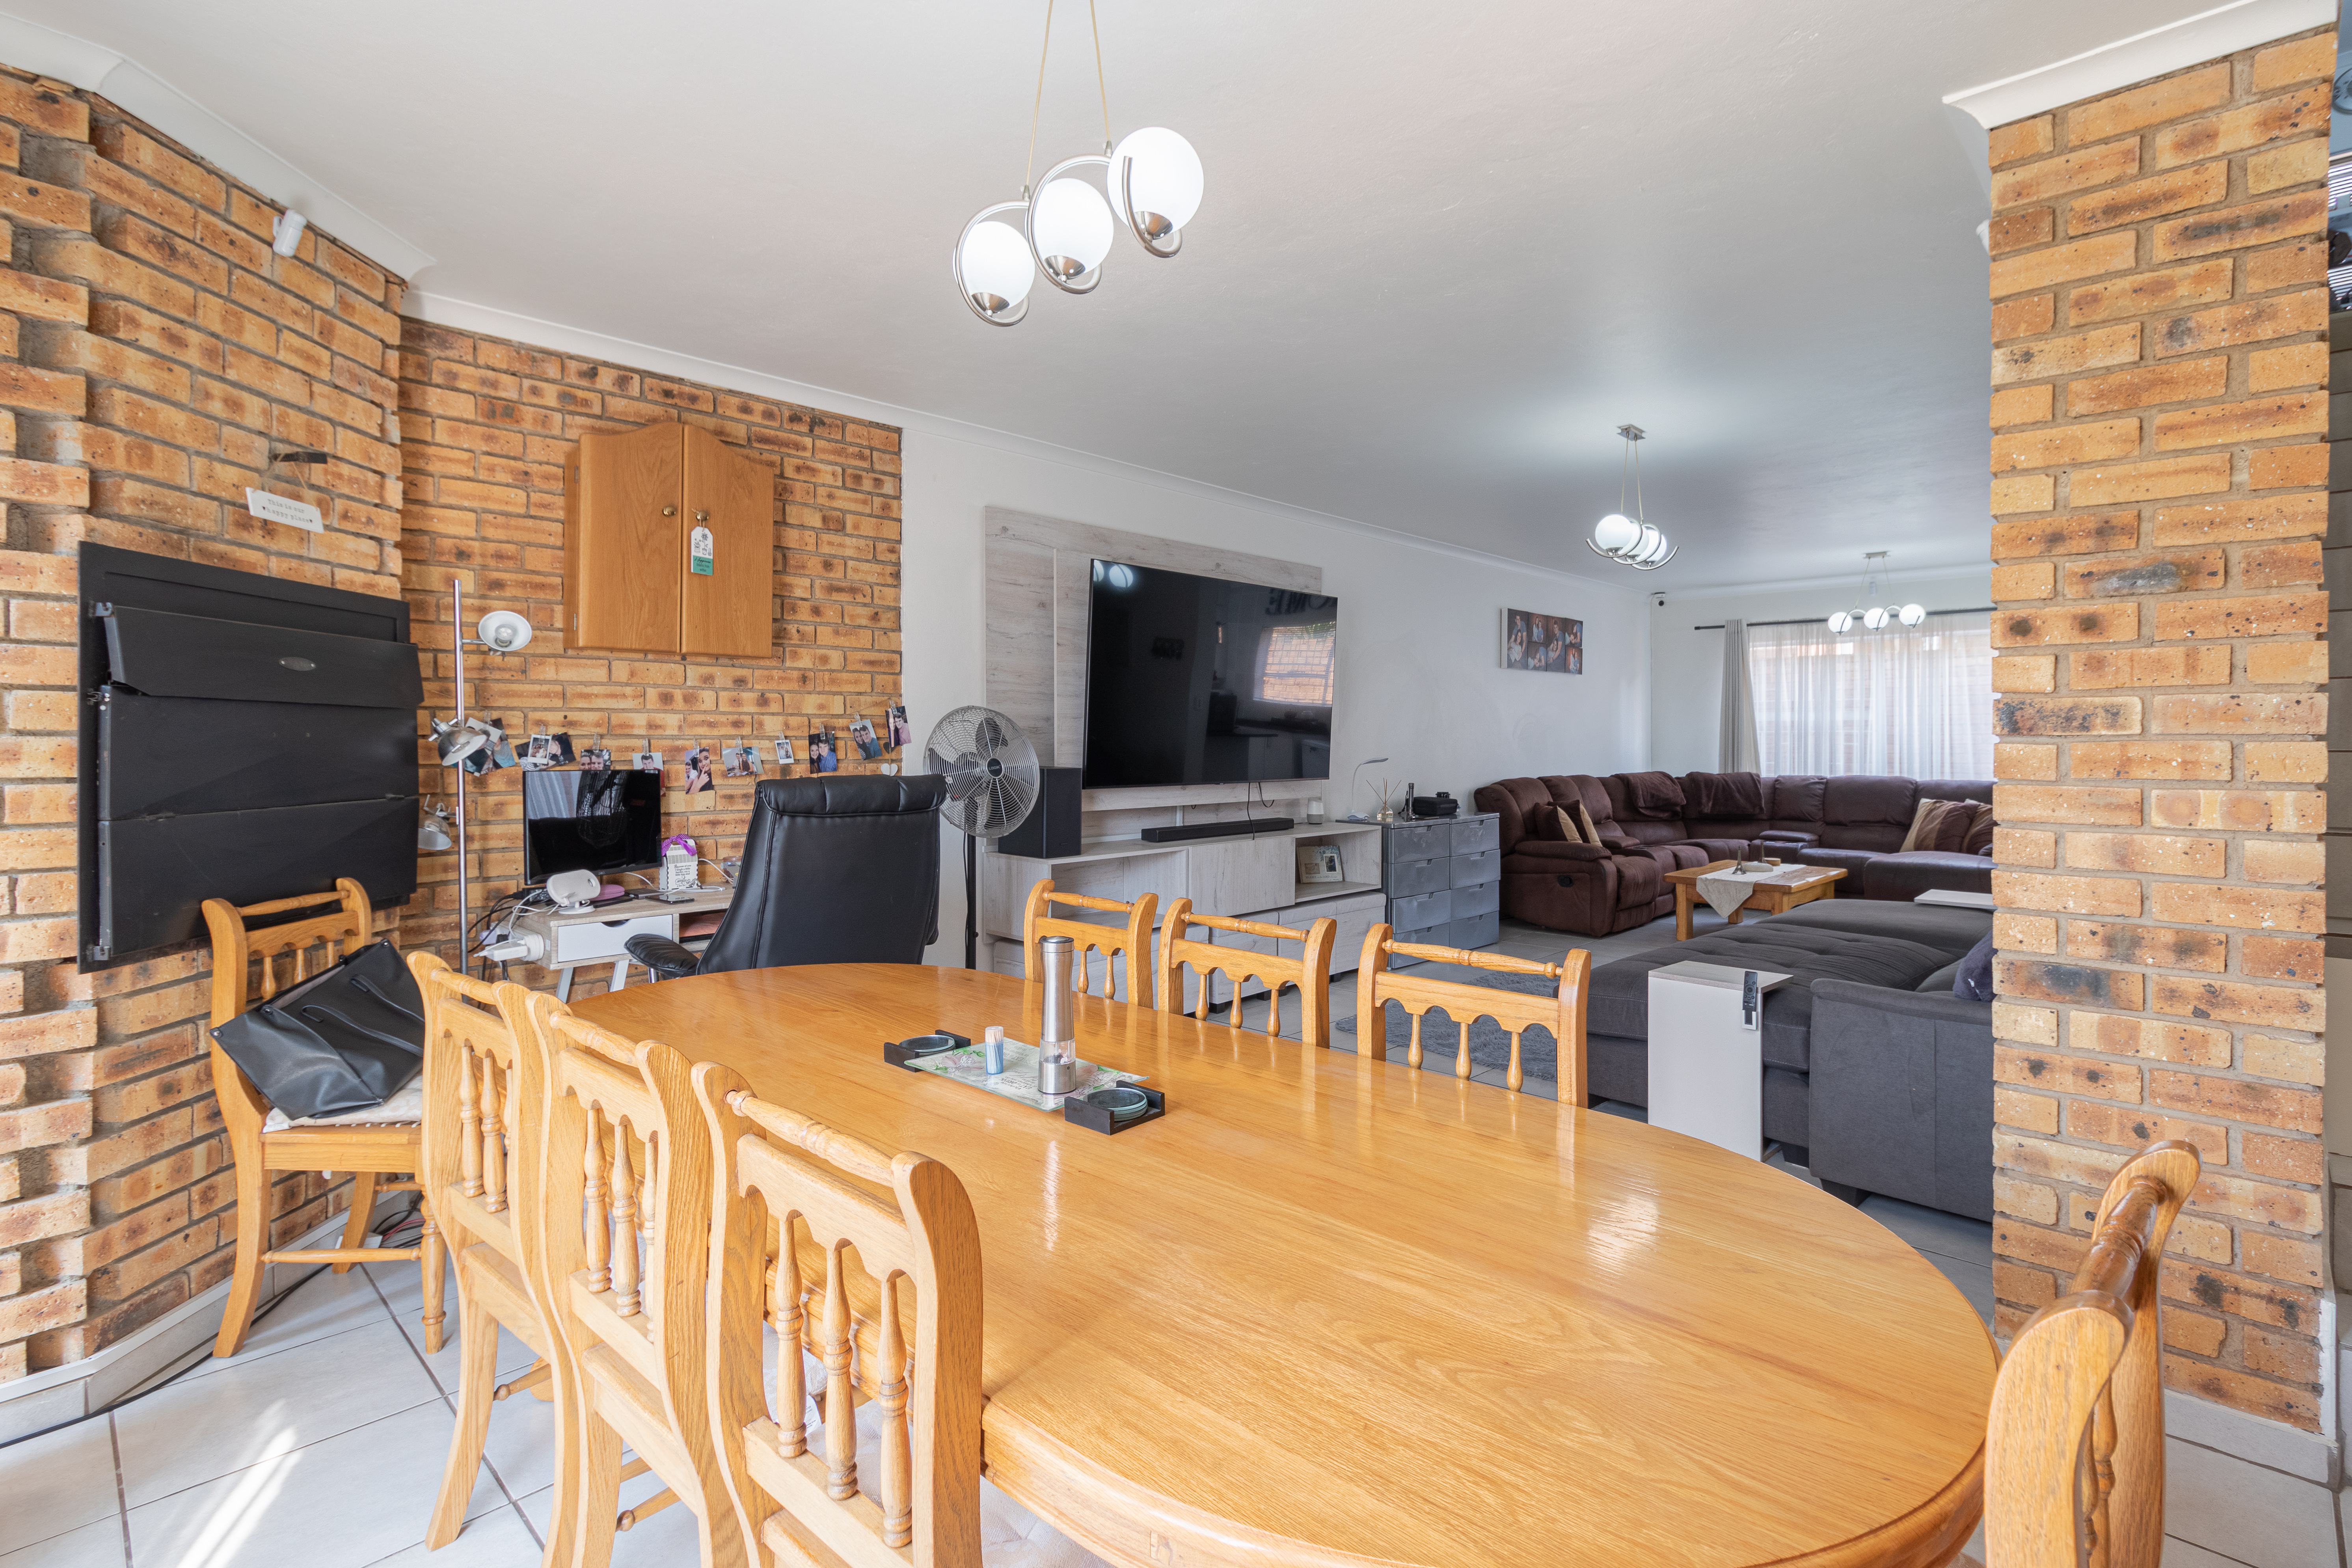


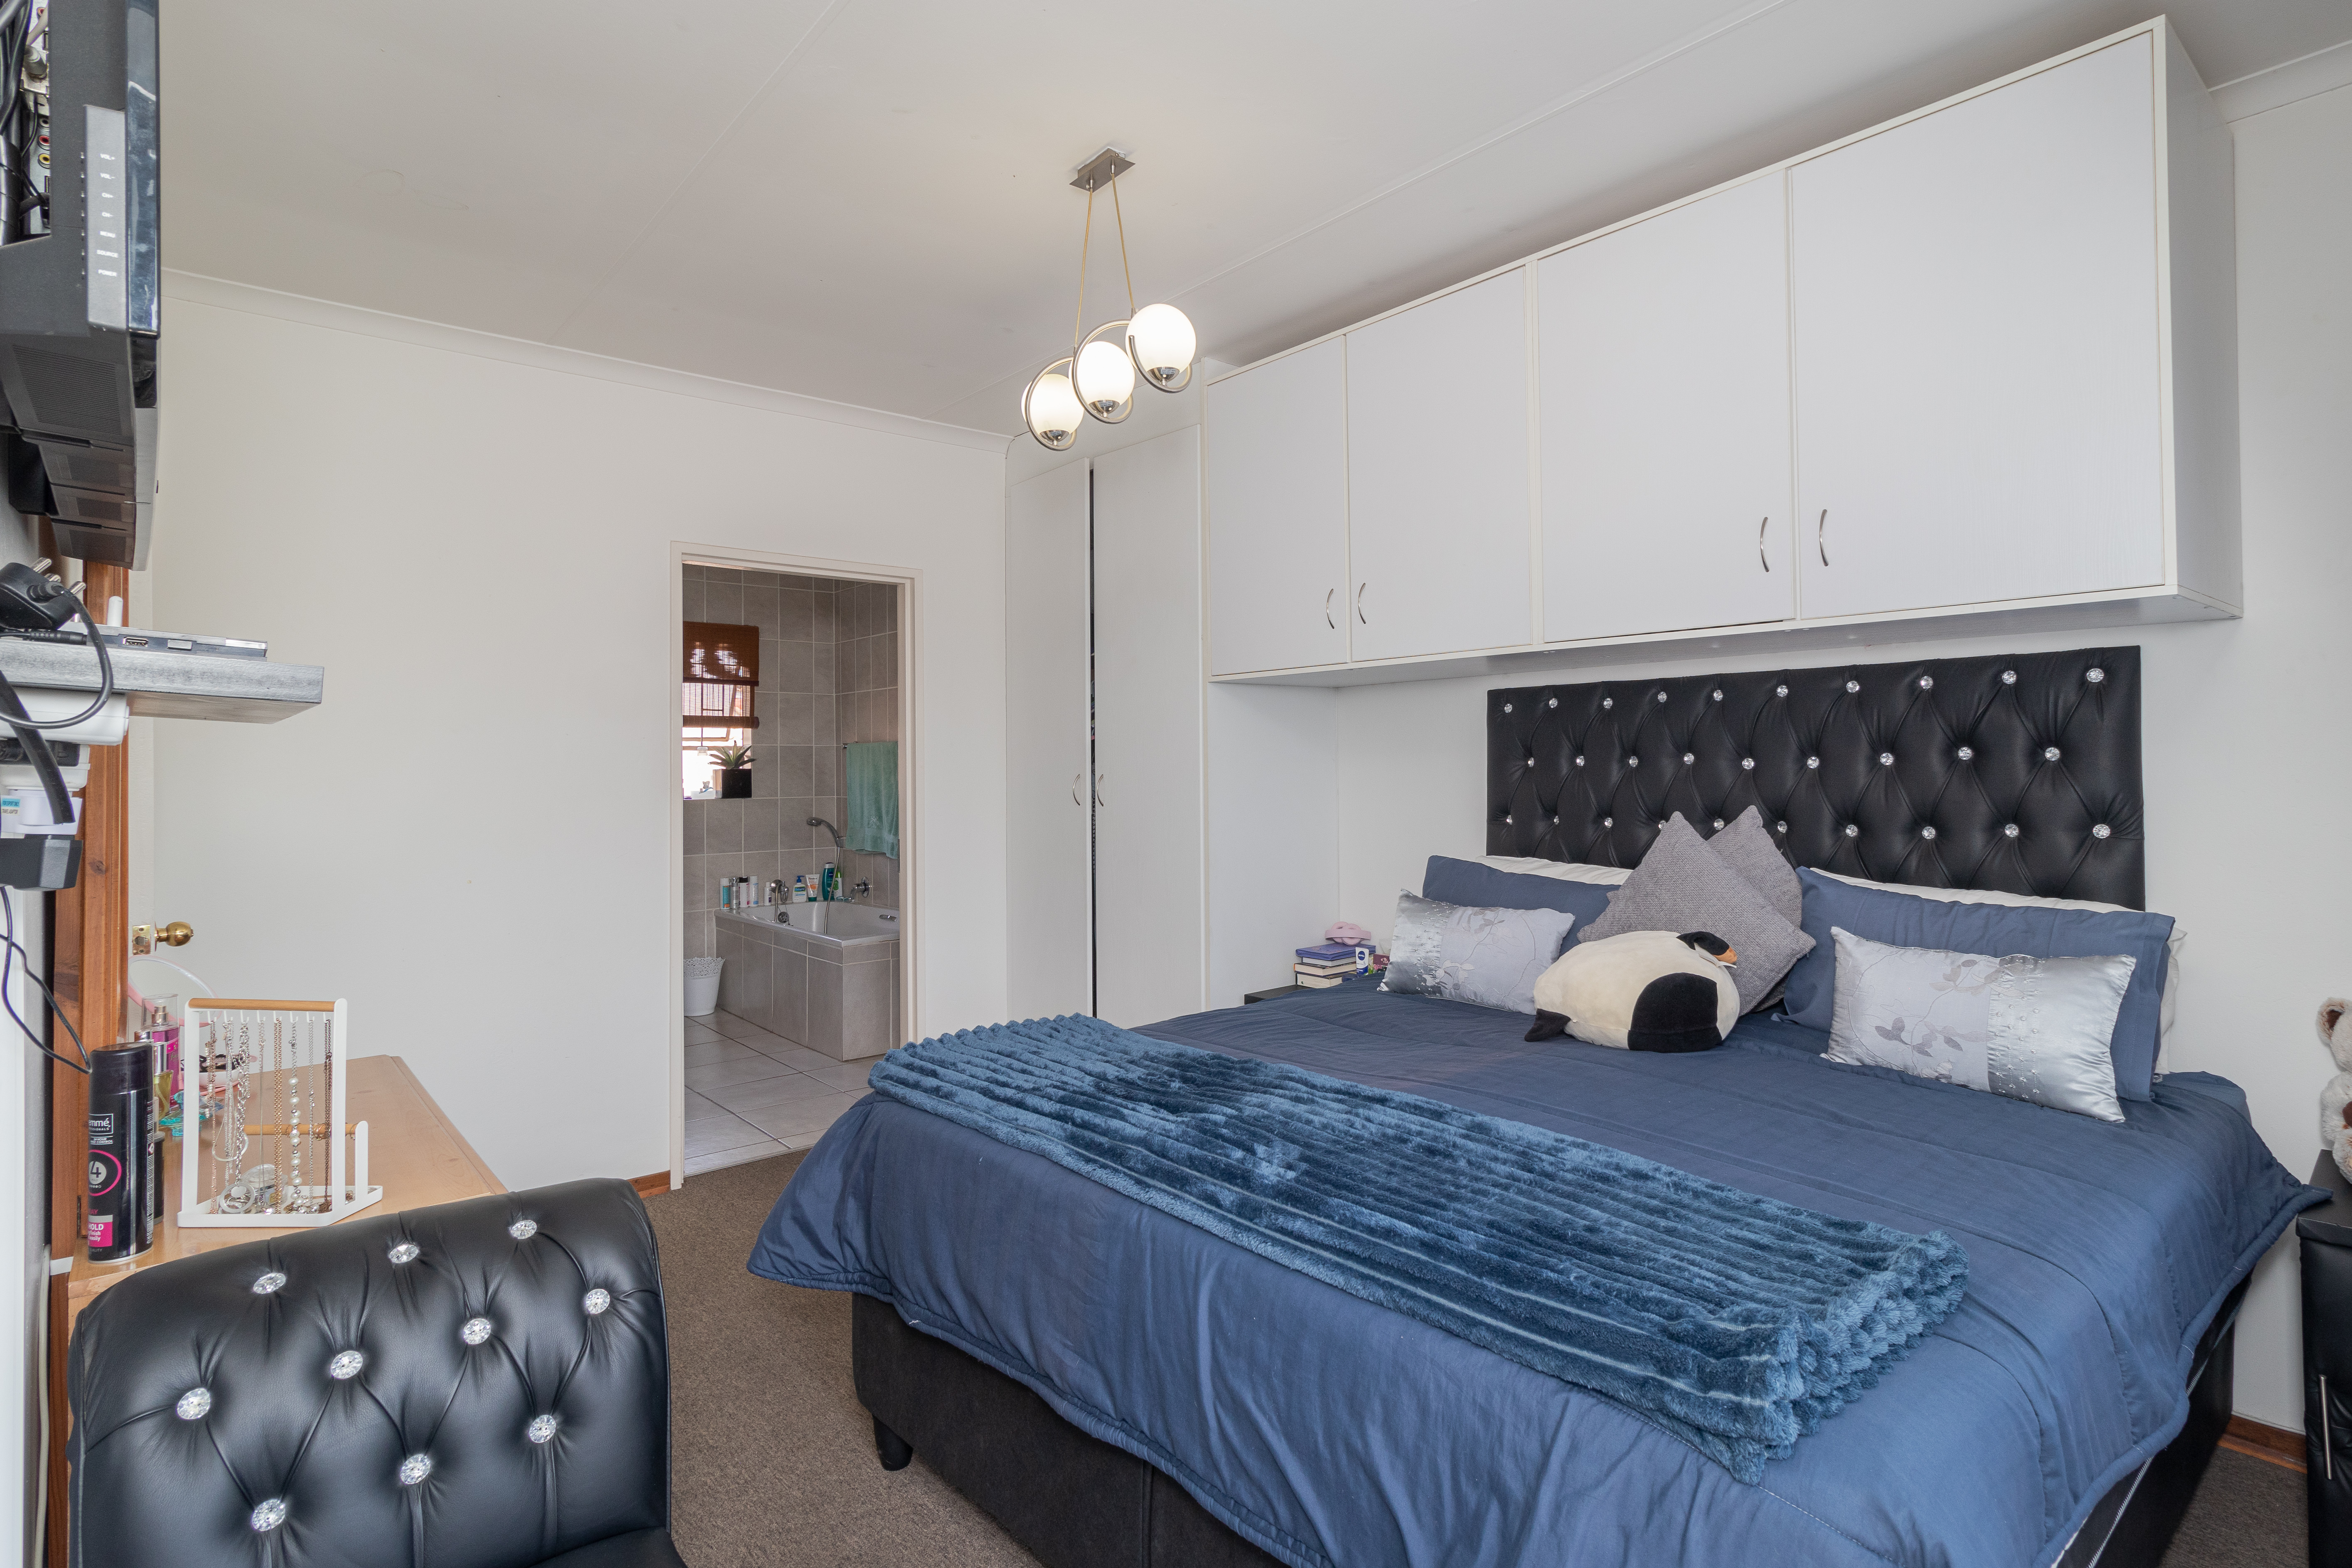

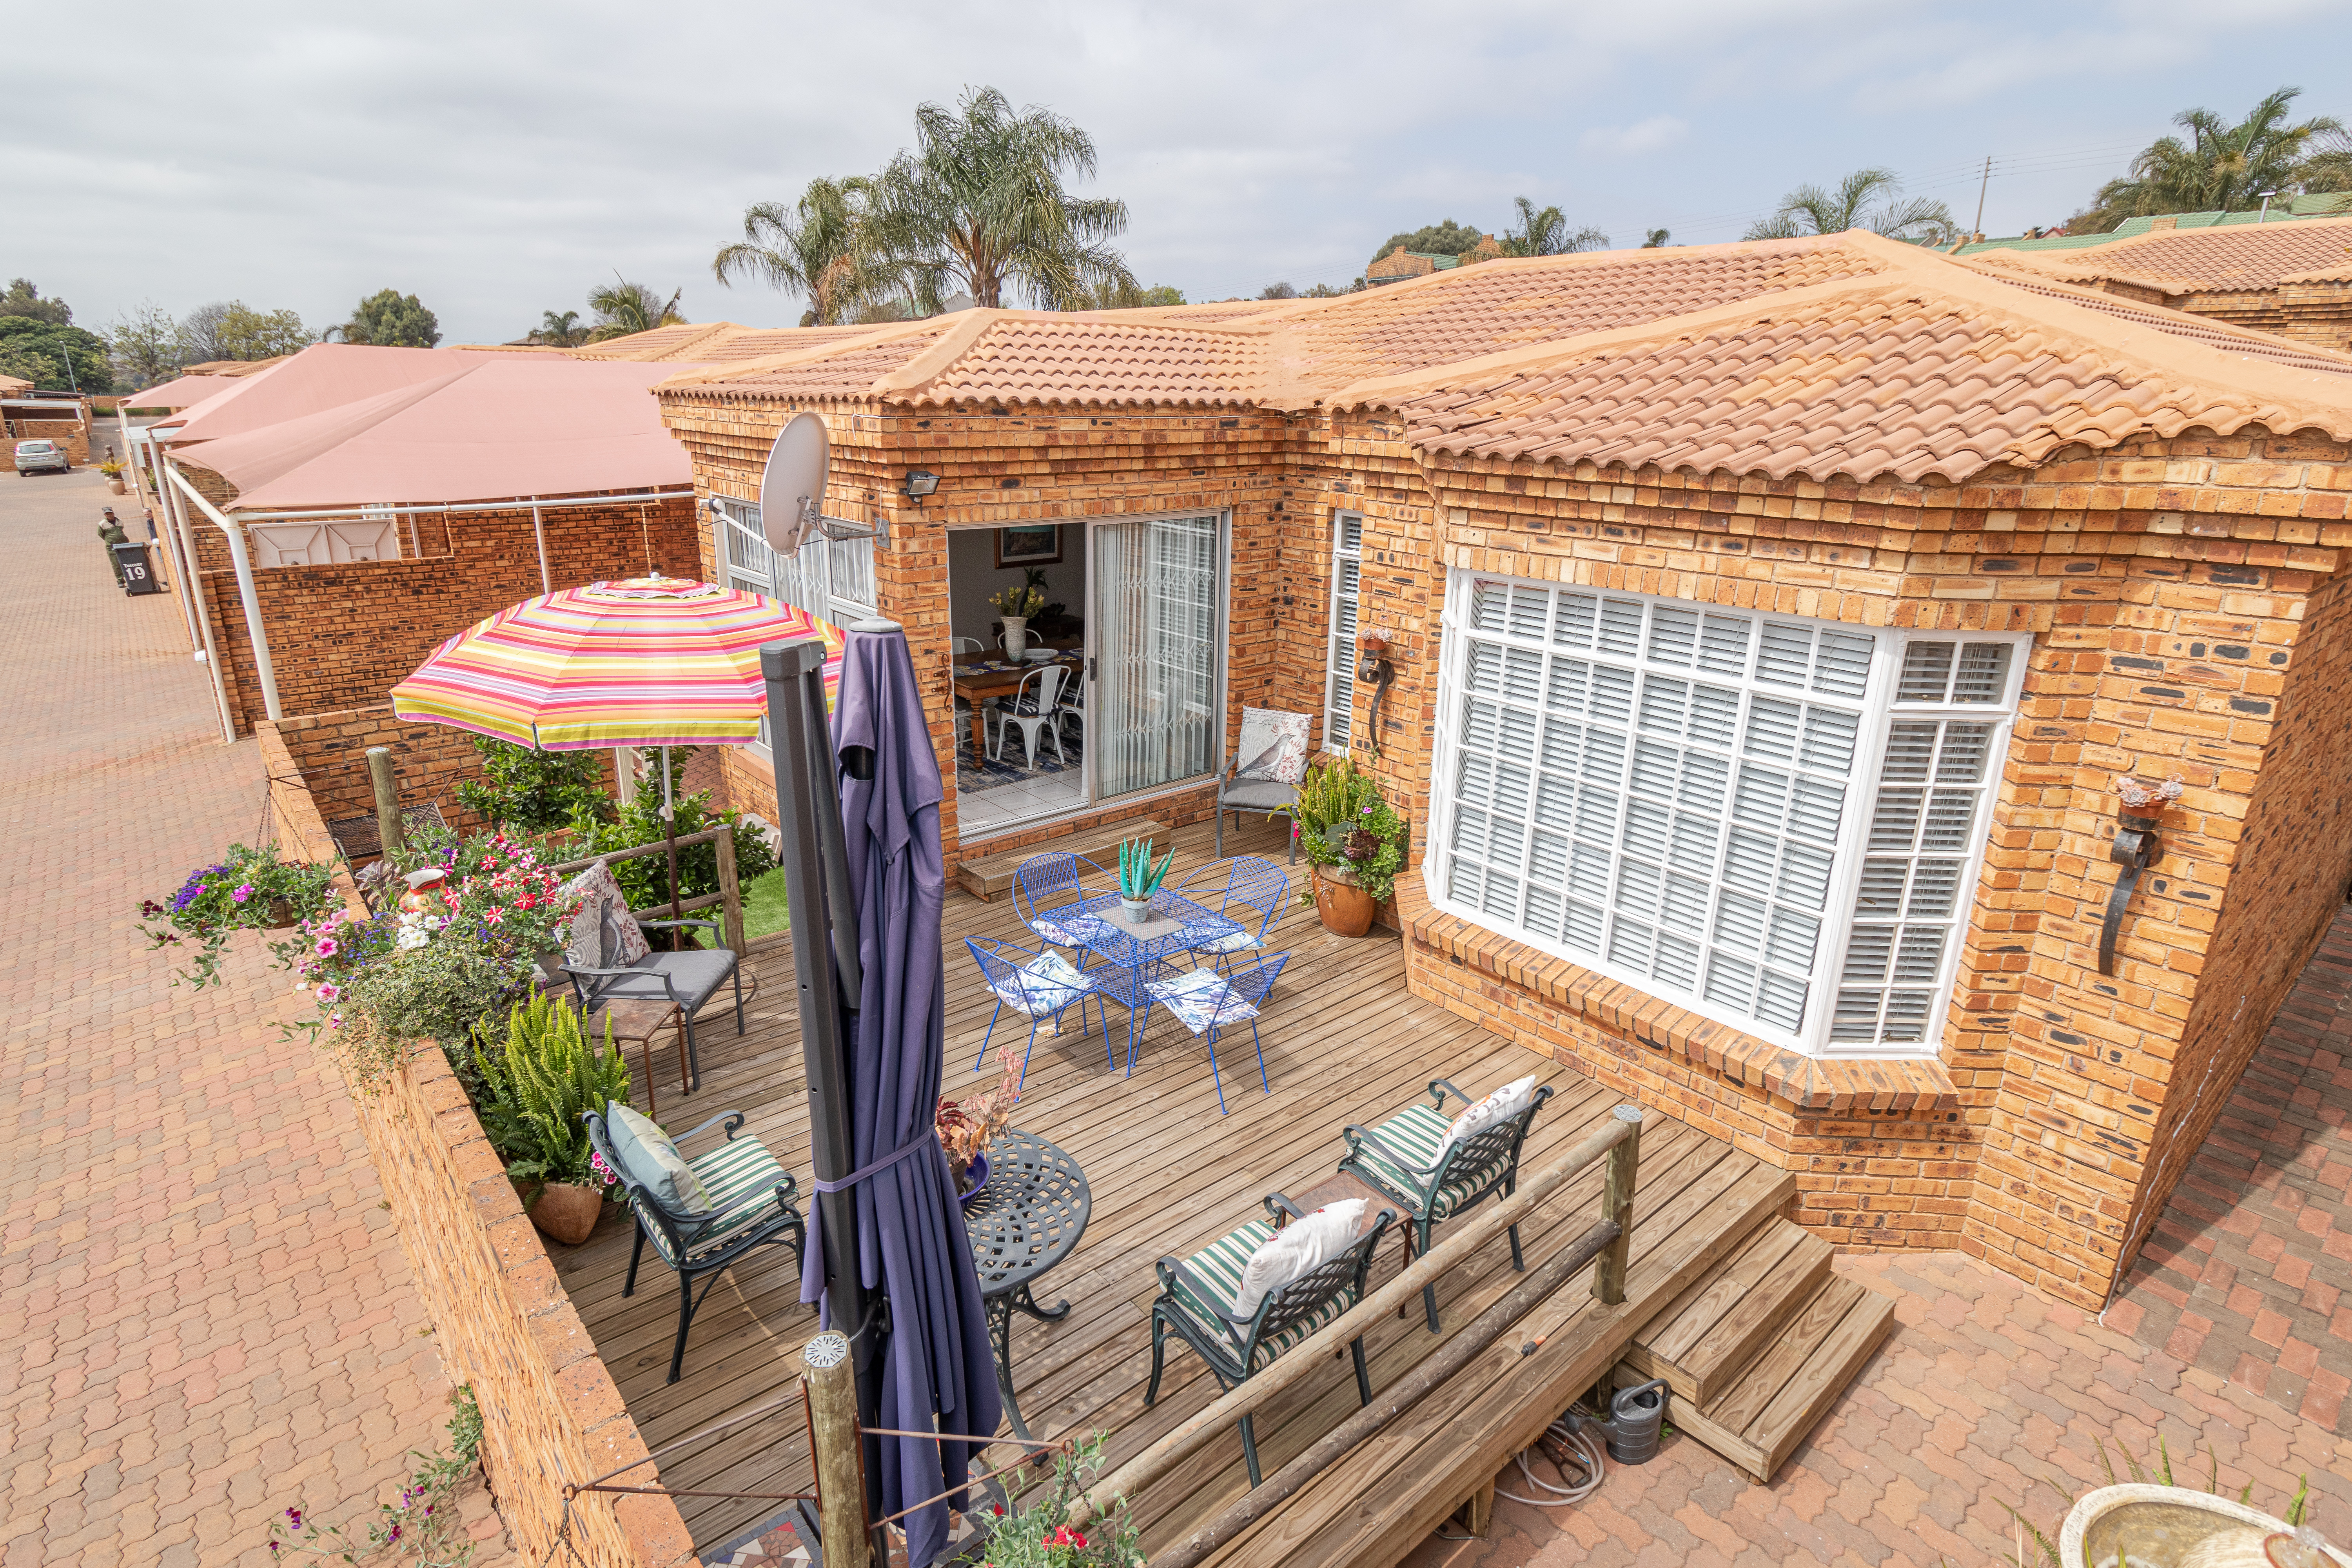
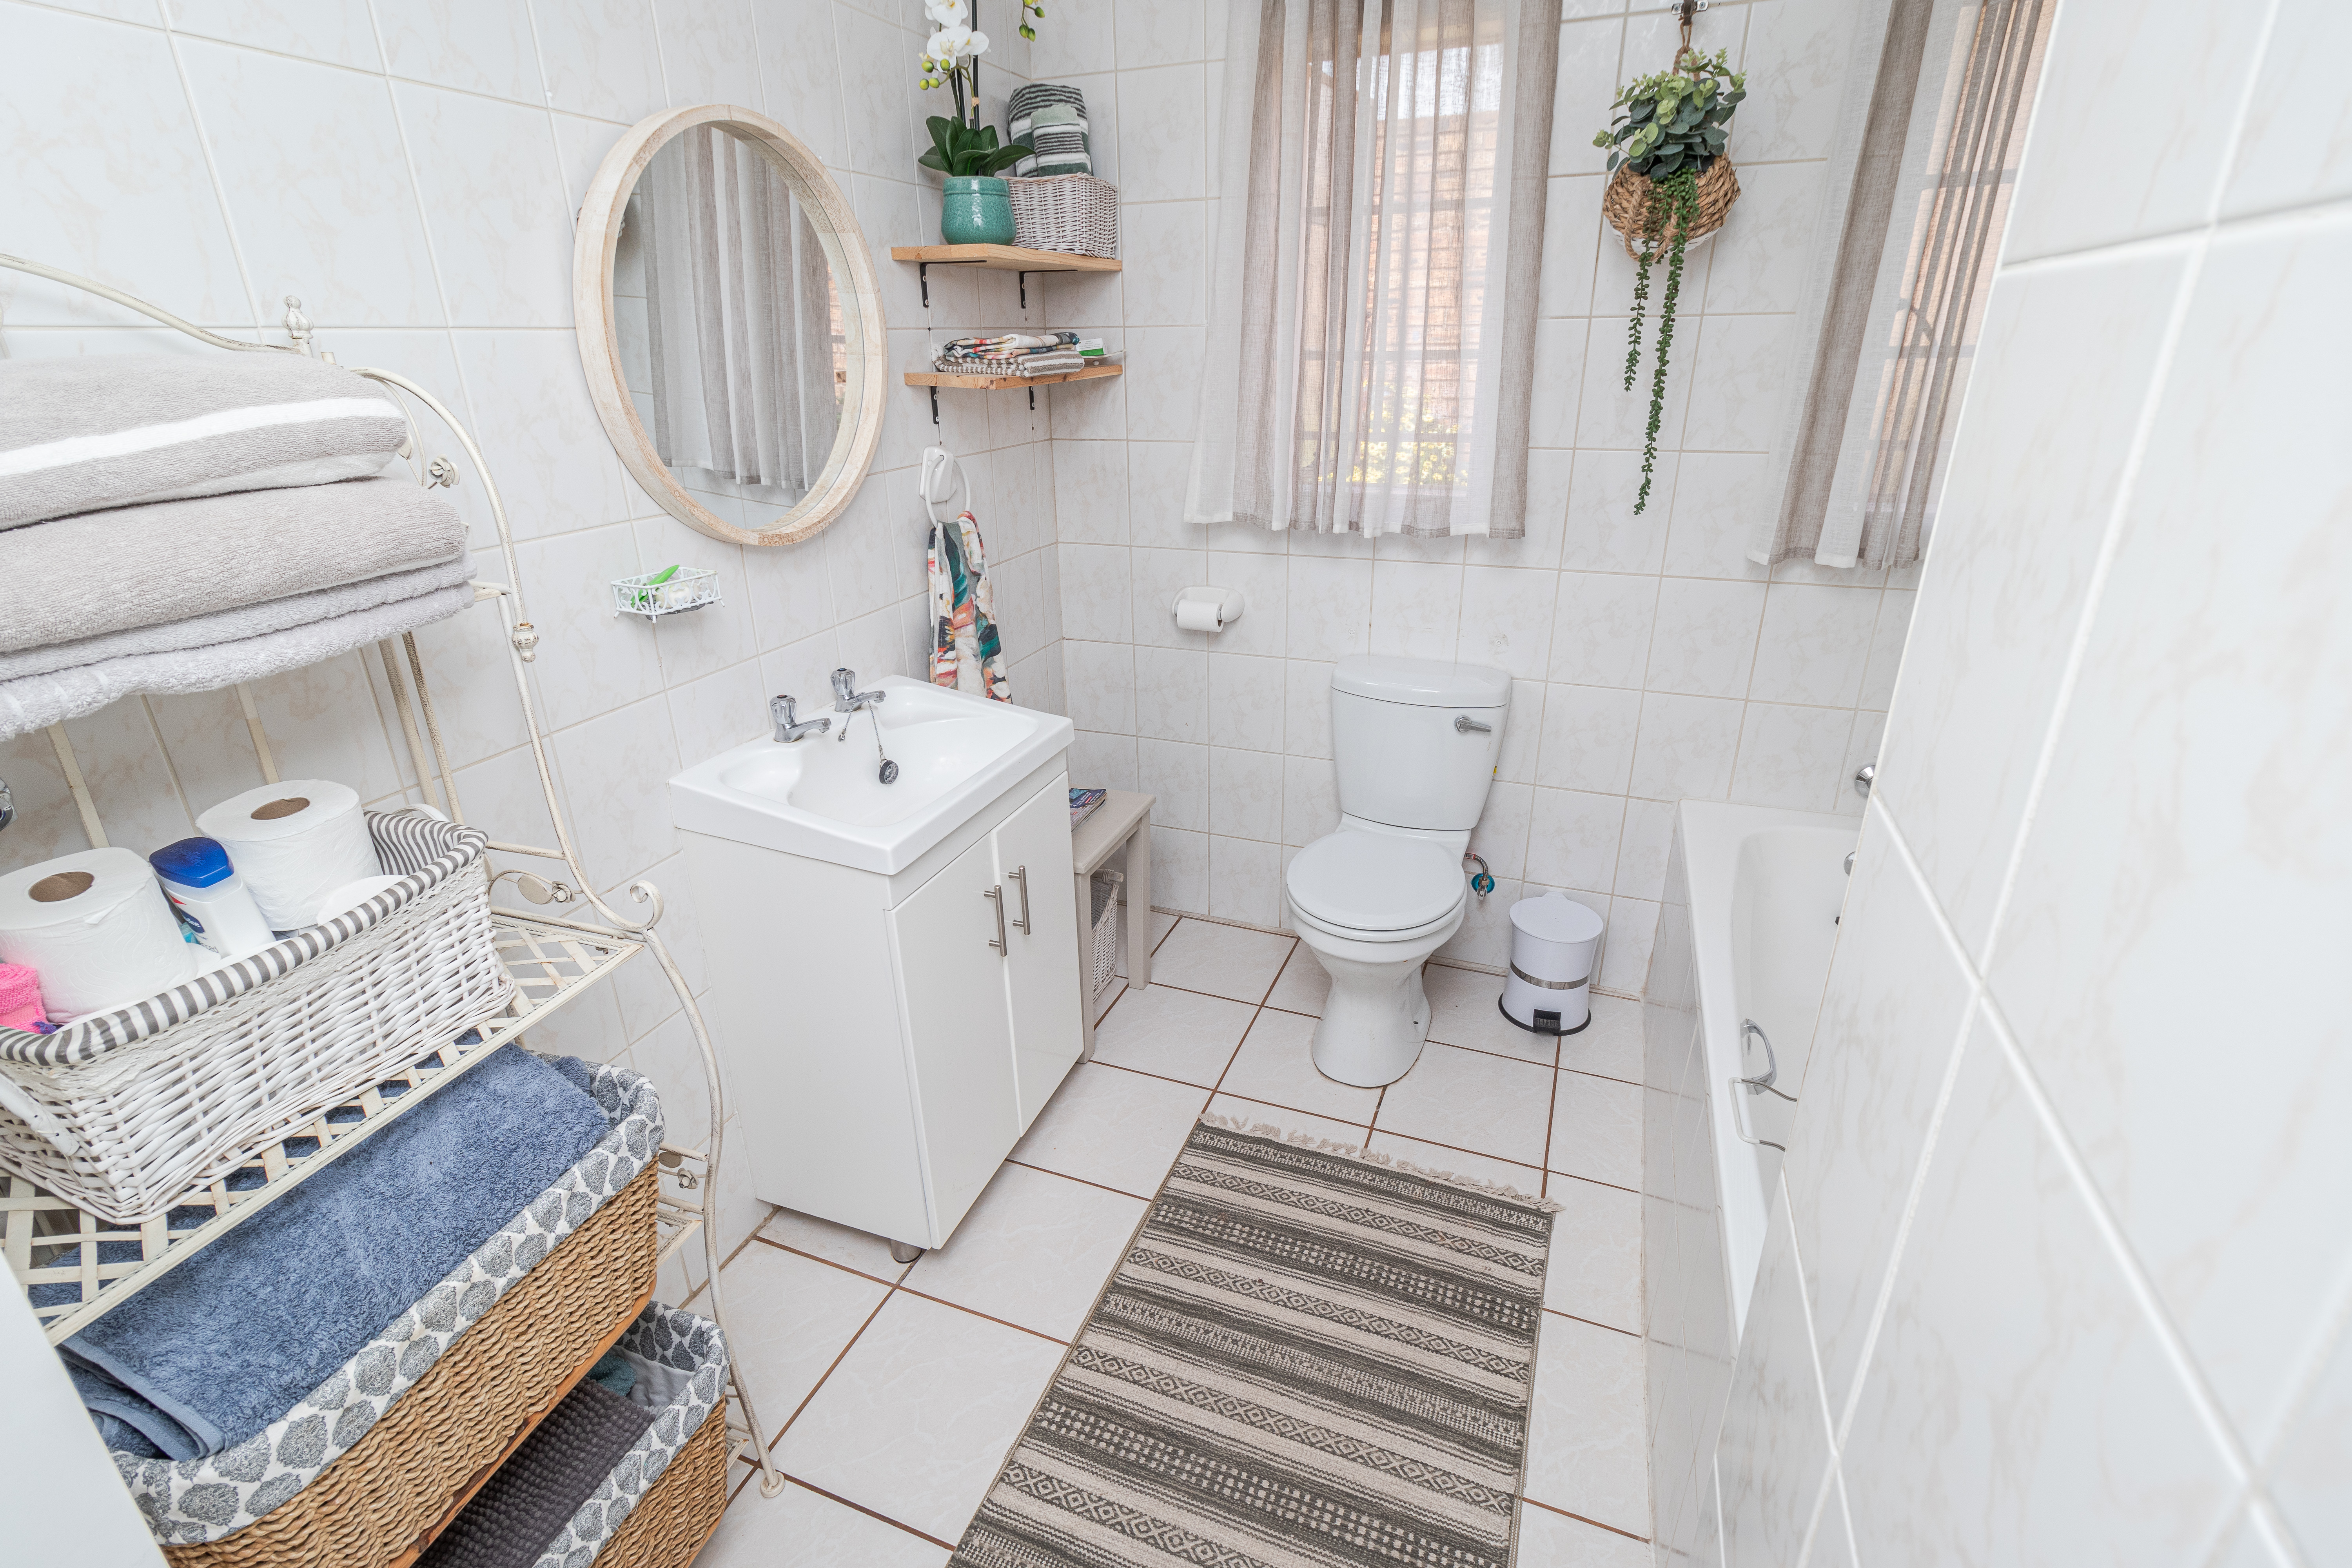


Leave a comment